 Save
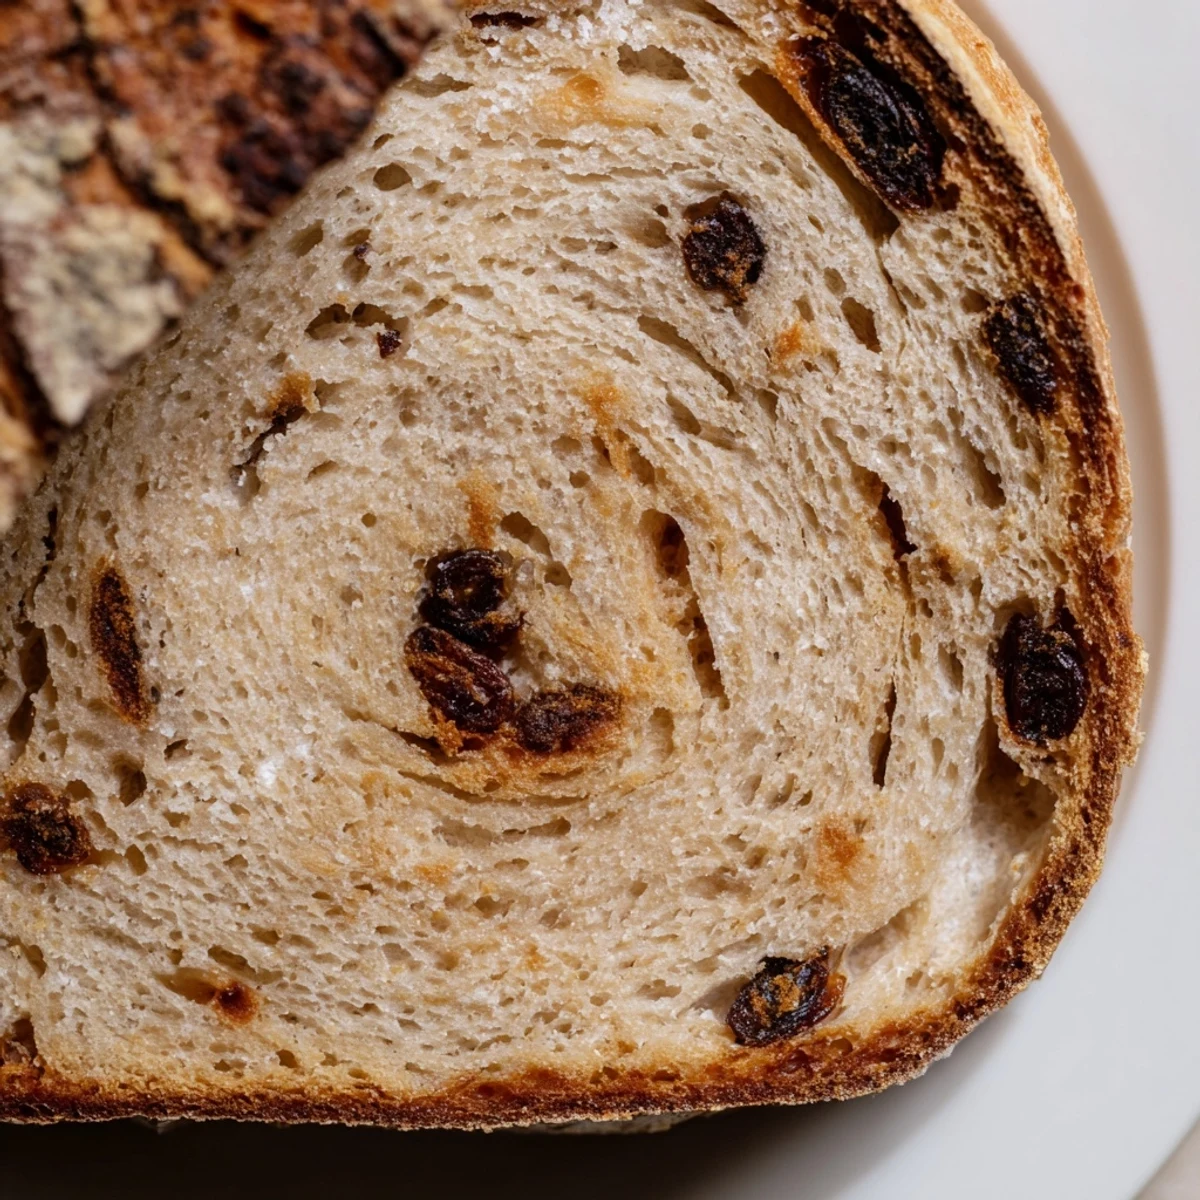
Save Create a bakery-quality cinnamon raisin bread at home with this straightforward artisan method. The dough combines bread flour, warm spices, and plump raisins, developing deep flavors during a two-rise process. Bake in a Dutch oven for that perfect crackly crust and tender interior.
The finished loaf delivers warm cinnamon notes in every bite, with raisins adding natural sweetness throughout. Slice thick for toast, spread with butter or cream cheese, or enjoy alongside coffee and chai tea.
Total hands-on time is just 25 minutes, with most of the work happening during rising periods. The result rivals any bakery loaf, minus the specialty ingredients or equipment.
The smell of cinnamon drifting through my apartment on a rainy Sunday morning changed everything about how I thought about homemade bread. I was experimenting with what seemed like too many raisins for a standard loaf, but something magical happened in the oven. The kitchen windows fogged up as the bread baked, creating this cozy cocoon that made me cancel all my plans for the day.
My roommate walked in mid bake and actually stood in the doorway just breathing it in. We ended up eating half the loaf straight from the cooling rack, burning our fingers on slices we could not wait to try. Now every time I make it, I think about that lazy afternoon and how simple ingredients can create such comfort.
Ingredients
- Bread flour: Higher protein content gives this loaf the structure it needs to hold all those plump raisins without getting dense
- Ground cinnamon: Two teaspoons might seem generous but it is just right for that warm spiced flavor throughout every bite
- Instant yeast: Skip the proofing step and add it directly to your flour mixture for faster rising time
- Warm water: Think bathwater temperature, around 110 degrees, anything hotter will kill your yeast
- Raisins: Soak them in warm water for 10 minutes if they seem especially dry, they will plump up beautifully
- Unsalted butter: Softened butter incorporated into the dough adds richness without overpowering the cinnamon
Instructions
- Mix your dry foundation:
- Whisk together the bread flour, cinnamon, salt, yeast, and sugar in your largest bowl until everything is evenly distributed.
- Bring the dough together:
- Pour in the warm water and add the softened butter, stirring with your wooden spoon until a shaggy mass forms that holds together.
- Knead until you feel the change:
- Turn the dough onto a floured surface and work it for 7 to 10 minutes, adding raisins halfway through, until it transforms from sticky to smooth and springs back when poked.
- Let it rise in peace:
- Place your dough ball in a greased bowl, cover it with a damp towel, and find the warmest spot in your kitchen for about an hour until it has doubled.
- Shape with confidence:
- Gently deflate the risen dough and form it into a round or oval loaf, using your hands to create surface tension without tearing the skin.
- Give it a second rise:
- Set your shaped loaf on parchment paper or in a floured proofing basket, cover it, and let it rest for another 45 minutes while you preheat your oven.
- Get your oven seriously hot:
- Crank that oven to 425 degrees and if you are using a Dutch oven, put it in now so it gets screaming hot too.
- Score for beauty:
- Use your sharpest knife to make shallow slashes on top of the loaf, which helps it expand gracefully in the oven.
- Bake with steam:
- Slide your loaf into the Dutch oven or onto your baking sheet, cover it for the first 20 minutes to create steam, then uncover for the final 20 minutes until deep golden.
- The hardest part:
- Brush with melted butter if you want that glossy finish, then let it cool completely for at least an hour before slicing into it.
 Save
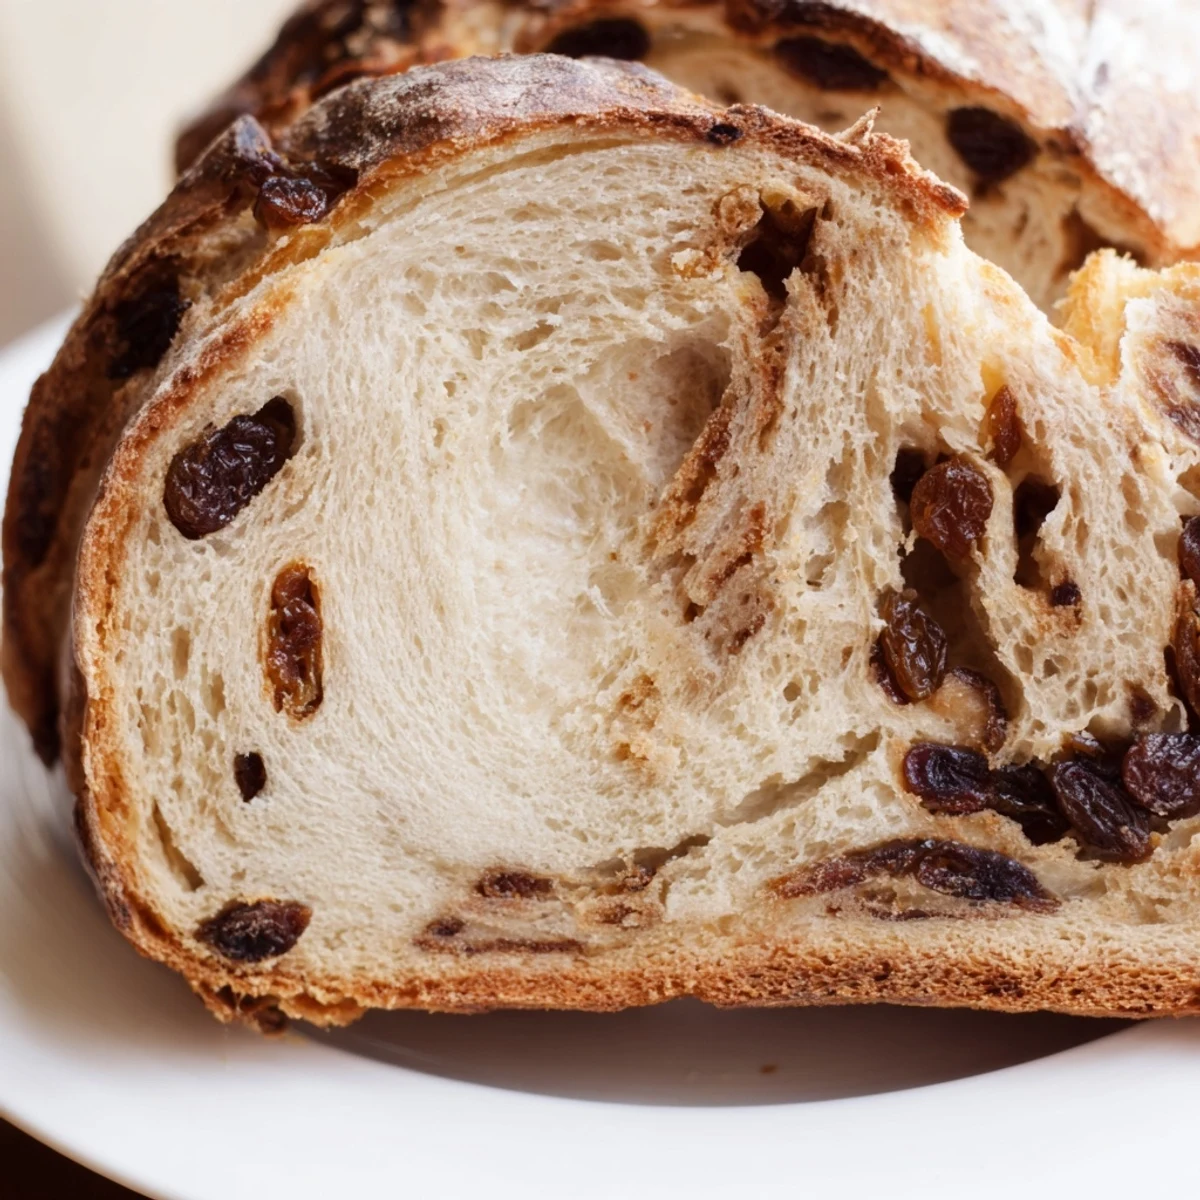
Save This bread became my go to housewarming gift after I brought a loaf to a new neighbor and she texted me three days later asking for the recipe. There is something about pulling a fresh baked loaf from your oven that makes any house feel like a home.
Getting The Perfect Rise
I have learned that drafty kitchens are the enemy of bread dough. Find a cozy corner away from windows and doors, or even create a little proofing box by turning your oven light on and placing the dough inside with the door cracked. The steady warmth makes such a difference in how high and airy your final loaf will be.
Working With Raisins
Sometimes raisins can be stubborn little things, tearing through your dough as you knead them in. I have found that adding them after about 5 minutes of kneading, when the gluten has started to develop, helps them distribute more evenly. They will become plump and fragrant as the bread bakes, creating those irresistible pockets of sweetness throughout each slice.
Storage And Serving Ideas
This loaf keeps remarkably well wrapped in parchment paper at room temperature for up to three days, though in my house it rarely lasts that long. The texture actually improves after the first day as the flavors settle and develop. For longer storage, slice and freeze individual pieces that can go straight into the toaster.
- Toast thick slices and top with salted butter for the ultimate breakfast
- Use slightly stale slices to make the most incredible French toast you will ever have
- Cube and dry in the oven at low heat for homemade croutons that will transform any salad
 Save
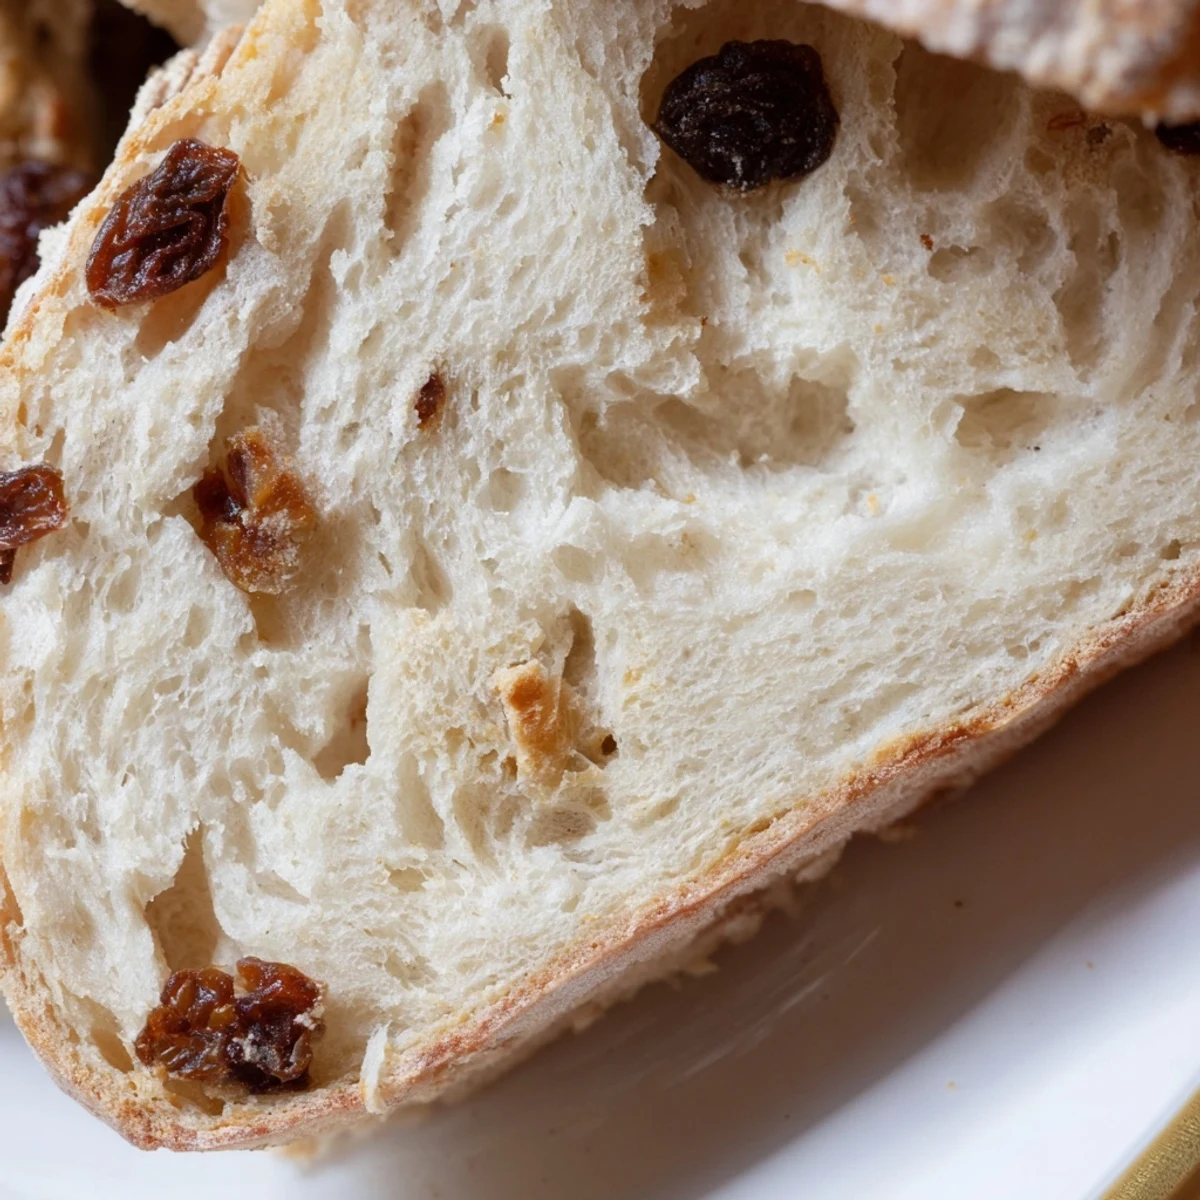
Save There is nothing quite like the first slice of this bread, still slightly warm from the oven, with butter melting into all those little crevices. I hope it brings as much warmth to your kitchen as it has to mine.
Recipe FAQs
- → Can I use active dry yeast instead of instant yeast?
-
Yes, active dry yeast works perfectly. Dissolve it in the warm water first and let it sit for 5 minutes until foamy before adding to the flour mixture.
- → What's the purpose of brushing with melted butter?
-
Brushing with melted butter adds a subtle richness and helps create a softer, more tender crust while giving the loaf a beautiful golden sheen.
- → Can I make this without a Dutch oven?
-
Absolutely. Bake on a parchment-lined baking sheet, tenting loosely with foil for the first 20 minutes to trap steam, then remove foil for the final bake.
- → How should I store this bread?
-
Wrap tightly in plastic or store in an airtight container at room temperature for 2-3 days. For longer storage, slice and freeze for up to 3 months.
- → Can I substitute the raisins?
-
Dried cranberries, chopped dates, currants, or even diced dried apricots work beautifully. Keep the total dried fruit quantity around 1 cup for best results.
- → Why is my dough not doubling in size?
-
This typically means your yeast wasn't active or the rising area was too cool. Ensure water is warm (110°F), not hot, and find a warm, draft-free spot for rising.
