 Save
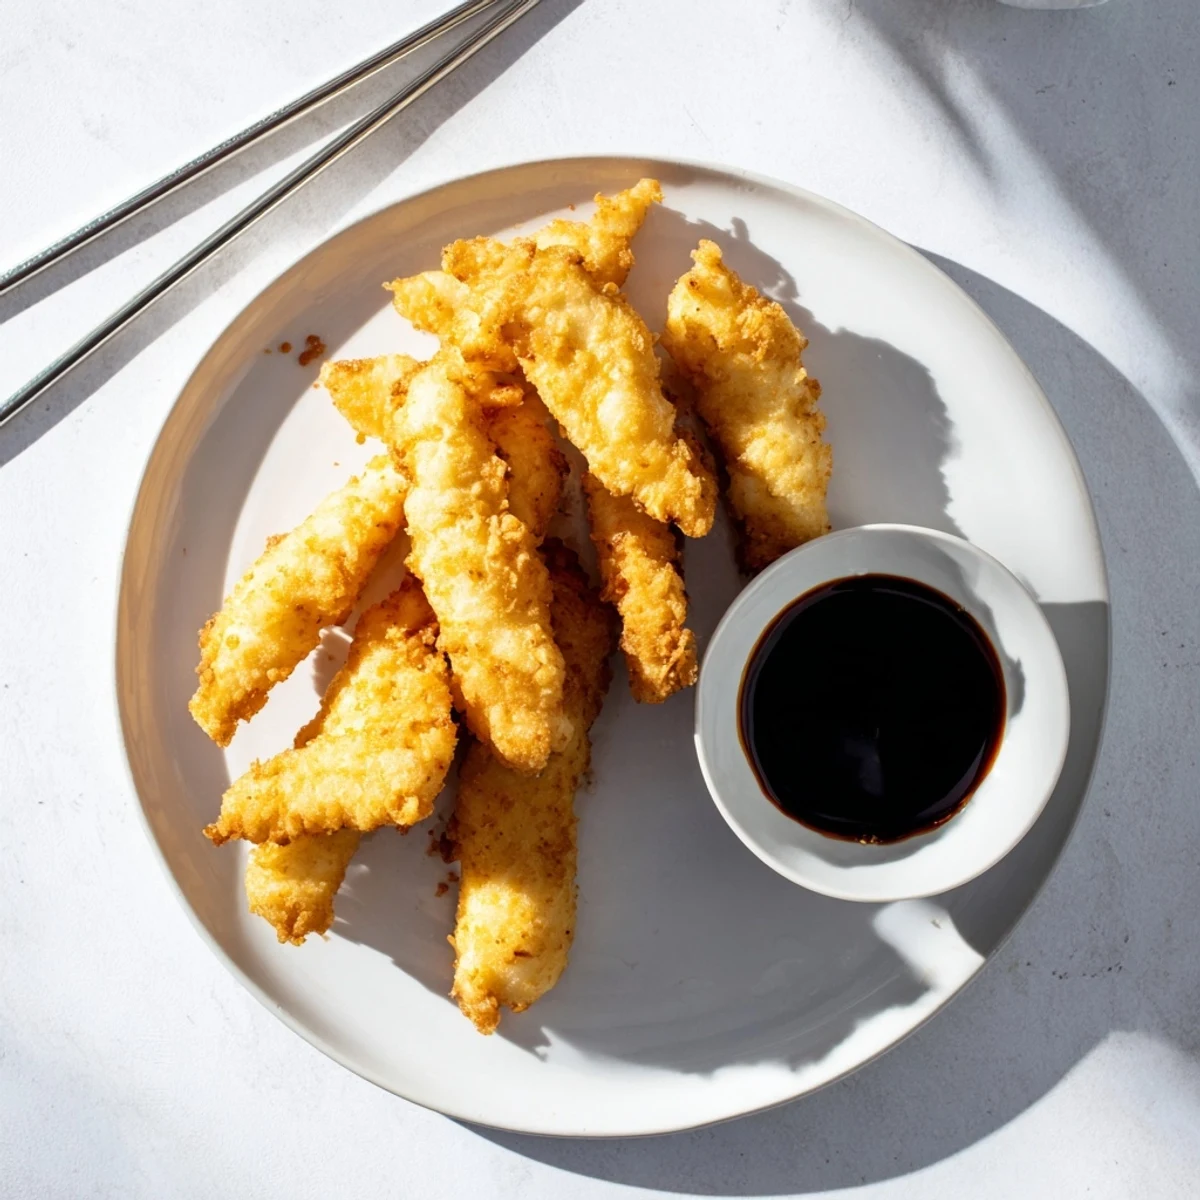
Save Create restaurant-quality Japanese tempura at home with these crispy battered chicken strips. The secret lies in ice-cold sparkling water and minimal mixing, creating an incredibly light and airy batter that fries up golden and crunchy. Each piece delivers satisfying texture while staying tender inside.
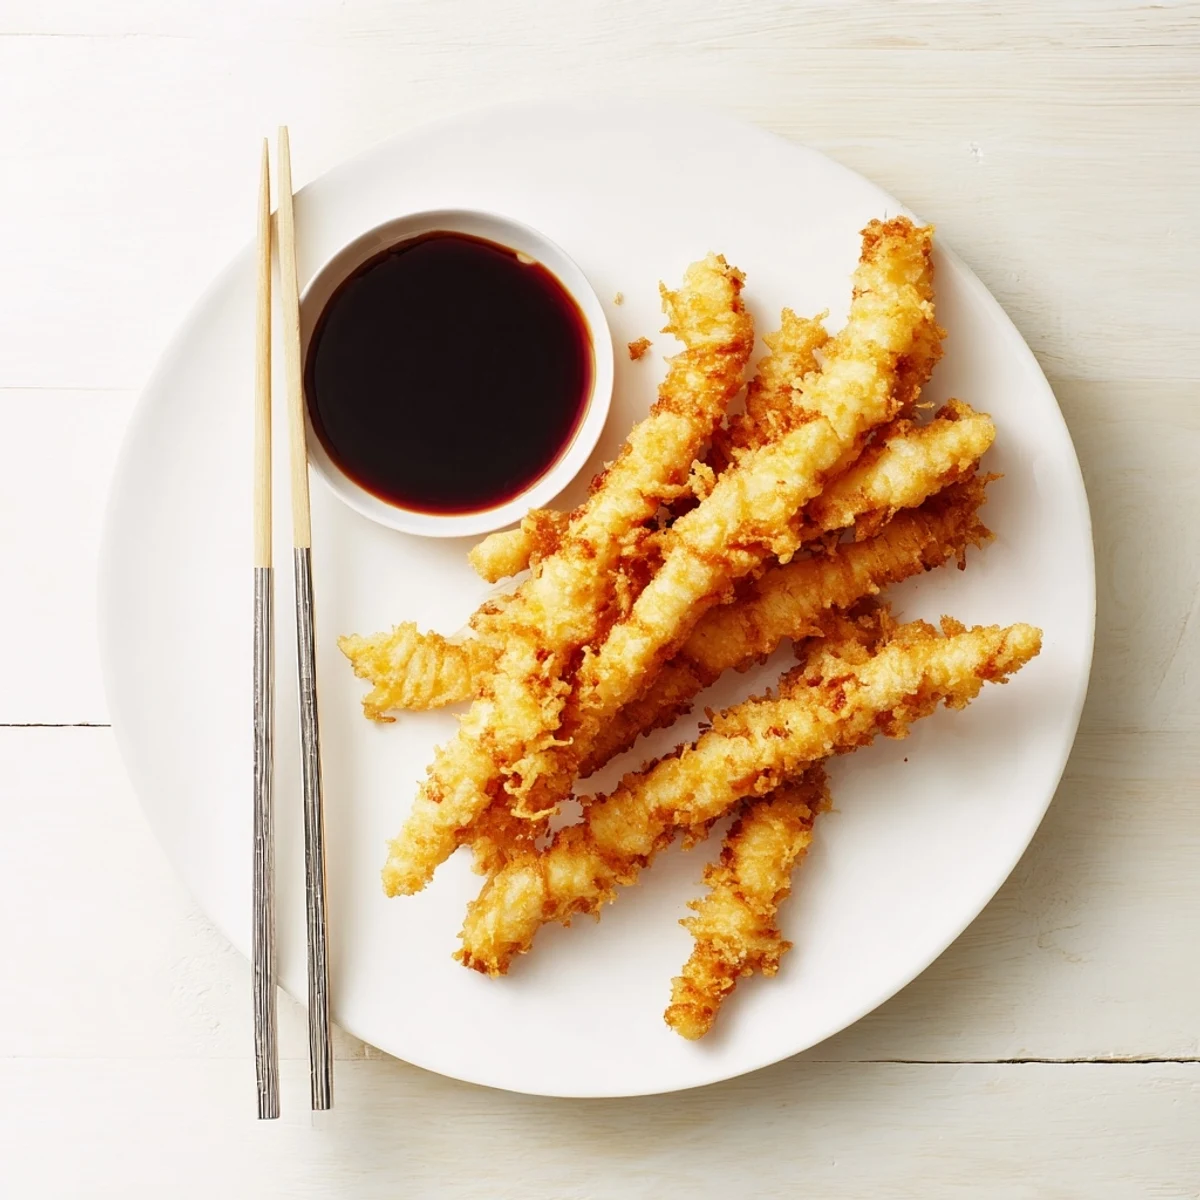
The accompanying dipping sauce balances salty soy, sweet mirin, and fresh ginger perfectly. Ready in just 35 minutes, this dish works beautifully as an appetizer or served over steamed rice for a complete meal. Keep your batter cold and don't overcrowd the pan for the crispiest results.
The first time I attempted tempura at home, I stood nervously over a pot of bubbling oil, questioning whether anyone could actually achieve that ethereal crunch outside a restaurant kitchen. Then came that first bite of shattering-crisp chicken, light as air and impossibly golden, and I realized the secret was simpler than I thought. Now it is my go-to when I want something that feels special but comes together in under an hour.
Last summer, my sister came over skeptical about homemade fried food, convinced only restaurants could get tempura right. She stood watching as I dipped each strip into that icy cold batter, her eyebrows raising when I told her the secret was in the bubbles. Later, she sat quietly dipping piece after piece into that tangy sauce, finally admitting this might be better than our favorite takeout spot.
Ingredients
- Boneless skinless chicken breasts: Cutting these into strips creates more surface area for that precious crispy coating
- All purpose flour and cornstarch: The cornstarch is what gives you that delicate shatter instead of a heavy breading
- Ice cold sparkling water: Those tiny bubbles are your secret weapon for the lightest batter imaginable
- Vegetable oil: You need enough depth so the chicken can swim freely without touching bottom
- Soy sauce and mirin: This classic Japanese duo creates that perfect salty sweet balance for dipping
Instructions
- Prep your chicken:
- Cut the breasts into thin strips, pat them thoroughly dry, and season with salt and pepper. Dry chicken means the batter actually sticks instead of sliding off into the oil.
- Mix the dry ingredients:
- Whisk together flour, cornstarch, and baking powder in one bowl while keeping your egg and sparkling water separate in another. Cold ingredients keep the batter from developing gluten, which would make it tough.
- Combine at the last minute:
- Pour the egg and sparkling water into the dry mix and stir briefly with chopsticks, leaving visible lumps. That slightly uneven texture is exactly what creates those crispy ridges everyone loves.
- Heat your oil:
- Bring your vegetable oil to 175°C (350°F), using a thermometer if you have one. If the oil is not hot enough, the chicken turns greasy; too hot and it burns before cooking through.
- Fry in batches:
- Dip each strip in batter, let excess drip off, then carefully lower into the hot oil. Cook for 3 to 4 minutes until golden, turning once, and never crowd the pan or the temperature will drop.
- Make the sauce:
- Combine soy sauce, mirin, rice vinegar, sugar, and ginger in a small saucepan, heating just until the sugar dissolves. Let it cool while the chicken fries.
- Drain and serve:
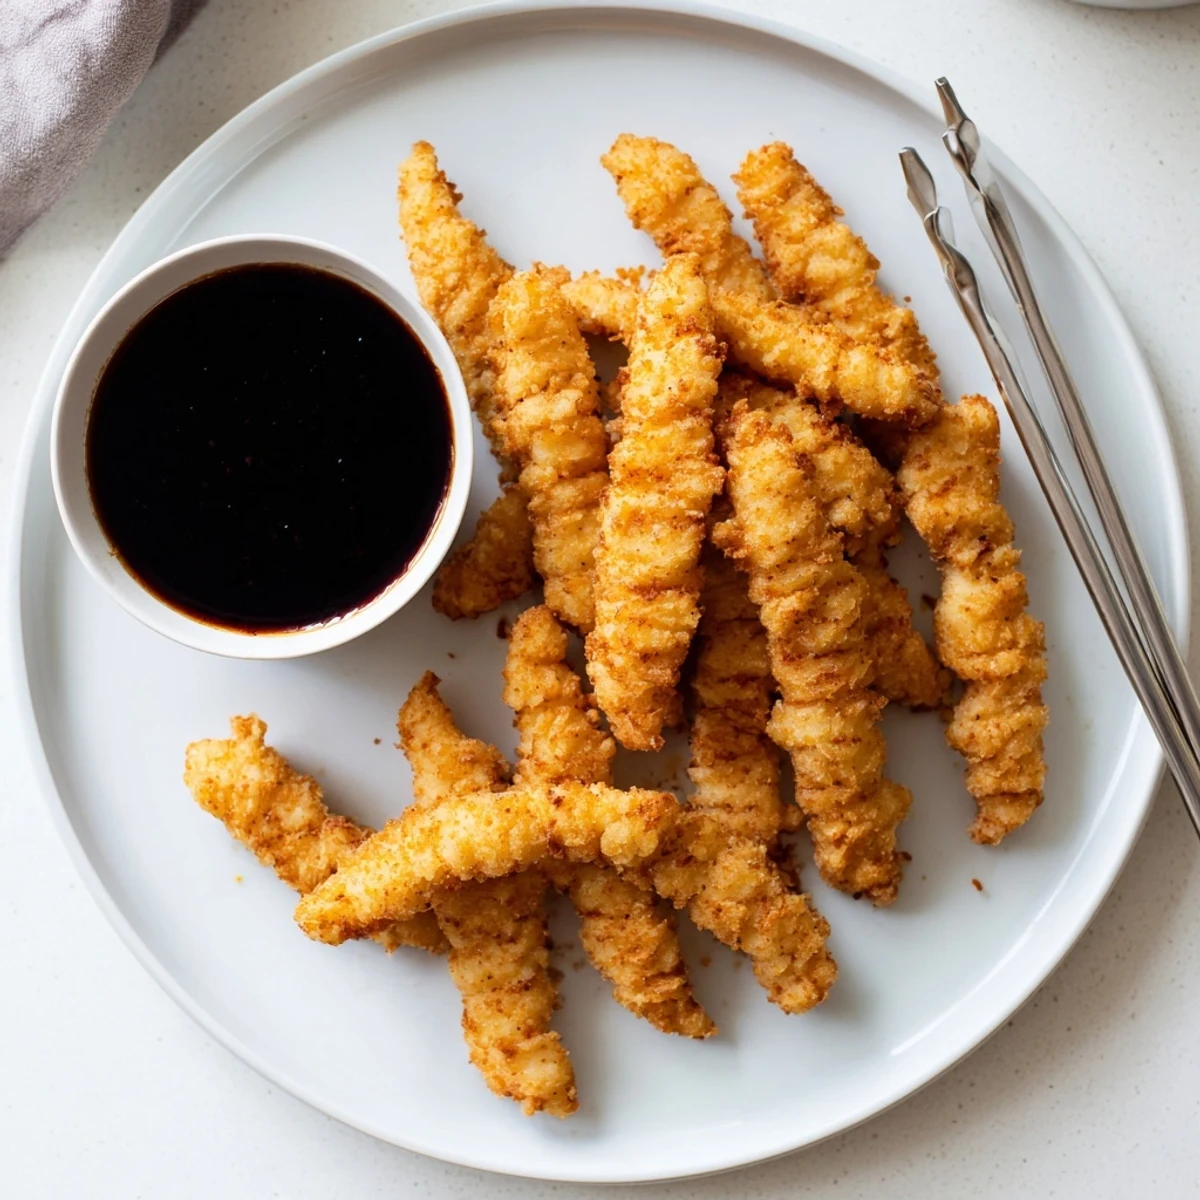
- Transfer finished pieces to a wire rack so they stay crispy on all sides, then serve immediately with that dipping sauce on the side.
 Save
Save My friend called me midpanic once, her first attempt turning out dense and oily, and I walked her through the exact moment she went wrong, probably mixing her batter too early. The next week she sent a photo of the most gorgeous golden pieces, saying her family had already requested it again for the weekend.
Keeping Things Crunchy
The difference between soggy and spectacular comes down to temperature control. Keep your batter ingredients ice cold until the moment they meet, and never let the oil temperature drop below 350°F while frying.
The Sauce Makes It Sing
That simple dipping sauce balances the rich fried chicken with bright acidity and just enough sweetness. Make it ahead so it has time to cool, letting the ginger infuse properly.
Making It Your Own
Once you master the technique, this batter works beautifully on shrimp, sweet potato, or even green beans. The method stays the same, just adjust your frying time based on what you are cooking.
- Slice vegetables slightly thinner than meat so they cook through before burning
- Set up a draining station before you start frying
- Never walk away from hot oil, not even for a second
 Save
Save There is something deeply satisfying about pulling that first batch from the oil, still sizzling, and knowing you created restaurant quality food in your own kitchen.
Recipe FAQs
- → What makes tempura batter crispy?
-
The key to crispy tempura is using ice-cold sparkling water and mixing the batter minimally. The carbonation creates air bubbles while keeping the batter cold prevents gluten development, resulting in a lighter, crispier coating.
- → Can I use regular water instead of sparkling water?
-
While regular water works, sparkling water creates a lighter, airier batter due to carbonation. For the crispiest results, stick with ice-cold sparkling water and avoid overmixing the batter.
- → What oil temperature is best for frying tempura?
-
Heat your oil to 175°C (350°F) for optimal frying. This temperature ensures the chicken cooks through before the coating becomes too dark while achieving maximum crispiness.
- → How do I prevent soggy tempura?
-
Keep the batter ice-cold, fry in small batches to avoid overcrowding, and drain cooked pieces on a wire rack rather than paper towels. This allows air circulation and prevents steam from making the coating soggy.
- → Can I make this ahead of time?
-
Tempura is best served immediately for maximum crispiness. You can prepare the chicken and sauce ahead, but fry just before serving. Leftovers can be reheated in a 200°C oven for 5-10 minutes to restore some crunch.
- → What else can I fry with this batter?
-
This versatile batter works beautifully with shrimp, vegetables like sweet potato, zucchini, or bell peppers, and even firm tofu. Adjust frying times based on the ingredient's thickness and density.
