 Save
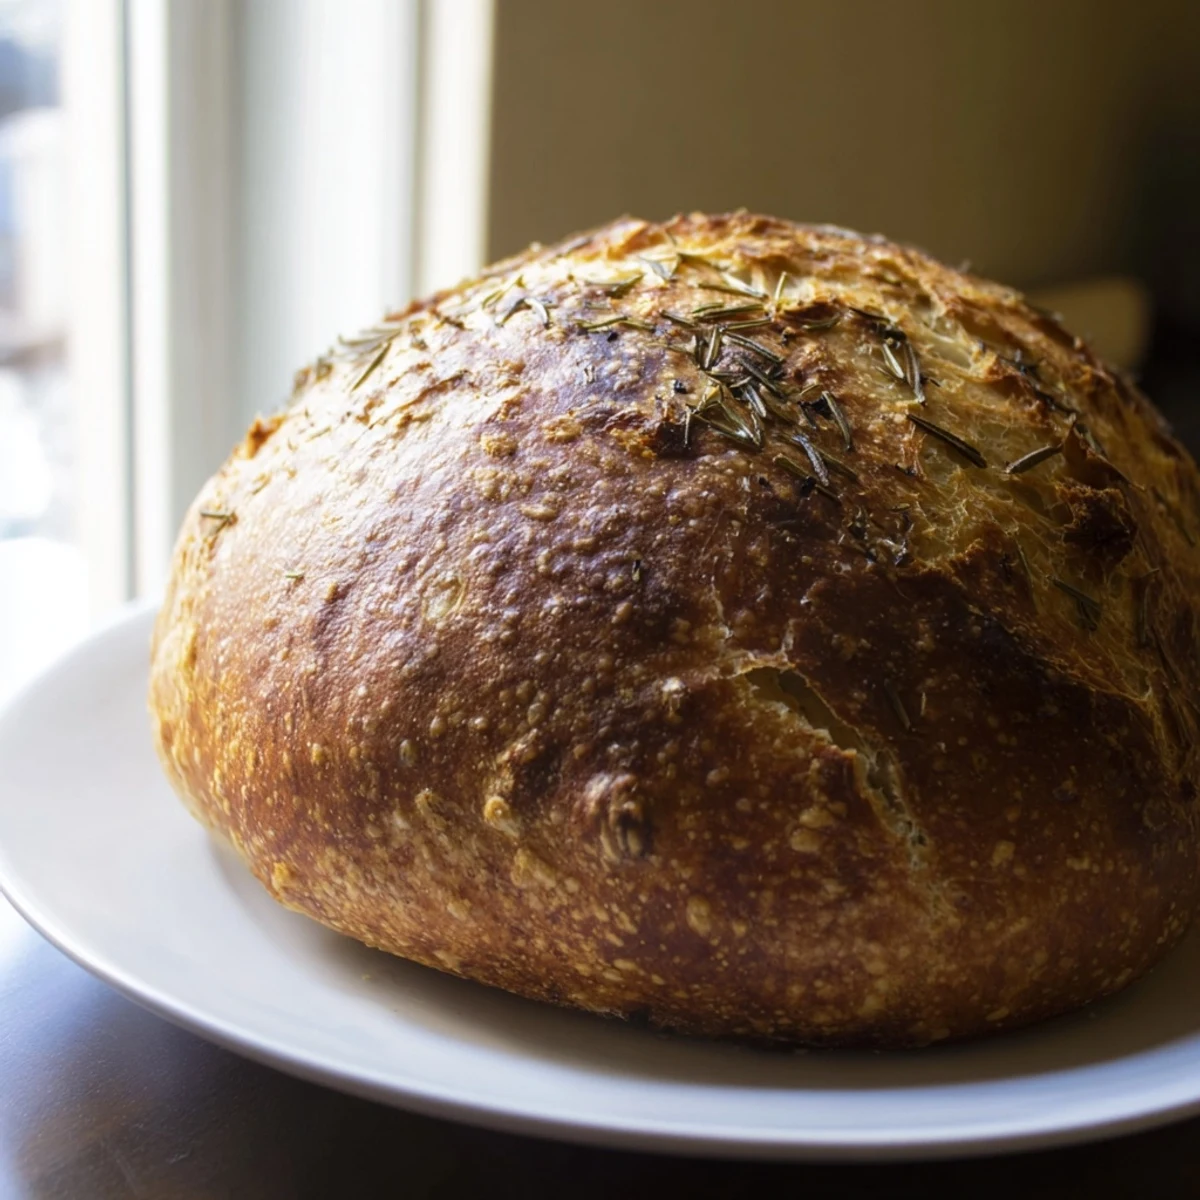
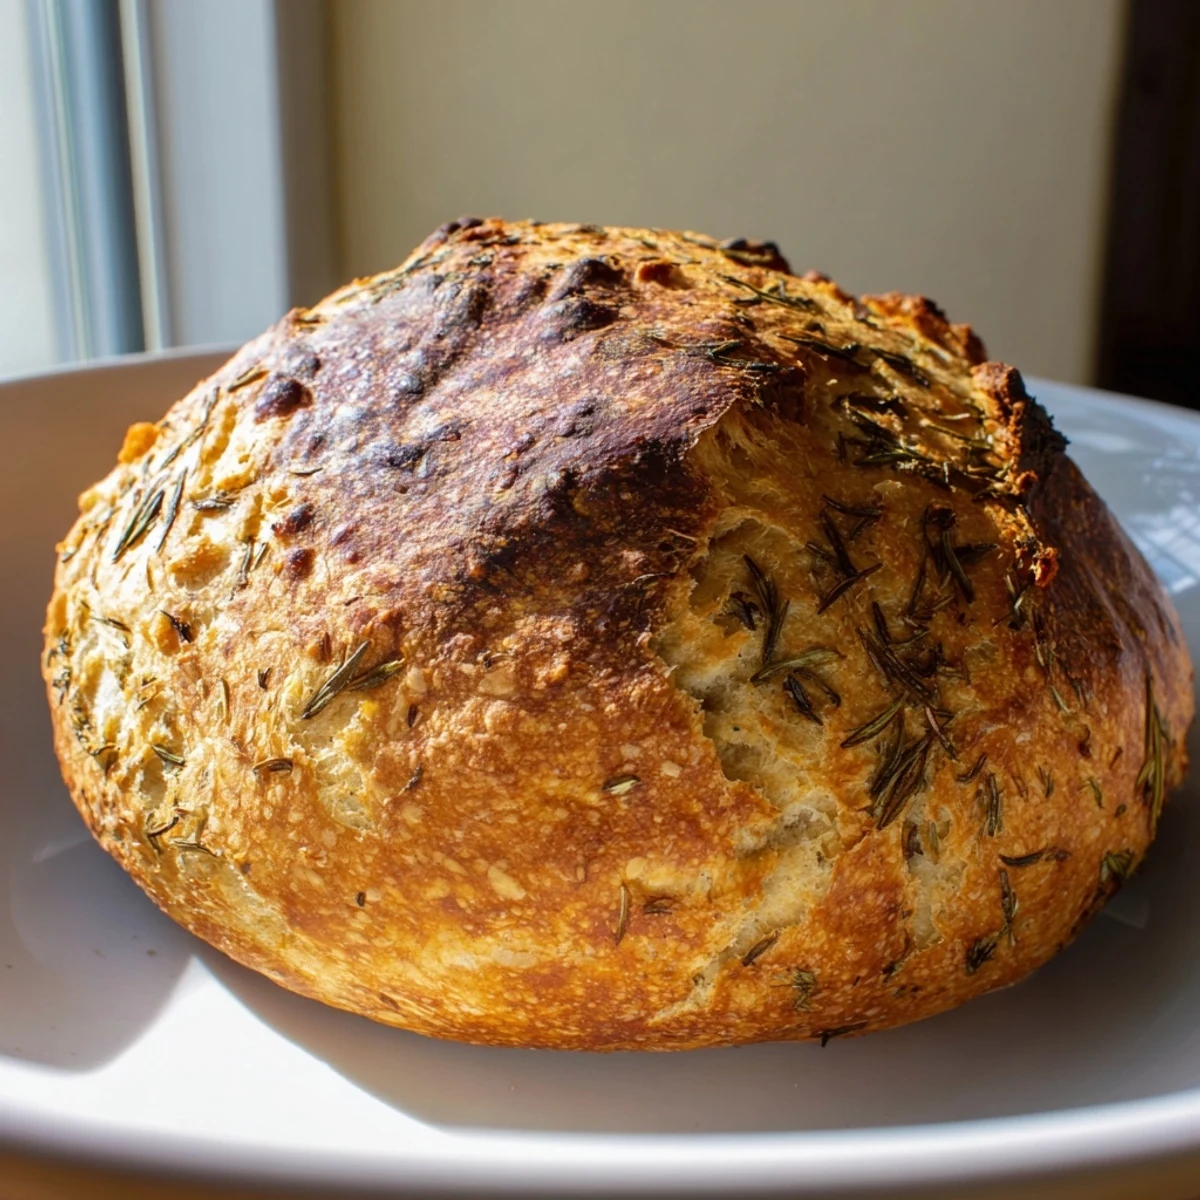
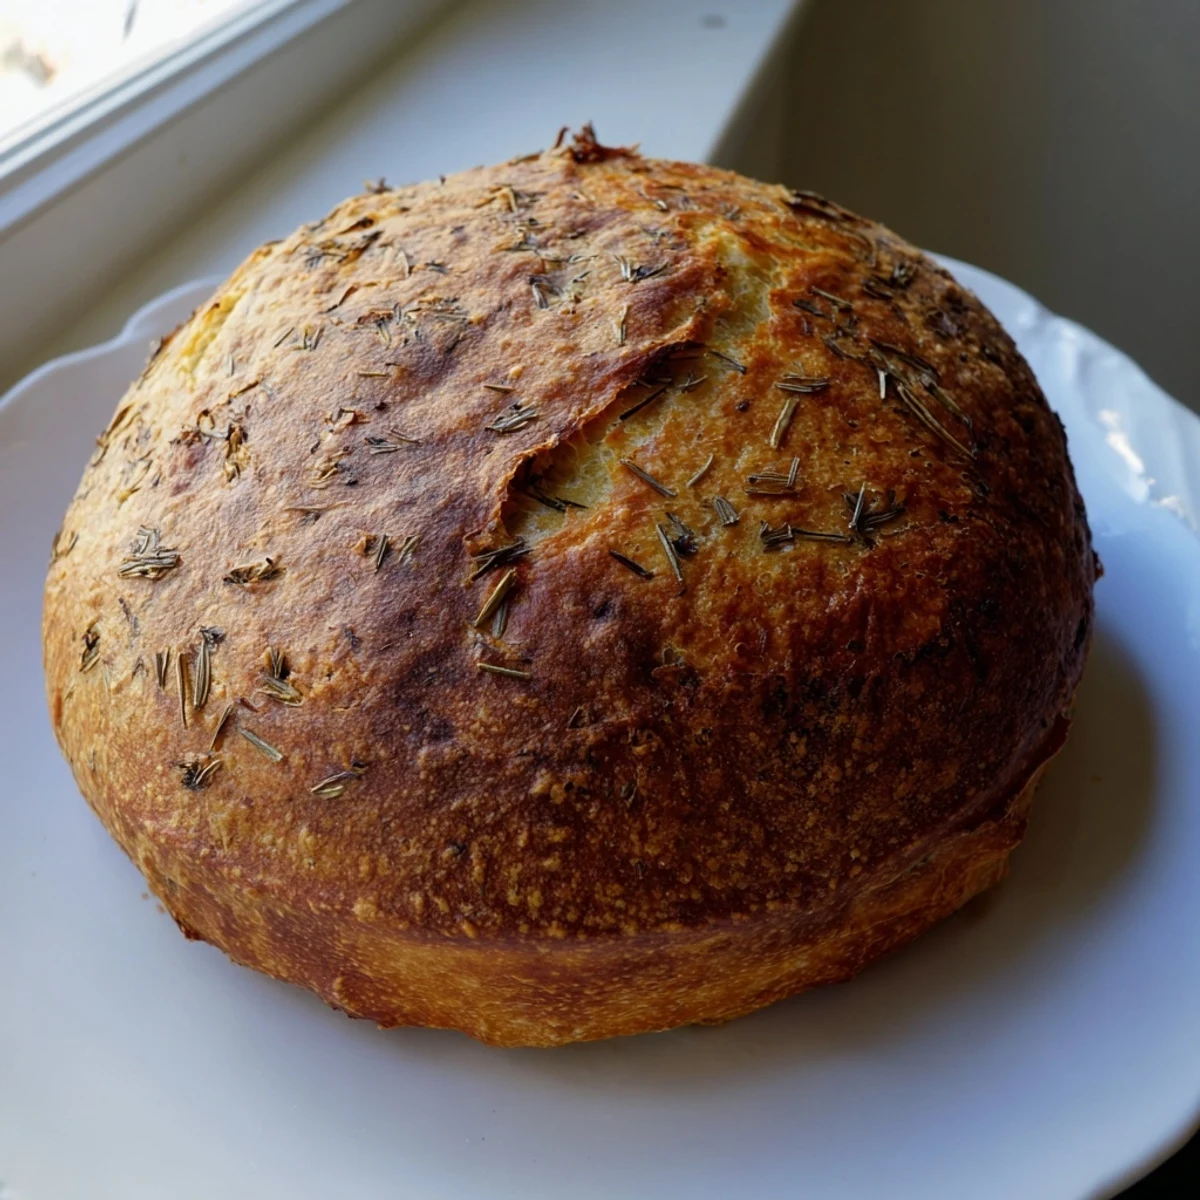
Save Craft a stunning European-style loaf with minimal effort. This dough develops deep flavor through a long rise, while the Dutch oven creates professional bakery results with an irresistibly crackling crust. Fresh garlic and rosemary weave throughout each tender slice, delivering rustic warmth to your table.
My tiny apartment kitchen smelled like an Italian grandmother's house the first time I made this bread. The garlic hit the hot Dutch oven and filled every corner of the room. My roommate came out of her bedroom asking what restaurant I'd ordered from, genuinely shocked when I pulled this golden beauty out of the oven. That was the moment I understood the magic that happens when simple ingredients meet intense heat.
I brought this loaf to my sister's house last autumn, still warm from the oven. Her husband, usually polite but indifferent about homemade bread, kept coming back to the kitchen for just one more slice. We stood around the island tearing off pieces with our hands, ignoring the fancy serving bowls she'd set out. Something about breaking bread together, literally and figuratively, turns a regular dinner into a gathering.
Ingredients
- Bread flour: Higher protein content gives this loaf its satisfying chew and structure
- Fine sea salt: Coarser salt wont distribute evenly through the dough, so reach for the fine stuff
- Active dry yeast: Keep it fresh and at room temperature for the most reliable rise
- Lukewarm water: Think bathwater temperature, about 100°F, to wake up the yeast without killing it
- Olive oil: Adds subtle richness and helps the crust develop that gorgeous golden color
- Fresh garlic: Minced finely so it disperses throughout the crumb rather than clumping
- Fresh rosemary: Woodier stems removed, leaves chopped small to avoid tough bits in your bread
- Extra flour for dusting: Prevents sticking during shaping and creates a professional looking finished loaf
Instructions
- Combine the dry foundation:
- Whisk flour, salt, and yeast in a large bowl until everything feels uniformly blended and you catch the faint earthy scent of rosemary
- Build the dough:
- Pour in the lukewarm water and olive oil, stirring with a wooden spoon until the flour transforms into a shaggy, sticky mass that holds together in loose clumps
- Fold in the aromatics:
- Add the minced garlic and chopped rosemary, using your hands to gently fold and press until the bits are evenly distributed throughout the dough
- Let it work its magic:
- Cover the bowl and leave it alone for 2 to 3 hours, watching it bubble up and double in size like its breathing
- Shape with intention:
- Turn the risen dough onto a floured surface and use floured hands to gently tuck the edges underneath until you form a tight, smooth ball
- Prepare for the oven:
- Set the dough seam side down on parchment paper, cover loosely, and let it puff up again for 30 to 45 minutes while you preheat your Dutch oven at 450°F
- Create the steam environment:
- Carefully transfer the dough, parchment and all, into the screaming hot Dutch oven and immediately cover with the heavy lid
- Bake covered first:
- Keep the lid on for 30 minutes to trap steam and build that dramatic oven spring that makes artisan bread so beautiful
- Reveal the crust:
- Remove the lid and bake another 12 to 15 minutes until the crust turns a deep golden brown and sounds hollow when you tap the bottom
- Patience pays off:
- Let the bread cool on a wire rack for at least 20 minutes, because cutting into hot bread ruins the texture and steams the crust soft
 Save
Save This bread became my go to host gift after that first successful batch. Theres something profoundly satisfying about handing someone a loaf you created with your own hands, still carrying residual warmth from the oven. Every time I make it now, I think about all the kitchens and tables it has graced, all the conversations started over torn pieces shared between friends.
Getting That Perfect Crust
The secret to restaurant style crust at home is all about steam and temperature shock. When you cover the Dutch oven, you create a miniature steam bath that keeps the surface moist while the interior rapidly expands. Removing the lid for those final minutes dries out the exterior and triggers the Maillard reaction, turning the surface golden and creating that irresistible crackle when you bite into it.
Timing Your Dough
Ive learned through many failed attempts that this dough is surprisingly forgiving about timing. Sometimes I let it rise for three hours because I got distracted folding laundry. Other times I have to rush the second rise because guests are arriving. The bread always comes out edible, even if the crumb structure varies. Bread baking is about learning to work with the doughs personality, not forcing it into your schedule.
Serving Suggestions
Slice this bread thick and serve it alongside olive oil for dipping, or use it as the foundation for the most incredible garlic bread you have ever tasted. The next day, try slicing it extra thin, brushing with olive oil, and toasting until crisp for crostini that puts store bought versions to shame.
- Tear chunks directly into your soup bowl
- Toast leftover slices and top with ripe avocado and sea salt
- Use day old bread to make the most decadent bread pudding
 Save
Save There is nothing quite like the sound of a freshly baked loaf crackling as it cools on the counter. Make this bread once and it will become a permanent fixture in your kitchen rotation.
Recipe FAQs
- → Why use a Dutch oven for bread?
-
The Dutch oven traps steam during baking, creating the perfect environment for a crackling crust and impressive oven spring. It mimics professional steam-injected ovens, giving your loaf that bakery-quality appearance and texture.
- → Can I use dried rosemary instead of fresh?
-
Yes, substitute with 2 teaspoons of dried rosemary. Add it directly to the dry ingredients with the flour. The flavor will be slightly more concentrated, so you might prefer starting with 1½ teaspoons.
- → How do I know when the bread is done?
-
The crust should be a deep golden brown color. Tap the bottom—if it sounds hollow, your loaf is ready. An instant thermometer inserted into the center should read between 190-200°F (88-93°C).
- → Can I make this dairy-free?
-
This loaf is naturally dairy-free. The only fat comes from olive oil, making it suitable for those avoiding dairy. Always double-check your bread flour label to ensure no cross-contamination if you have severe allergies.
- → How should I store leftovers?
-
Wrap the cooled loaf in a clean kitchen towel or paper bag to maintain the crust texture. Avoid plastic bags, which make the crust soft. Use within 2 days, or slice and freeze for up to 3 months—toast directly from frozen.
