 Save
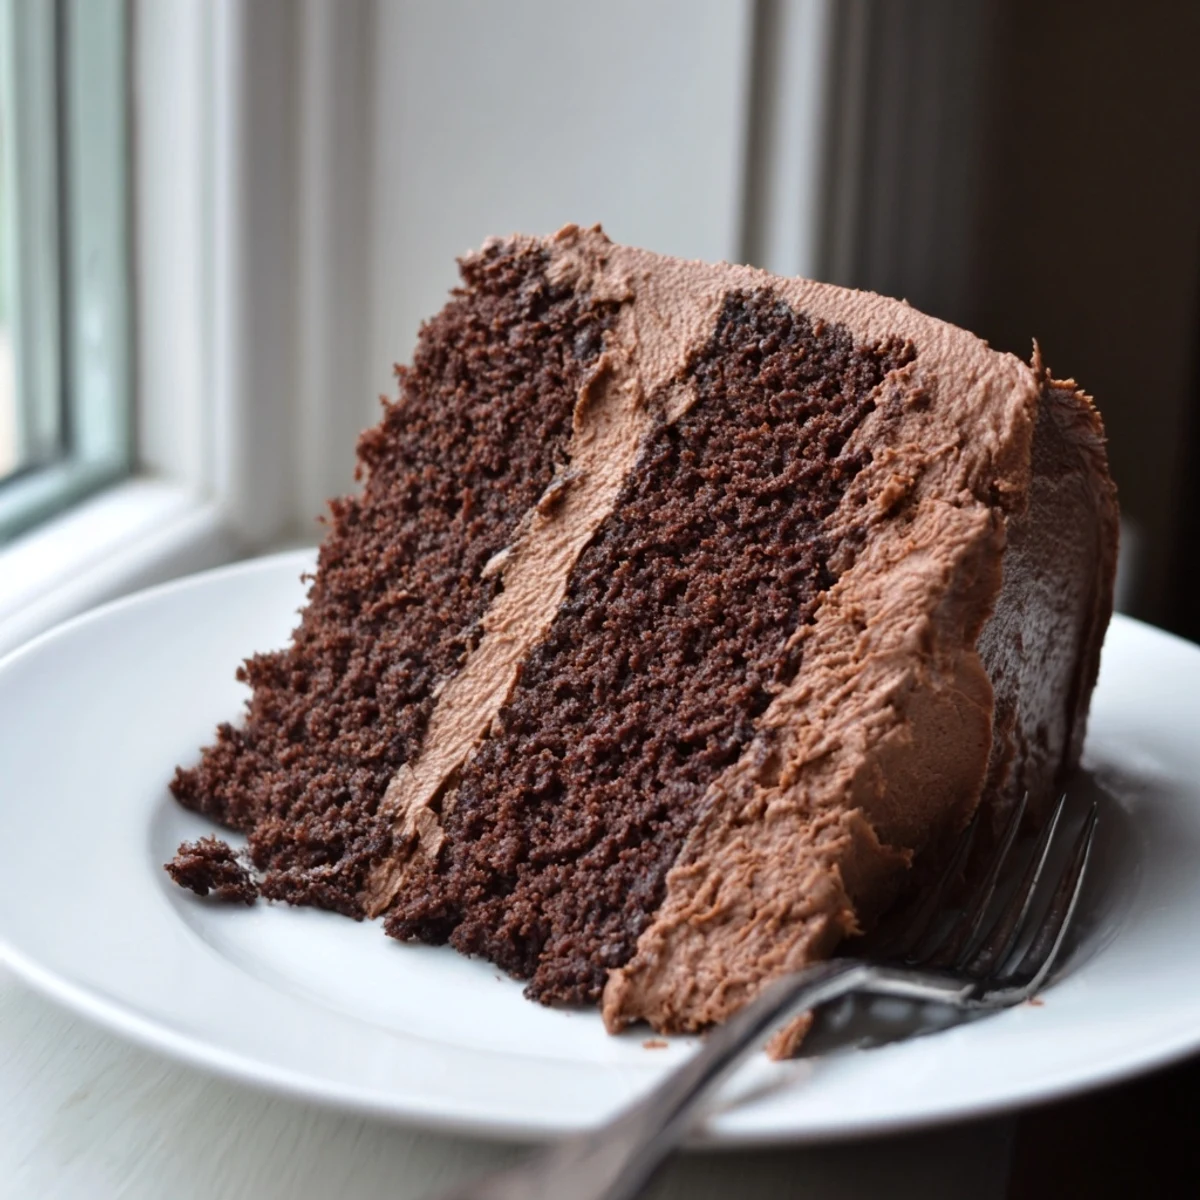
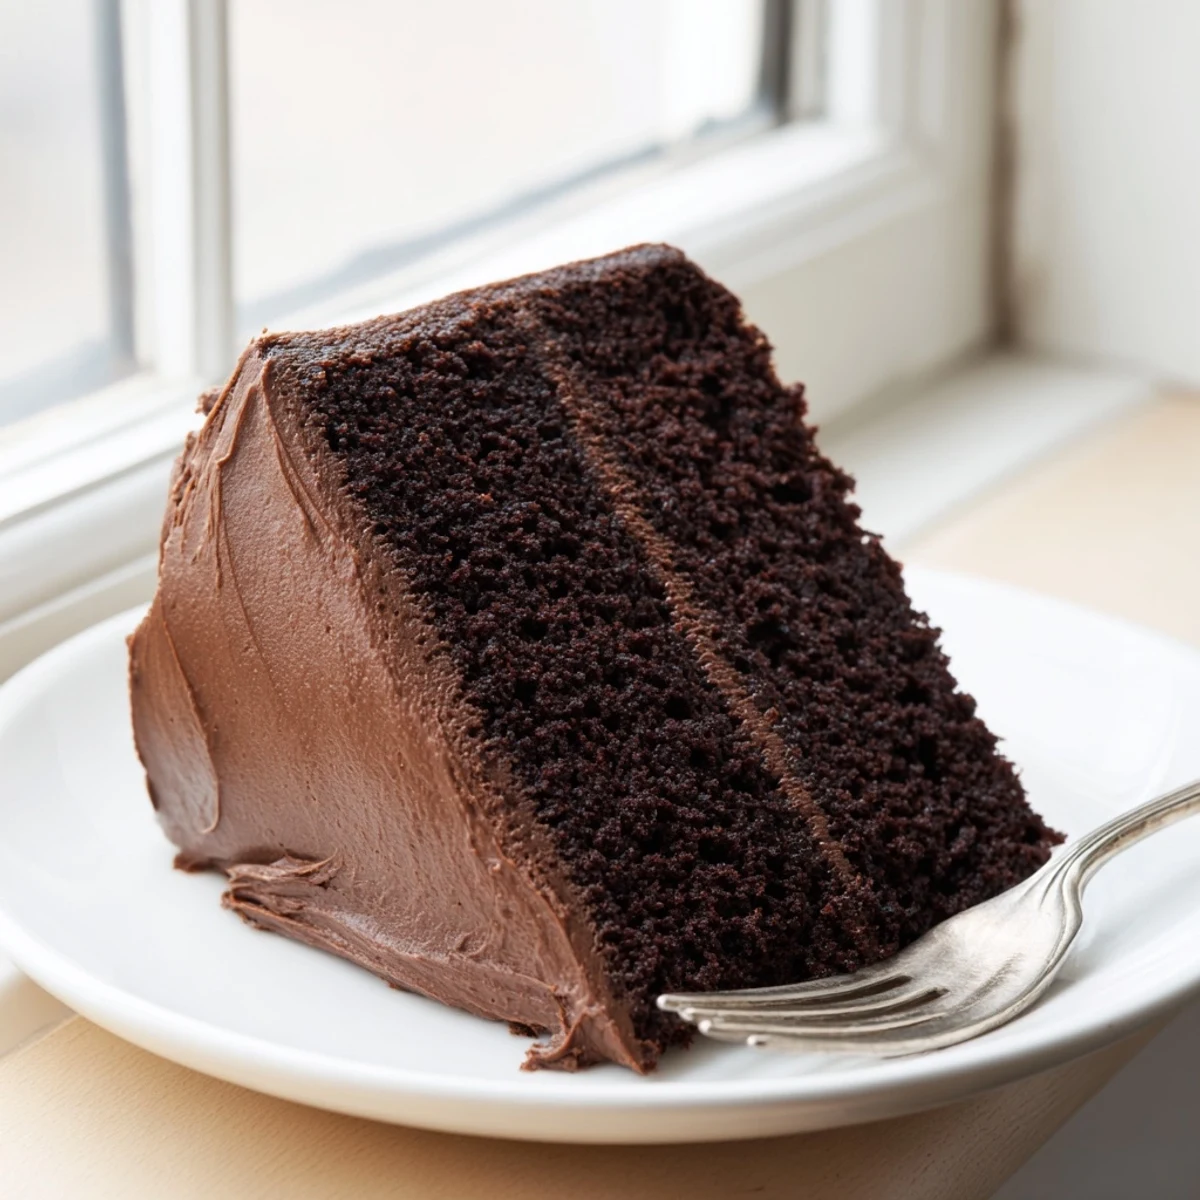
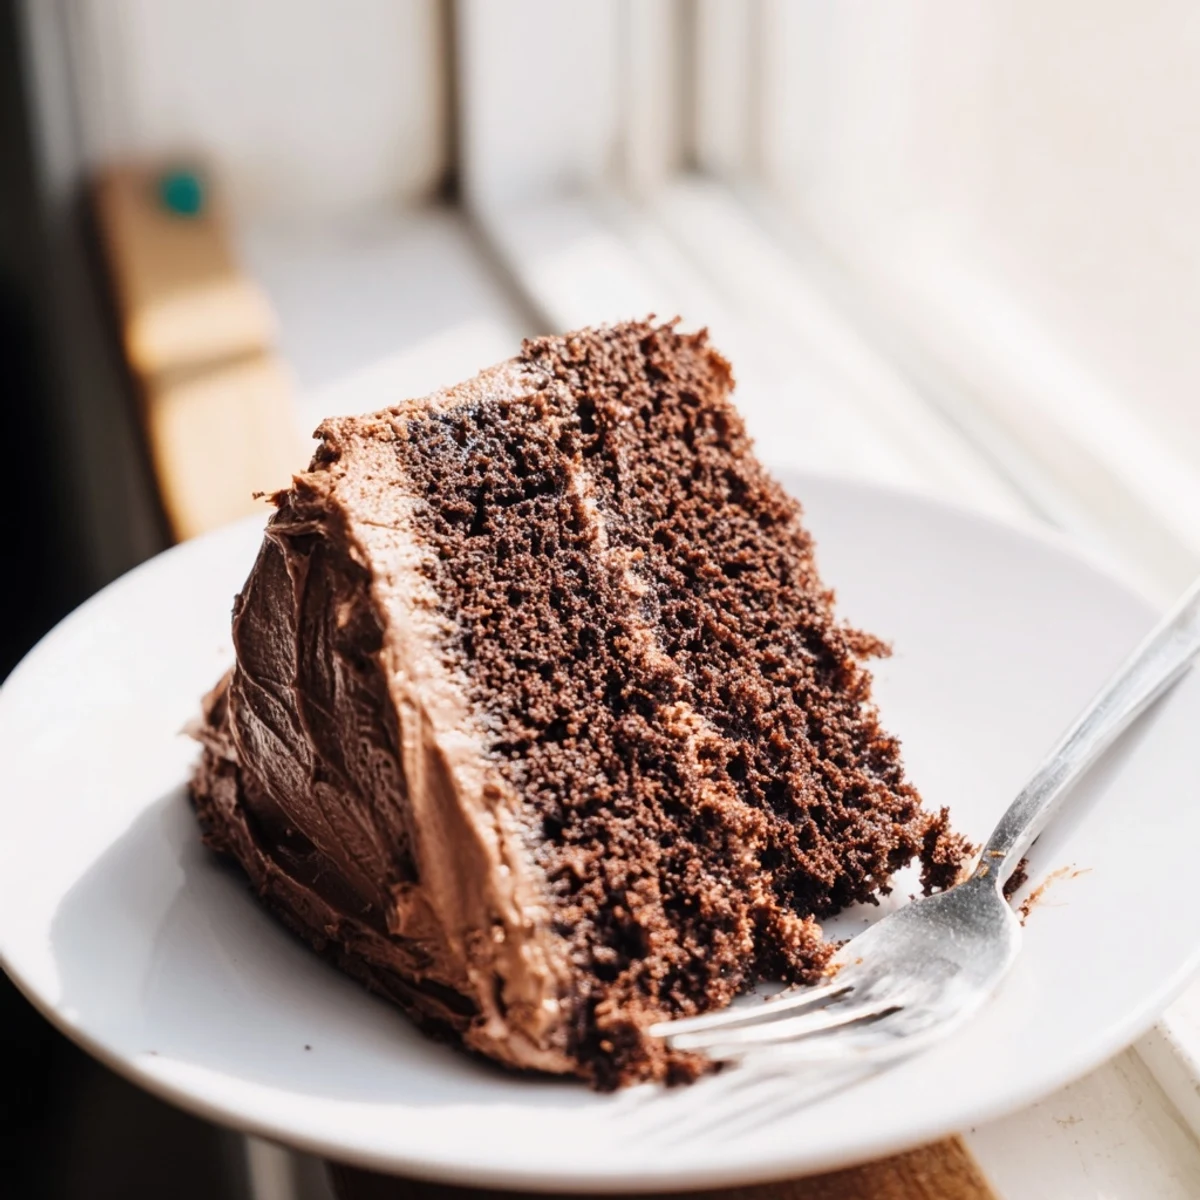
Save Create this stunning two-layer chocolate cake that delivers rich, decadent flavor in every bite. The batter combines premium cocoa with boiling water for exceptional moisture, while the whipped buttercream frosting adds luxurious creaminess. Ideal for birthdays, holidays, or any special gathering deserving a homemade touch.
The chocolate cake sat on my grandmother's counter like a dark promise, the smell of cocoa and butter filling every corner of her tiny kitchen. I was eight years old, standing on a step stool, watching her fold boiling water into what looked like impossibly thin batter. 'That's the secret,' she whispered, 'the water makes it mad at first, then it forgives you and becomes something extraordinary.' That cake disappeared faster than anything she ever made, and I've spent decades trying to recreate that moment of kitchen magic.
Last winter, my neighbor Sarah knocked on my door at 7pm with tears in her eyes. Her daughter's birthday was the next day, the bakery had cancelled, and she was spiraling. We spent three hours in my kitchen, flour dusting our hair, cocoa staining our fingers, talking about everything and nothing while this cake baked. The look on that girl's face when she saw those two dark, glossy layers the next morning—that's what this recipe is really about.
Ingredients
- All-purpose flour: The structural backbone that holds all that chocolate ambition together
- Granulated sugar: Dont skimp here—the sweetness balances the intense cocoa bitterness
- Unsweetened cocoa powder: Dutchprocessed gives the deepest color and most sophisticated chocolate flavor
- Baking powder and baking soda: This doubleacting team ensures the cake rises beautifully and stays tender
- Salt: A crucial pinch that makes chocolate taste more like itself
- Large eggs: Room temperature eggs incorporate better and create a more uniform crumb
- Whole milk: The fat content matters for moisture and tenderness
- Vegetable oil: Keeps the cake moist for days unlike butter which can firm up when chilled
- Pure vanilla extract: The unsung hero that amplifies every other flavor in the cake
- Boiling water: The startling secret that blooms the cocoa and creates that signature glossy batter
- Unsalted butter: Softened to room temperature—this is nonnegotiable for silky frosting
- Powdered sugar: Sift it twice or accept your fate with lumpy frosting
- Whole milk: Add this gradually to reach your perfect spreading consistency
Instructions
- Get your oven ready:
- Preheat to 175°C and butter your cake pans like your life depends on it, lining the bottoms with parchment paper for insurance
- Whisk the dry team:
- Sift flour, sugar, cocoa, baking powder, baking soda, and salt into a large bowl—this aeration step is worth the extra dish
- Add the wet players:
- Pour in eggs, milk, oil, and vanilla, beating until the batter transforms into something smooth and hopeful
- The water moment:
- Slowly stream in boiling water while mixing, watching the batter thin out dramatically—trust the process
- Distribute the love:
- Divide between your prepared pans, tapping them gently on the counter to release any trapped air bubbles
- Bake until perfect:
- Slide into the oven for 3035 minutes, checking at 30—a toothpick should emerge with just a few moist crumbs
- The patience phase:
- Cool in pans for exactly 10 minutes, then turn out onto wire racks to cool completely before you even think about frosting
- Make the magic frosting:
- Beat butter until creamy, sift in powdered sugar and cocoa, then add vanilla and salt
- Find your consistency:
- Add milk one tablespoon at a time until the frosting spreads like a dream and holds gentle peaks
- Assembly time:
- Place one layer on your serving plate, spread generously with frosting, then crown with the second layer
- The finish:
- Frost the top and sides with an offset spatula, making it look rustic or pristine depending on your mood
 Save
Save My brother called me from college last week, asking for this recipe. 'I need to make something that says I'm doing okay,' he said. That's the thing about this cake—it carries emotions in its layers. It's not just flour and sugar and chocolate. It's the way the kitchen smells when it's baking, the ceremony of frosting it, the first quiet slice when nobody's watching.
Making It Your Own
I've learned that recipes are suggestions, not commandments. Sometimes I add espresso powder to deepen the chocolate flavor. Other times I fold in chocolate chips like the original notes suggest, creating little pockets of intensity. Once I added raspberry jam between the layers and it was spectacular—sweet and tart cutting through all that richness.
The Frosting Game
Frosting a cake for the first time feels impossible, but here's what nobody tells you: it doesn't need to be perfect. In fact, the slightly imperfect cakes are the ones people reach for first. Do a crumb coat first—a thin layer of frosting to seal in the loose crumbs, chill for 15 minutes, then add your final layer. This trick changed everything for me.
Storage and Serving
This cake actually gets better on day two, as if the flavors need time to really get to know each other. Store it under a cake dome at room temperature—the refrigeration makes the texture firm in a way I don't love. If you must refrigerate, bring it to room temperature before serving.
- Warm the slices for 20 seconds in the microwave—it's borderline lifechanging
- A scoop of vanilla ice cream turns this into dinner, or so I tell myself
- This cake freezes beautifully for up to three months if wrapped well
 Save
Save Some days you just need cake, and this is the one you want waiting for you.
Recipe FAQs
- → What makes this cake so moist?
-
The secret ingredient is boiling water added to the batter, which creates a glossy texture and ensures the cake stays incredibly moist even after baking. The oil also contributes to the tender crumb.
- → Can I make this cake in advance?
-
Yes! The cake layers can be baked and frozen for up to 3 months before frosting. Once frosted, the cake keeps well at room temperature for 2-3 days or refrigerated for up to a week.
- → How do I know when the cake is done?
-
Insert a toothpick into the center of the cake. If it comes out clean or with just a few moist crumbs, the cake is ready. The top should spring back when gently pressed.
- → Can I make this dairy-free?
-
Absolutely. Substitute the whole milk with almond, oat, or soy milk, and use a plant-based butter or margarine for the frosting. The texture remains delicious and the flavor stays rich.
- → Why is the batter so runny?
-
The boiling water creates a thin batter, which is completely normal and necessary for this method. It activates the cocoa powder and ensures the final cake is exceptionally moist and tender.
- → How should I store leftovers?
-
Keep the frosted cake in an airtight container or cover with a cake dome at room temperature for 2-3 days. For longer storage, refrigerate for up to a week or freeze individual slices.
