 Save
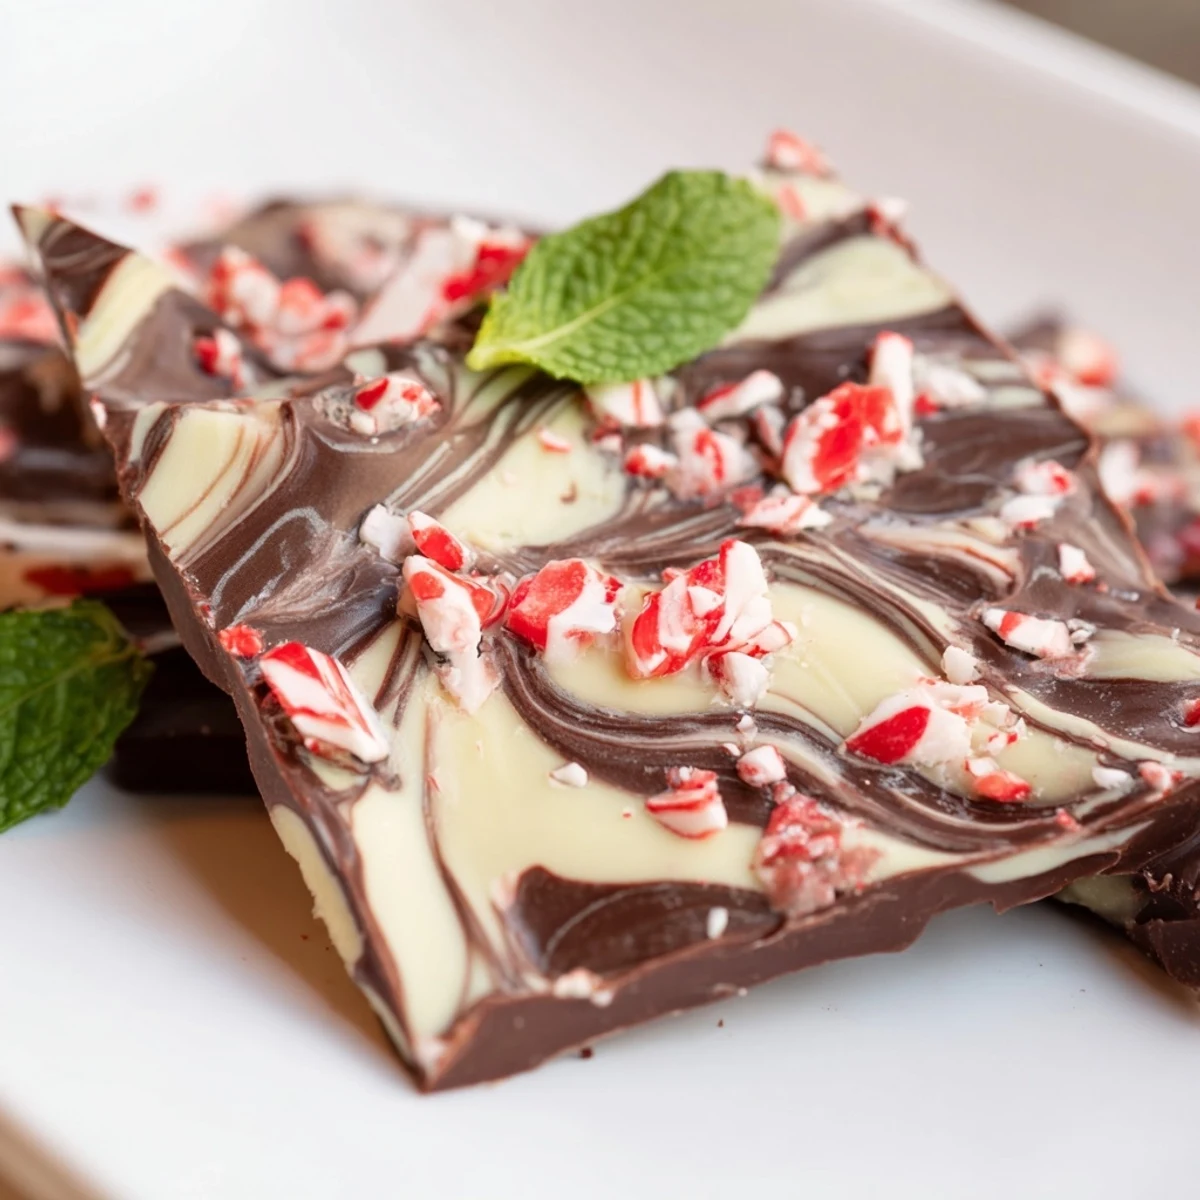
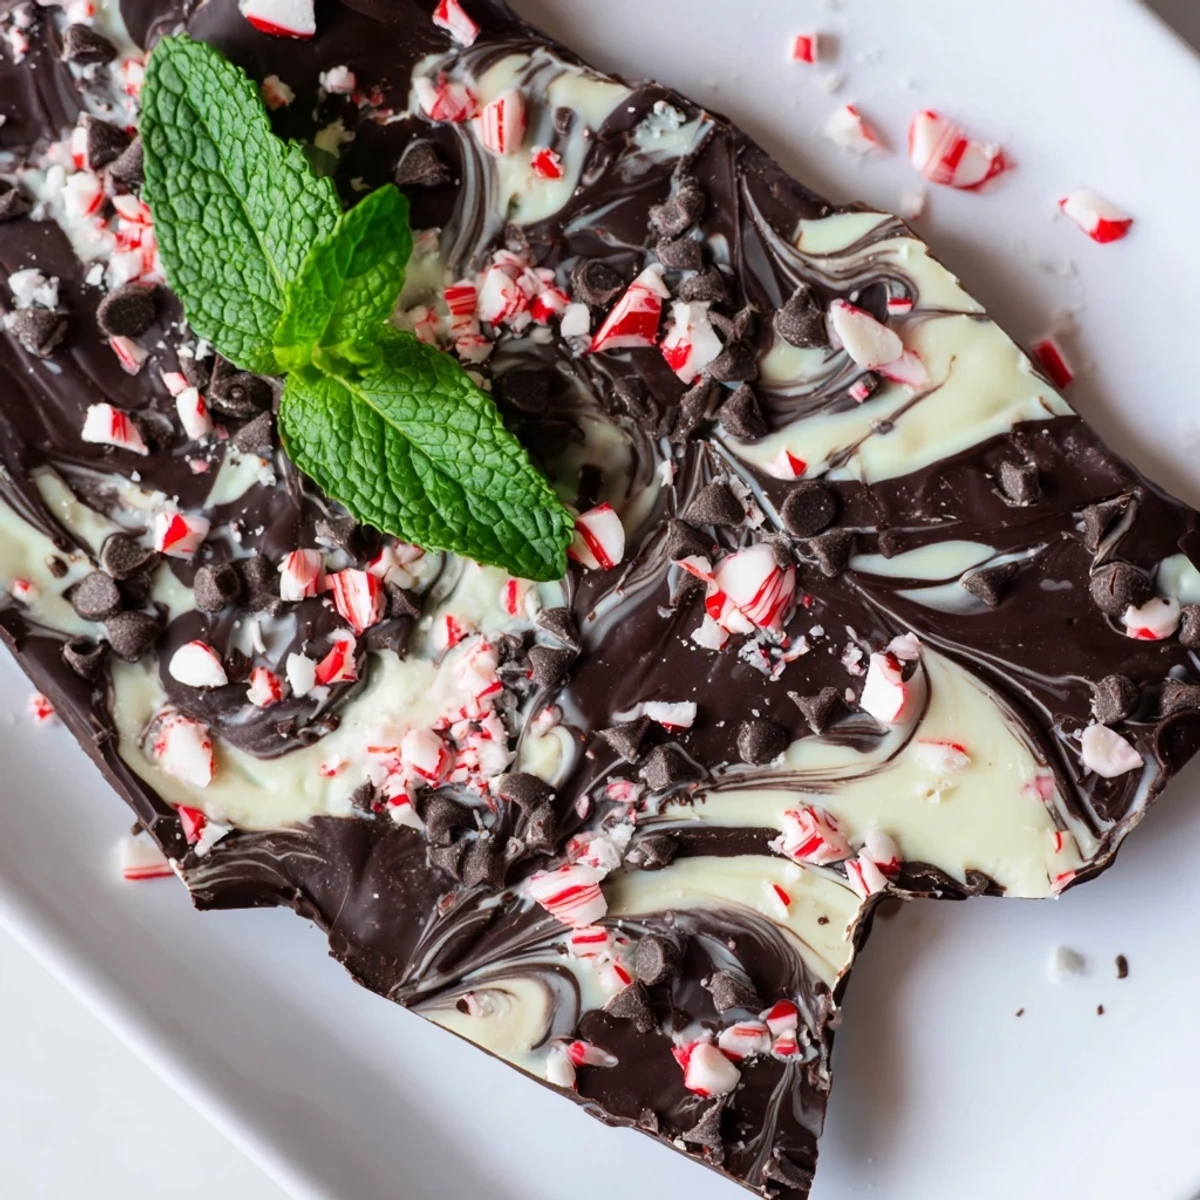
Save This mint chocolate bark blends smooth dark chocolate with refreshing peppermint and creamy white chocolate swirls. Quick to prepare and chilled to set, the final treat bursts with cool mint flavor accented by optional crushed peppermint candies and mini chocolate chips. Perfect for gifting or holiday snacking, it’s a delightful balance of rich cocoa and fresh mint that can be stored for weeks.
The first time I attempted chocolate bark, I ended up with a sad, thin layer that snapped into nothingness when I tried to package it for gifts. My sister kindly ate the evidence and suggested I try again with proper technique. Now this mint chocolate version has become my holiday go-to, and Ive learned that patience during the swirling step makes all the difference between something that looks homemade and something that looks artisanal.
Last December, my neighbor knocked on my door just as I was finishing a batch. The smell of melting chocolate had drifted through our shared wall. She ended up staying for coffee and we devoured half the tray while discussing gift wrapping ideas. Now I always make a double batch, knowing some will disappear before it even reaches the gift bags.
Ingredients
- Dark or semisweet chocolate: Chopping from bars gives better melting consistency than chips, which contain stabilizers that can affect the final texture
- White chocolate: Real white chocolate with cocoa butter melts more smoothly than white chips, though chips work in a pinch
- Peppermint extract: A little goes a long way, so start with the recommended amount and taste before adding more
- Crushed peppermint candies: Press these gently while the chocolate is still warm so they adhere without sinking
- Mini chocolate chips: These add delightful texture contrast against the smooth bark
Instructions
- Prepare your workspace:
- Line a baking sheet with parchment paper, ensuring it covers the entire surface and slightly up the sides to contain any runaway chocolate
- Melt the dark chocolate:
- Use a double boiler or microwave in short bursts, stirring frequently until completely smooth and glossy
- Add the mint:
- Stir in the peppermint extract immediately after removing from heat, ensuring its fully incorporated
- Spread the base layer:
- Pour onto prepared pan and use an offset spatula to create an even rectangle, about 1/4 inch thick, working quickly before it begins to set
- Melt the white chocolate:
- Use the same gentle method, being careful not to overheat as white chocolate can seize more easily than dark
- Create the marble:
- Drop spoonfuls of white chocolate across the dark base, then drag a skewer through in gentle S-curves, being careful not to overmix
- Add the garnishes:
- Sprinkle with crushed candies and mini chips while still slightly warm, pressing very lightly so they stick without melting into the chocolate
- Set completely:
- Refrigerate for at least one hour, or until the bark makes a sharp sound when tapped with a knife
- Break into pieces:
- Use your hands to snap the bark into rustic shards, or a knife for cleaner edges
 Save
Save My daughter now requests this bark instead of storebought candy canes, claiming the combination of smooth chocolate and crunchy peppermint is what the holidays taste like. Weve started making it together while watching Christmas movies, taking turns being the official swirler and official candy crusher.
Getting the Perfect Marble
The swirling technique is easier than it looks but requires confidence. Hesitation creates muddy looking patterns, while deliberate curves give you those Instagram worthy ribbons of white against dark. I practiced on parchment paper first until I understood how the chocolates move together.
Packaging and Storing
This bark makes an impressive gift when layered in clear treat bags or arranged in decorative tins between sheets of parchment. The key is keeping it away from heat sources and strong odors, as chocolate absorbs smells from its environment surprisingly quickly.
Customization Ideas
While the classic version is perfect, Ive found some variations that work beautifully depending on what you have on hand or personal preference.
- Try swapping crushed peppermint for crushed candy canes which have a slightly sweeter profile
- Add a pinch of sea salt on top before chilling to cut through the sweetness
- For a cookies and cream version, use crushed Oreos instead of peppermint candies
 Save
Save There is something deeply satisfying about breaking chocolate by hand, each shard unique and imperfectly perfect. This recipe has taught me that the most elegant desserts often come from the simplest techniques.
Recipe FAQs
- → What type of chocolate works best for the bark?
-
Dark or semisweet chocolate provides a rich base, while white chocolate creates the striking swirl effect. Milk chocolate can be used for a sweeter result.
- → How do I create the swirl effect with the two chocolates?
-
Drop spoonfuls of melted white chocolate over the dark chocolate layer and use a skewer or toothpick to gently swirl them together, forming a marbled pattern.
- → Can I adjust the mint flavor intensity?
-
Yes, adding a few extra drops of peppermint extract intensifies the mint flavor, but be careful not to overdo it to avoid bitterness.
- → How should the bark be stored after chilling?
-
Once set, break the bark into pieces and store in an airtight container at cool room temperature for up to two weeks to maintain freshness.
- → Are there any allergen considerations?
-
This treat contains milk from the chocolates and may have traces of soy or nuts; always check labels for potential cross-contamination.
- → What tools are needed for making this mint chocolate treat?
-
You will need a baking sheet lined with parchment, a double boiler or microwave-safe bowls for melting chocolate, an offset spatula, and a skewer or toothpick for swirling.
