 Save
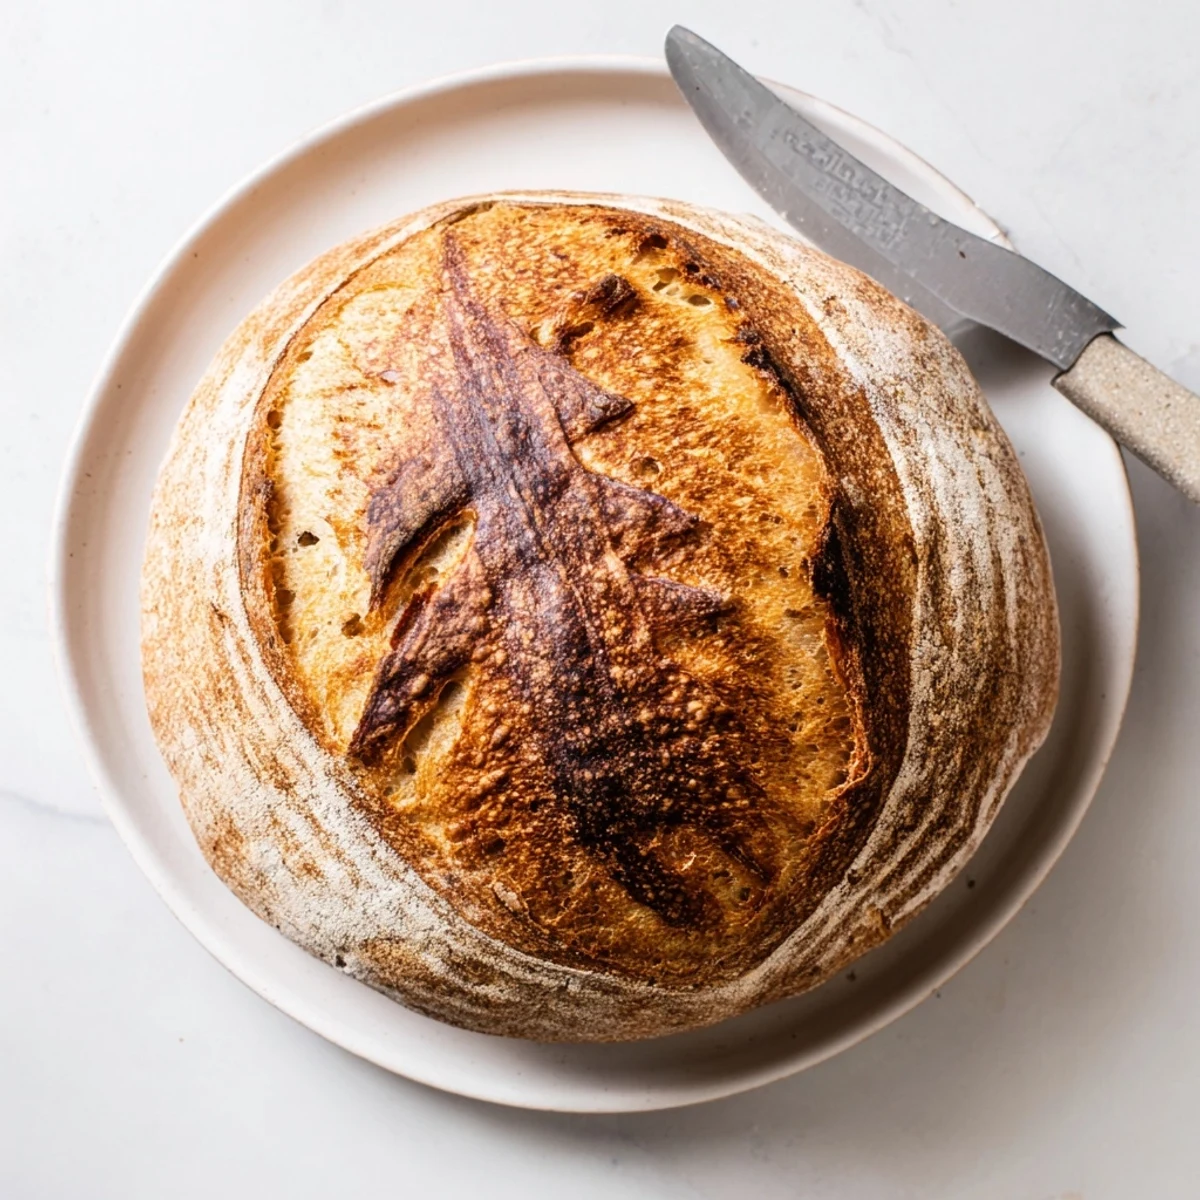
Save Craft an exceptional rustic loaf using traditional sourdough techniques. The natural fermentation process develops complex tangy flavors while creating a beautifully blistered crust and tender, open crumb interior. This method requires patience but rewards with bakery-quality results that surpass store-bought alternatives.
The process combines simple ingredients—flour, water, salt, and active starter—through thoughtful timing. Autolyse rests develop gluten structure, while strategic stretch and folds build strength without overworking. Extended fermentation creates characteristic sourness and digestibility.
Baking in a preheated Dutch oven creates steam for exceptional oven spring, yielding that coveted crackling crust. The finished loaf boasts deep golden color, airy texture, and versatile flavor perfect for everything from morning toast to hearty sandwiches.
The kitchen counter was covered in a fine dusting of flour, my hands sticky with dough, while rain tapped against the windowpane. I had been feeding that starter for weeks, watching it bubble and grow like some mysterious science experiment. That first loaf came out dense and slightly underbaked, but the flavor was unlike anything I had ever tasted from a store. Three years later, my sourdough sits in a glass jar on the counter, bubbly and ready to transform into something magical.
My sister visited last winter and watched the entire process with fascination. She could not believe that flour, water, and salt could create something so complex and alive. We sliced that first fresh loaf while it was still warm, slathering it with butter that melted into all those little air pockets. She made me promise to teach her before she left, saying store bread would never taste the same again.
Ingredients
- Bread flour (500g): High protein content creates that signature chewy structure and helps the loaf achieve impressive oven spring
- Water (350g): Room temperature hydration ensures the gluten develops properly without killing your starter
- Active sourdough starter (100g): Should be fed 4-8 hours before mixing and pass the float test for best results
- Sea salt (10g): Enhances flavor and strengthens the gluten network for better structure
Instructions
- Mix and autolyse:
- Combine flour and water in a large bowl until shaggy and no dry flour remains. Cover with a damp towel and let rest for 45 minutes to hydrate before adding starter and salt.
- Incorporate starter:
- Add your bubbly starter and sea salt to the dough. Mix thoroughly by hand, squeezing the dough between your fingers until fully incorporated, about 3-5 minutes.
- Bulk fermentation with folds:
- Perform stretch and folds every 30 minutes for 2 hours total, grabbing one edge of dough and folding it toward the center, rotating the bowl each time.
- Final rise:
- Let dough bulk ferment for 4-6 hours until doubled in size. The dough should feel jiggly and show bubbles on the surface when ready.
- Shape:
- Turn dough onto a lightly floured surface and gently shape into a tight round or oval, creating surface tension without deflating.
- Proof:
- Place seam side up in a floured banneton or towel-lined bowl. Cover and proof 2-4 hours at room temperature or refrigerate overnight for deeper flavor.
- Bake:
- Preheat oven to 450°F with Dutch oven inside. Turn dough onto parchment, score with a sharp blade, and bake covered for 25 minutes, then uncovered for 20 minutes until deep golden.
 Save
Save There is something almost meditative about the rhythm of stretch and folds, watching the dough transform from shaggy to smooth and elastic. My kitchen fills with that distinctive sour tang during fermentation, a sign that wild yeast is working its magic. Every loaf teaches me something new about patience, temperature, and the subtle art of reading dough.
Understanding Fermentation
Cold nights slow the process while warm summer days speed everything up. I have learned to adjust my schedule based on how the dough feels rather than watching the clock religiously.
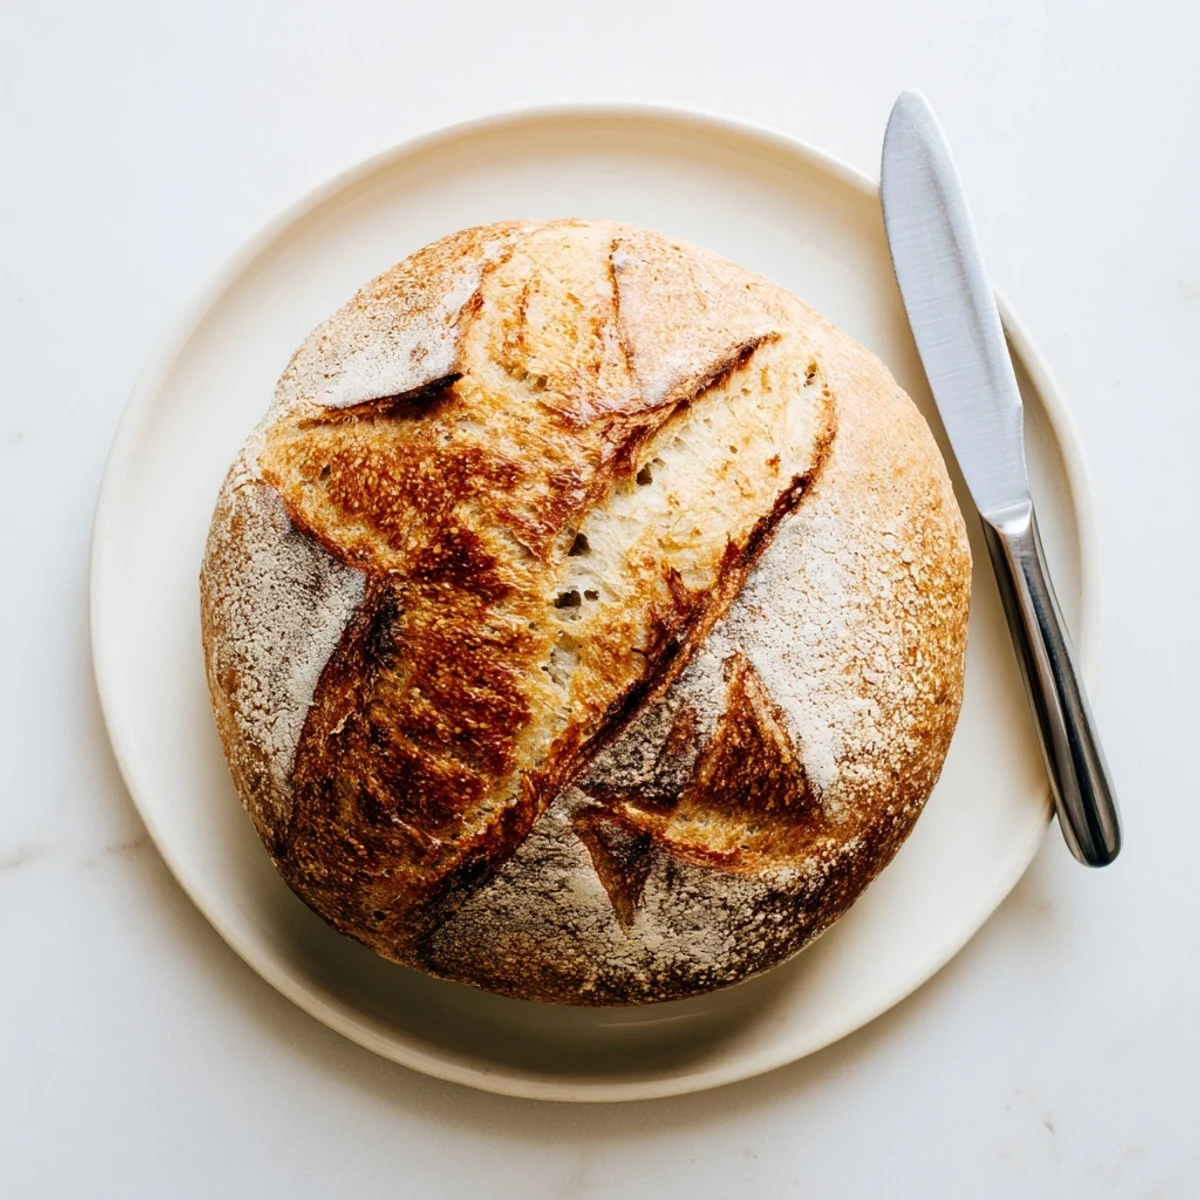
Creating That Perfect Crust
The Dutch oven creates steam that keeps the crust soft initially, allowing maximum expansion. That final 20 minutes uncovered is what transforms it into something golden and crackling.
Timing Your Bake
Mixing the night before and refrigerating the proof has become my favorite approach for weekend baking. The cold retardation develops incredible flavor and fits perfectly into my schedule.
- Let your refrigerated dough sit at room temperature for 30-60 minutes while the oven preheats
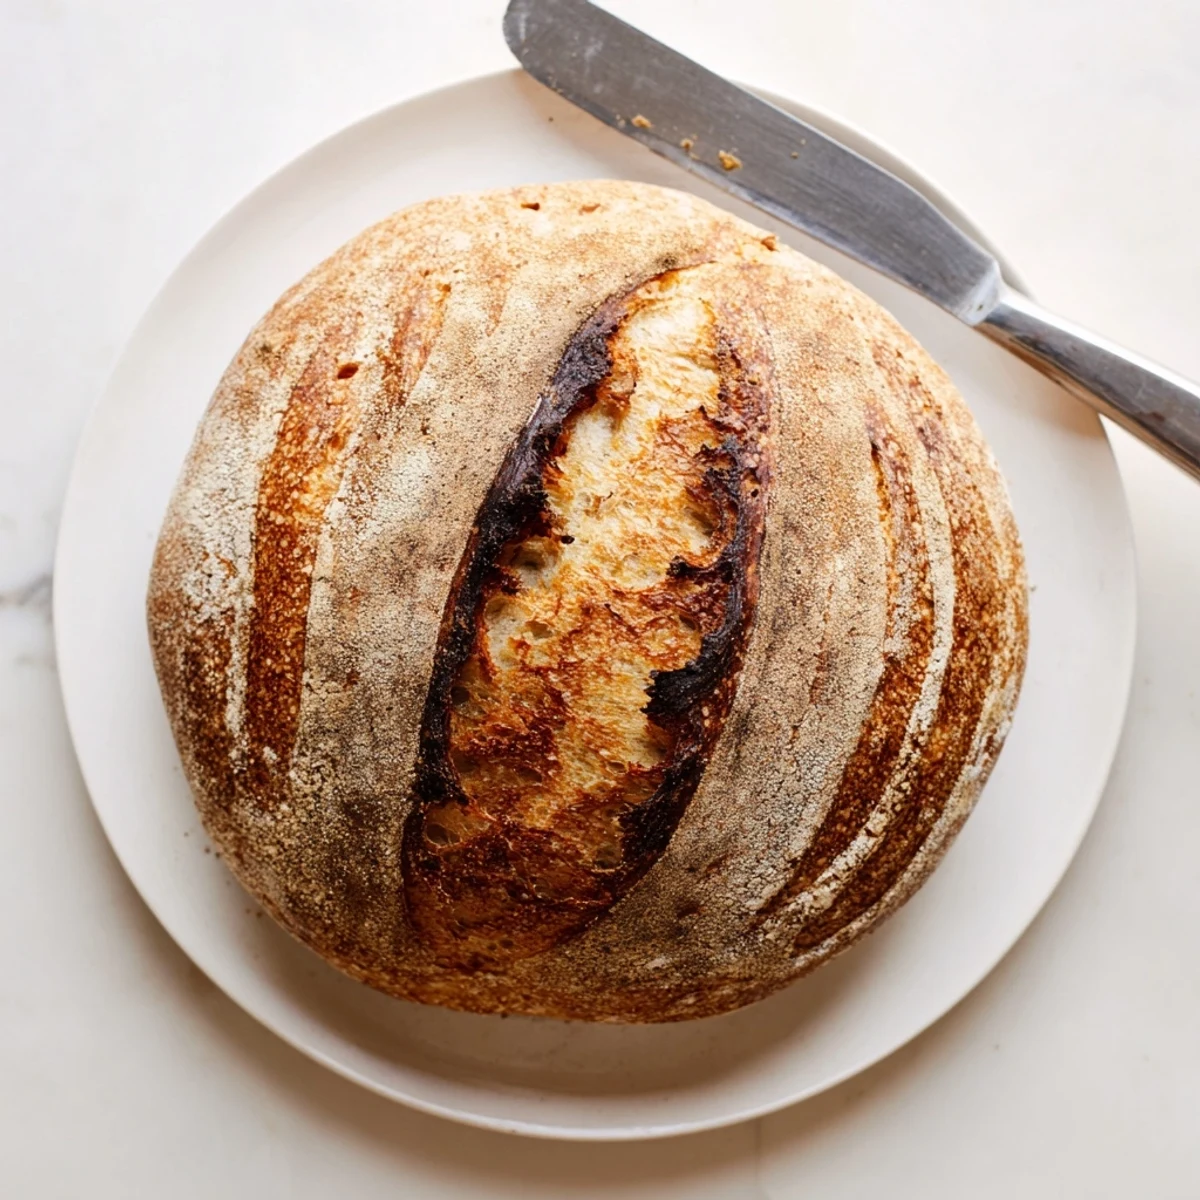
- Aim for deep amber color rather than pale gold, that color equals flavor
- Wait at least 2 hours before slicing to prevent the interior from becoming gummy
 Save
Save Your first few loaves might not look bakery perfect, but they will still taste incredible. That is the beautiful thing about sourdough, it rewards persistence and teaches you something new every single time.
Recipe FAQs
- → What makes sourdough different from regular bread?
-
Sourdough relies on wild yeast and beneficial bacteria naturally present in flour rather than commercial yeast. This fermentation process breaks down gluten, develops complex tangy flavors, creates better digestibility, and yields a longer shelf life. The extended fermentation also produces a characteristic open crumb and chewy texture that's difficult to achieve with quick-rise methods.
- → How do I know if my starter is active enough?
-
A healthy starter should be bubbly, doubled in volume within 4-8 hours after feeding, and have a pleasant slightly sour aroma. When you drop a spoonful into water, it should float rather than sink. If your starter shows these signs and has been consistently fed for several days, it's ready to leaven your loaf effectively.
- → Can I skip the Dutch oven?
-
While a Dutch oven creates ideal steam for oven spring, you can achieve similar results by placing a metal tray on the bottom oven rack while preheating. Pour ice cubes into the hot tray immediately after loading your dough. This creates temporary steam that helps initial rise and crust development, though results may vary slightly.
- → Why does my dough need so many rest periods?
-
These rest periods serve distinct purposes. Autolyse hydrates flour and begins gluten development without kneading. Between stretch and folds, resting allows the gluten network to relax, making the dough more extensible. Final bulk fermentation lets yeast produce carbon dioxide for rise while developing flavor through enzymatic activity.
- → How long should I let the loaf cool before slicing?
-
Allow at least 2-3 hours of cooling time, though waiting 4-6 hours is ideal. Slicing while warm releases steam trapped inside, resulting in a gummy texture and premature staling. This resting period completes the cooking process as residual moisture redistributes evenly throughout the crumb, ensuring proper texture and optimal flavor development.
- → What if I don't have a banneton basket?
-
Line a medium mixing bowl with a clean, well-floured kitchen towel. The towel should have enough texture to hold flour well—smooth towels may cause sticking. Use rice flour for dusting as it prevents sticking better than wheat flour. Alternatively, use a colander lined with cheesecloth, creating similar support for proofing.
