 Save
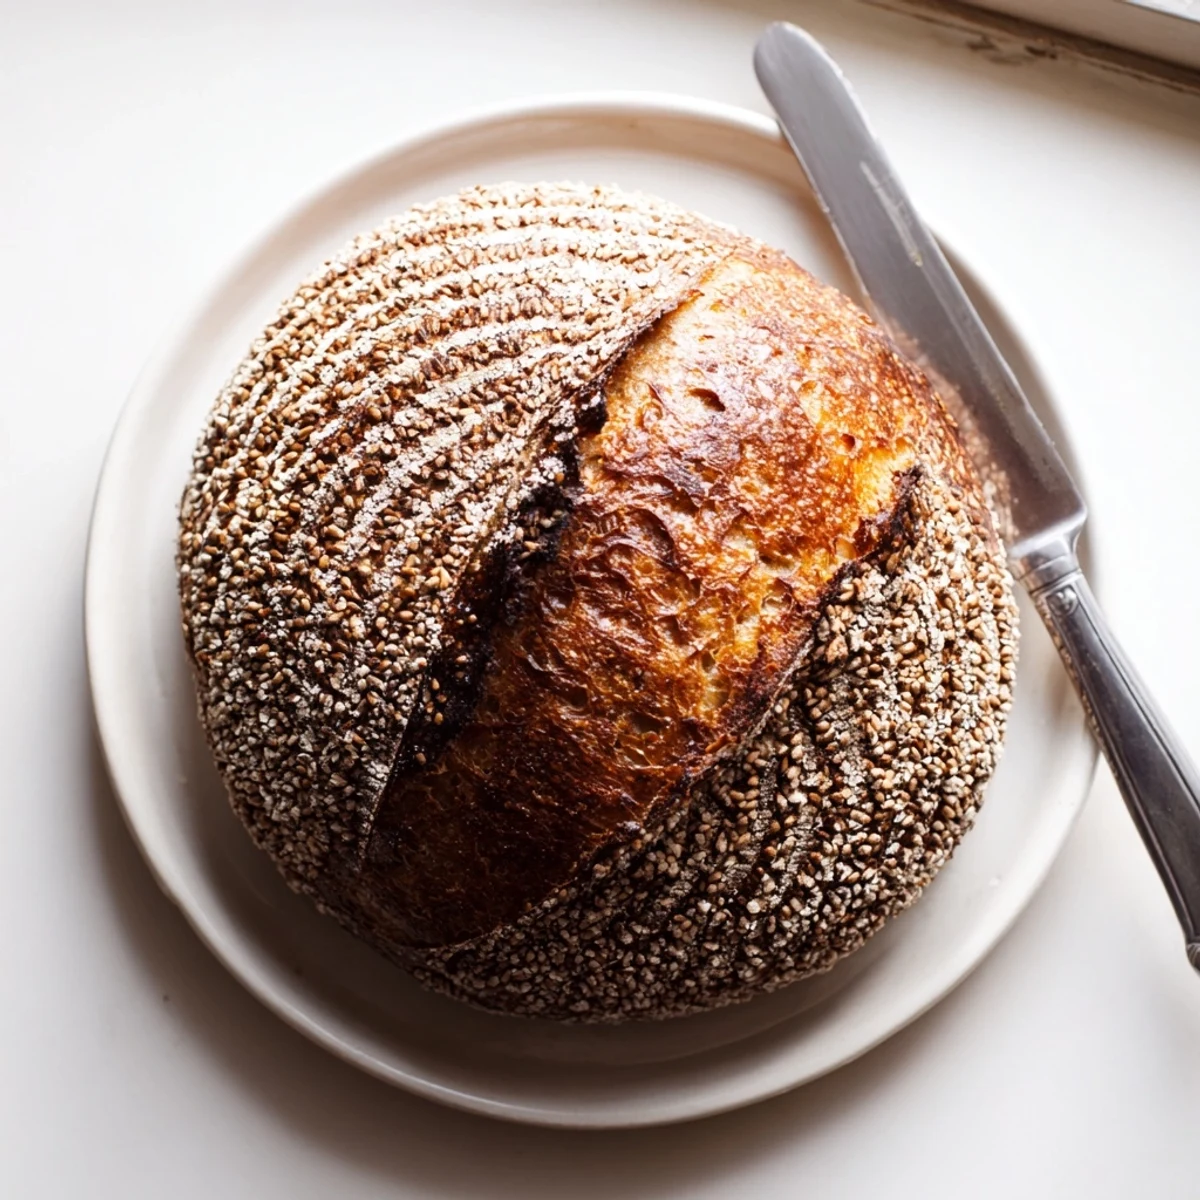
Save This traditional sourdough method harnesses wild yeast to develop exceptional depth and character. The process begins with an autolyse period, followed by rhythmic stretch-and-fold techniques that strengthen the gluten network naturally. A long cold fermentation in the refrigerator intensifies the signature tangy flavor while creating an open, airy crumb structure.
Baking in a preheated Dutch oven generates steam, producing the coveted crackly crust and professional oven spring. The result is a stunning loaf with deep golden color, satisfying crunch, and complex fermented notes that store-bought versions simply cannot match.
There's something almost magical about the smell of sourdough baking. It fills the entire house and makes the wait feel like part of the experience. I started my sourdough journey on a rainy weekend when nothing else sounded better than kneading dough and watching it rise.
I'll never forget serving this bread to my skeptical father who swore by supermarket loaves. He took one bite, looked at the open crumb structure, and asked if I'd secretly bought it from a bakery. That crunchy crust giving way to the chewy inside won him over completely.
Ingredients
- 500 g bread flour: High protein content gives the bread structure and that satisfying chew
- 350 g water room temperature: Hydration affects everything, room temp helps the starter wake up faster
- 100 g active sourdough starter: This is your wild yeast culture, make sure it's bubbly and doubled before using
- 10 g fine sea salt: Controls fermentation and enhances flavor, fine salt dissolves more evenly
Instructions
- Mix the flour and water:
- Combine them in a large bowl until no dry flour remains. Cover and walk away for an hour, this rest period called autolyse helps develop gluten before you even start kneading.
- Add starter and salt:
- Scrape in your bubbly starter and sprinkle the salt over the dough. Mix thoroughly by hand, squeezing the dough between your fingers until everything is evenly incorporated.
- Build strength with stretch and folds:
- Every 30 minutes for two hours, grab one edge of the dough and stretch it up then fold it over the center. Repeat four times per set, rotating the bowl each time. This gentle handling develops structure without deflating the dough.
- Let it rise:
- Cover the bowl and leave it at room temperature for 4 to 6 hours. The dough should grow noticeably and feel puffy and alive with small bubbles on the surface.
- Shape your loaf:
- Turn the dough onto a lightly floured surface and fold the edges toward the center to create tension. Flip it over and use your hands to rotate and tighten it into a smooth round or oval.
- Cold proof:
- Place the dough seam side up in a floured proofing basket. Cover and refrigerate for 8 to 12 hours, this slow fermentation develops that signature tangy flavor.
- Preheat with purpose:
- Put your Dutch oven in the oven and crank it to 230°C (450°F). Let it heat for at least 30 minutes so the pot is screaming hot, this creates the steam that gives you a crispy crust.
- Score and bake:
- Gently flip the dough onto parchment paper and use a sharp blade to score the top. Transfer the whole thing into your hot Dutch oven, cover with the lid, and bake for 20 minutes before removing the lid for another 20 minutes.
 Save
Save This bread became my Sunday ritual. Friends started dropping by around noon just knowing the first slices would be coming out of the oven. Something about breaking bread together that you made yourself feels different, more connected.
Understanding Your Starter
Your starter is alive and it has moods. Temperature affects how fast it ferments, so you might need to adjust timing seasonally. I keep mine on the counter in summer and in the fridge during winter, pulling it out a day before baking.
Getting That Perfect Crust
The Dutch oven creates a steam chamber that mimics professional deck ovens. Don't be tempted to peek during that first 20 minutes, every time you open the lid you lose the steam that creates that beautiful crust.
Timing Your Bake
Planning ahead makes the whole process feel effortless instead of demanding. Mix the dough in the evening, do your stretch and folds while watching TV, and let it proof overnight. Fresh bread for breakfast becomes totally achievable.
- Weigh your ingredients, baking is chemistry and precision matters
- Let the bread cool completely before slicing, cutting too warm releases steam and dries out the crumb
- Store cut side down on a cutting board, never in plastic which makes the crust soft
 Save
Save There's pride in pulling a loaf from the oven that looks like it came from a professional bakery. Start with a simple recipe and let yourself become obsessed, it's worth every moment.
Recipe FAQs
- → What makes sourdough different from regular bread?
-
Sourdough relies on wild yeast and beneficial bacteria naturally present in flour rather than commercial yeast. This fermentation process produces lactic and acetic acids, creating that characteristic tangy flavor and making the nutrients more bioavailable. The longer fermentation also breaks down gluten proteins, which some find easier to digest.
- → How do I know when my dough has proofed enough?
-
Perform the finger poke test: gently press your finger about ½ inch into the dough. If the indentation springs back slowly and partially fills, it's ready. If it springs back quickly, give it more time. If it doesn't spring back at all, it may be over-proofed. The dough should also appear visibly puffy with increased volume and have a jiggly, aerated texture.
- → Can I bake this without a Dutch oven?
-
Absolutely. Create steam by placing a metal baking sheet on the lowest oven rack during preheating. When you transfer your dough to the oven, toss a handful of ice cubes onto the hot sheet. Alternatively, spray the oven walls with water several times during the first 10 minutes. The steam helps the loaf expand and develop a crispy crust.
- → Why is my sourdough too dense or heavy?
-
Dense loaves often result from under-proofing, insufficient gluten development, or inactive starter. Ensure your starter bubbles and doubles within 4-8 hours after feeding. Perform thorough stretch-and-fold sets to build strength. Allow adequate bulk fermentation time—dough should increase by roughly 50-75% in volume. Room temperature and hydration levels also affect fermentation speed.
- → How long does homemade sourdough stay fresh?
-
Properly stored sourdough maintains excellent quality for 3-4 days at room temperature. Wrap the cooled loaf in a cotton cloth or paper bag to preserve the crust while allowing slight airflow. For longer storage, slice and freeze in an airtight container—individual slices toast beautifully from frozen. Avoid plastic bags at room temperature, which trap moisture and soften the crust.
- → What's the purpose of scoring the dough before baking?
-
Scoring creates intentional weak points in the dough's surface, allowing controlled expansion during oven spring. Without scoring, expanding gases will rupture randomly, creating an uneven appearance. decorative scoring patterns also enhance visual appeal. Use a sharp lame or razor blade at a 45-degree angle, cutting about ¼ to ½ inch deep for clean, professional-looking results.
