 Save
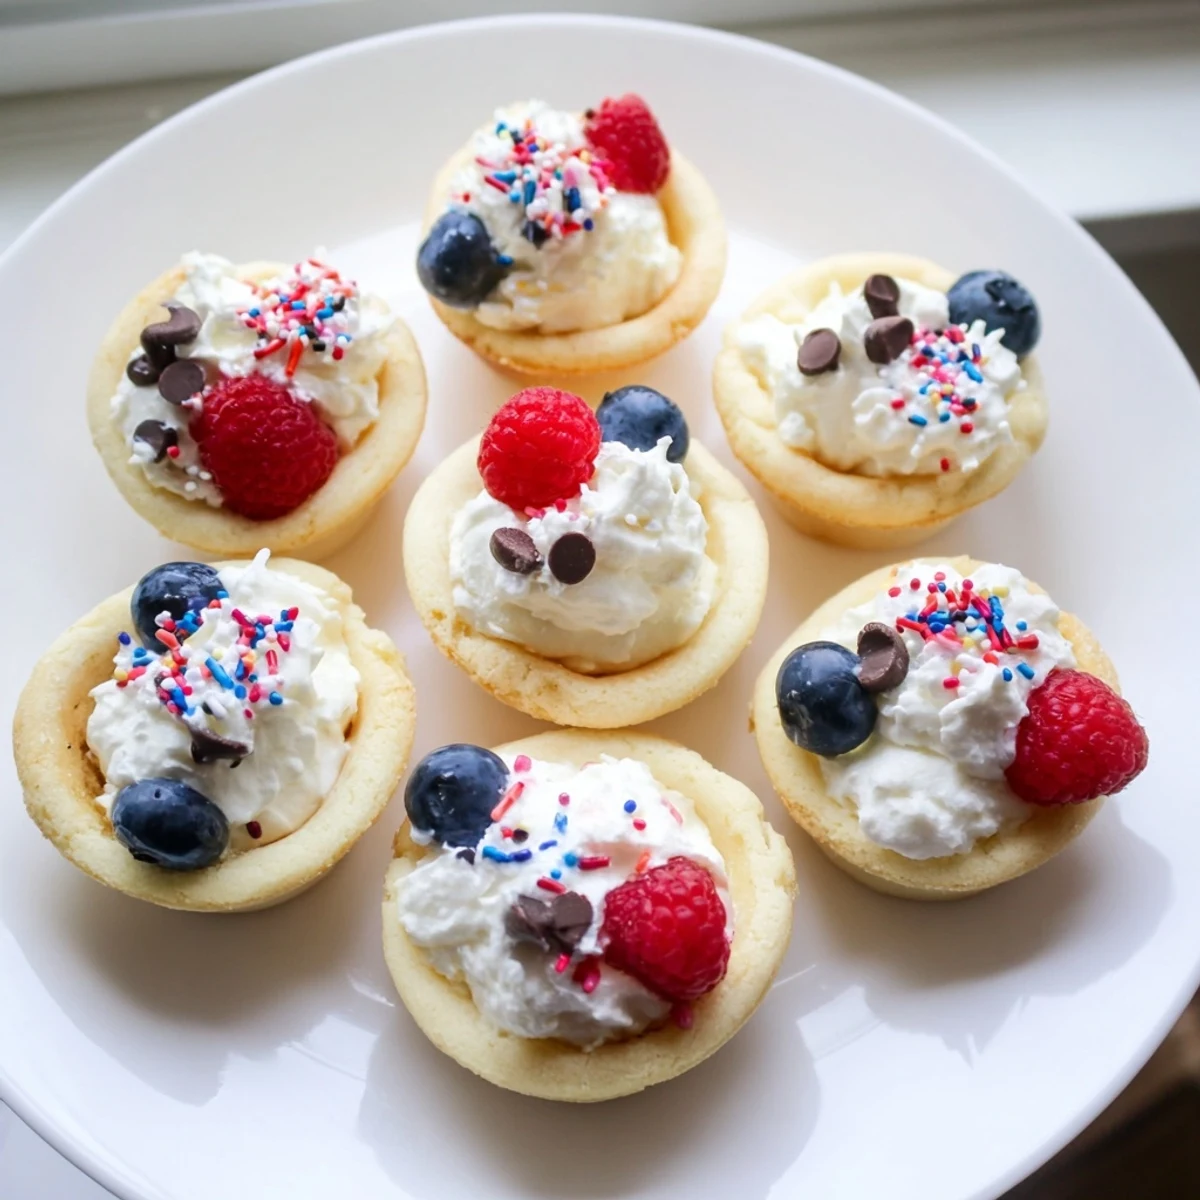
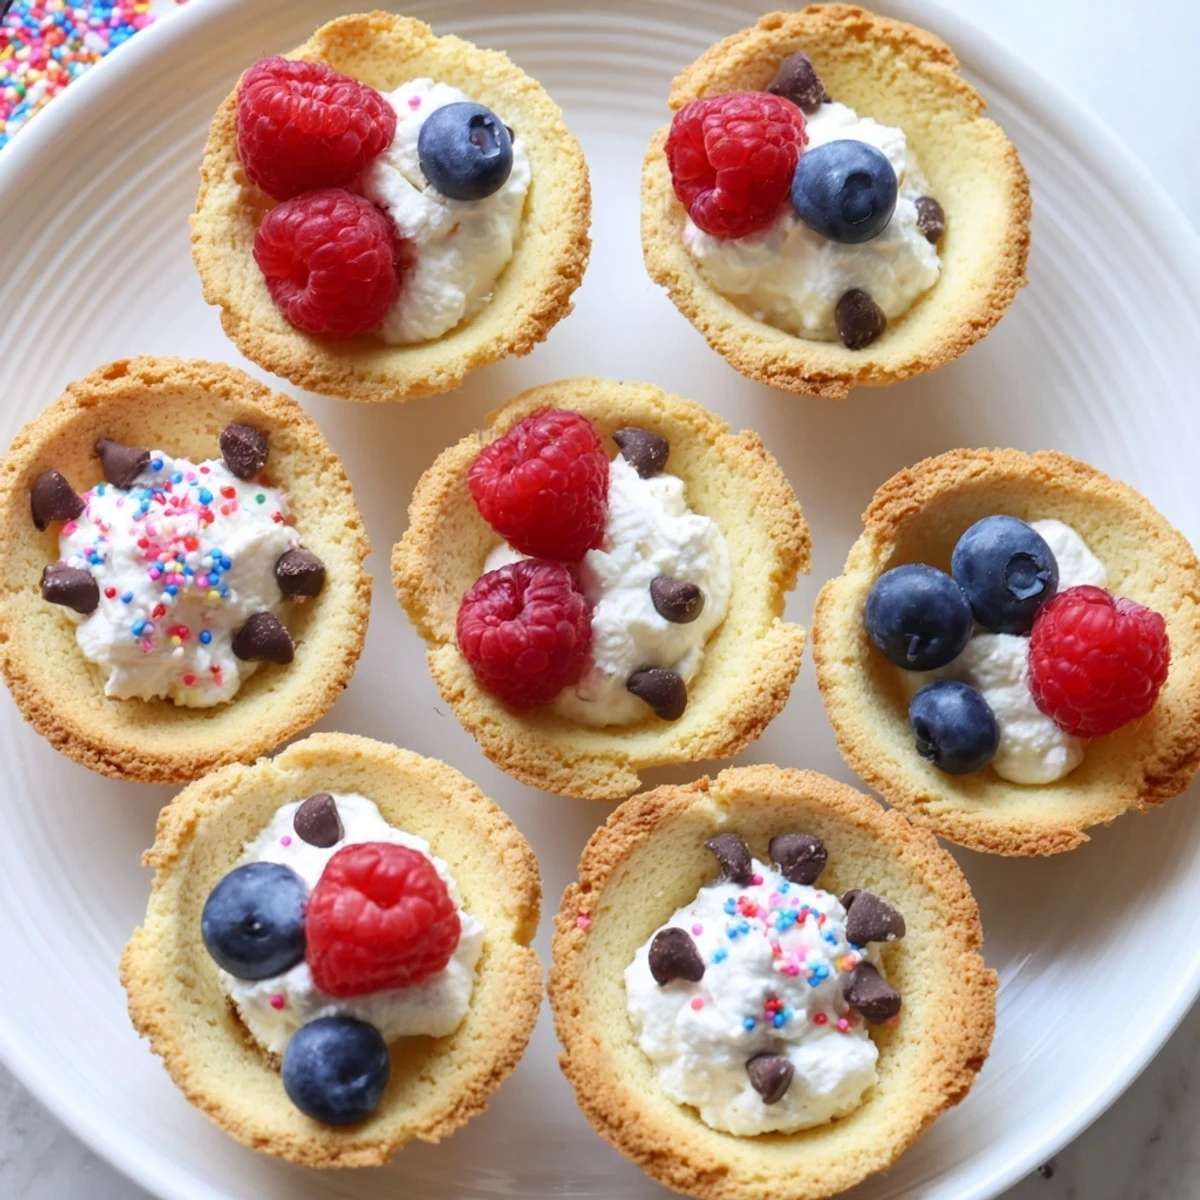
Save These delightful sugar cookie cups transform classic cookie dough into adorable handheld treats. Baked in mini muffin tins, each cup features a tender, buttery cookie shell perfect for holding creamy fillings. The versatile base pairs beautifully with vanilla whipped cream, though lemon curd, chocolate ganache, or your favorite frosting work wonderfully too. Fresh berries, sprinkles, or mini chocolate chips add the finishing touch. Perfect for parties, bake sales, or whenever you want a fun twist on traditional cookies, these cups store well and can be prepared ahead—simply fill before serving for the best texture.
Last summer my daughter asked if we could bake something different for her birthday party—something you could eat in one delightful bite but still felt special. These sugar cookie cups were born from that afternoon of experimenting in the kitchen. The way they catch the light when they come out of the oven, with their golden edges and perfect little hollows waiting to be filled, makes everyone who sees them lean in closer.
I made three dozen of these for my book club last fall and watched them vanish in under fifteen minutes. One friend actually asked if I'd secretly bought them from a bakery because the edges were so perfectly golden and the filling so smooth. The conversation paused for a full minute as everyone took their first bite and just looked at each other with that universal food appreciation face.
Ingredients
- 2 1/4 cups all-purpose flour: The foundation that gives these cups their structure and tender crumb without becoming tough
- 1/2 tsp baking soda: Just enough lift to create that perfect slightly risen edge while keeping the center pressed down
- 1/2 tsp salt: Balances the sweetness and makes all the flavors sing together instead of tasting flat
- 3/4 cup unsalted butter softened: Room temperature butter incorporates beautifully for that melt-in-your-mouth texture we all want
- 1 cup granulated sugar: Creates the classic sugar cookie taste while helping the edges crisp up beautifully in the oven
- 1 large egg: Binds everything together and adds just the right amount of richness for a tender cookie shell
- 2 tsp pure vanilla extract: Dont skimp here—real vanilla makes these taste like they came from a professional bakery
- 1 cup heavy cream chilled: Whips up into the most luxurious filling that holds its shape beautifully for hours
- 2 tbsp powdered sugar: Just enough sweetness to complement the cookie shell without making the filling cloying
- 1/2 tsp vanilla extract: Infuses the cream with that classic flavor everyone associates with homemade treats
Instructions
- Get your oven ready:
- Preheat to 350°F and give your mini muffin tin a light coating of butter or cooking spray so the cups release easily after baking
- Mix the dry ingredients:
- Whisk together flour baking soda and salt in a medium bowl so everything is evenly distributed before you start mixing
- Cream the butter and sugar:
- Beat softened butter and granulated sugar for about 2 minutes until the mixture looks pale and fluffy—this step is crucial for texture
- Add the wet ingredients:
- Crack in the egg and pour in the vanilla then beat until everything is thoroughly combined and smooth
- Combine the mixtures:
- Gradually add the flour mixture to the butter mixture mixing just until you no longer see visible flour streaks
- Shape your cups:
- Scoop about one tablespoon of dough into each muffin cup then gently press the dough up the sides to create that perfect little bowl shape
- Bake to golden perfection:
- Slide the tin into the oven for 10 to 12 minutes until you see light golden edges forming and the centers are set
- Create the cup shape:
- While theyre still warm use the back of a spoon to gently press down the center of each cookie then let them cool for 10 minutes before transferring to a wire rack
- Make the filling:
- Whip the heavy cream powdered sugar and vanilla in a chilled bowl until you reach stiff peaks that hold their shape perfectly
- Fill and decorate:
- Pipe or spoon the whipped cream into each cooled cookie cup then add berries sprinkles or chocolate chips as your heart desires
 Save
Save My niece now requests these for every family gathering and has started experimenting with lemon curd and chocolate ganache fillings on her own. Watching her gain confidence in the kitchen while creating something that brings everyone such joy has become one of my favorite things about sharing this recipe.
Making These Ahead
I've learned through many party prep sessions that the cookie shells freeze beautifully for up to two weeks if stored in an airtight container with parchment paper between layers. Just thaw them at room temperature for an hour before filling and they'll taste just as fresh as the day you baked them.
Filling Variations
Beyond the classic whipped cream these little cups are incredibly versatile vessels for almost any sweet filling you can imagine. Lemon curd brings a bright tart contrast while chocolate ganache creates an incredibly rich dessert that feels much more fancy than the simple preparation would suggest.
Serving Suggestions
These shine brightest when arranged on a pretty platter with varied toppings so guests can choose their favorite combination. Set up a small toppings bar with bowls of fresh berries colorful sprinkles and perhaps even some crushed nuts for added texture and let everyone customize their own.
- Use a small cookie scoop for perfectly uniform dough portions that bake evenly
- Chill your mixing bowl and whisk before whipping cream for faster more stable results
- Fill the cups no more than an hour before serving so they stay crisp and dont become soggy
 Save
Save Theres something genuinely magical about watching someone bite into one of these and seeing their eyes light up at that perfect combination of textures. Hope these bring as much joy to your kitchen as theyve brought to mine.
Recipe FAQs
- → How do I prevent the cookie cups from sticking to the muffin tin?
-
Lightly grease your mini muffin tin with butter or cooking spray before adding the dough. Allow the cups to cool in the tin for about 10 minutes after baking, then carefully loosen the edges with a small knife or spoon before transferring to a wire rack. This cooling period helps the cups set and release more easily.
- → Can I make these cookie cups ahead of time?
-
Yes, the unfilled cookie cups can be stored in an airtight container at room temperature for up to 3 days. For best results, fill them with whipped cream or other perishable fillings shortly before serving. The cookie shells can also be frozen for up to 2 months—thaw at room temperature before filling.
- → What other fillings work well in sugar cookie cups?
-
Beyond vanilla whipped cream, try filling these cups with lemon curd for a bright citrus twist, chocolate ganache for rich indulgence, cream cheese frosting, fruit preserves, or even peanut butter. For a savory-sweet combination, add a dollop of mascarpone mixed with honey.
- → Why do I need to press the center again after baking?
-
During baking, the cookie dough puffs up slightly, which can reduce the cup shape. Pressing the center gently with a spoon while warm helps redefine the cup indentation, creating more space for your fillings. Work carefully while the cookies are still warm but not hot.
- → Can I double this recipe for larger crowds?
-
Absolutely. The recipe doubles easily without any adjustments to baking time. You'll need two mini muffin tins or plan to bake in batches. These cups are perfect for large gatherings since they're handheld and easy to serve, making them ideal for parties, school events, or potlucks.
- → How do I know when the cookie cups are done baking?
-
The cups are ready when the edges are lightly golden, about 10 to 12 minutes. The centers may still look slightly soft but will firm up as they cool. Avoid overbaking, which can make the cups too crisp to hold their shape properly when pressed.
