 Save
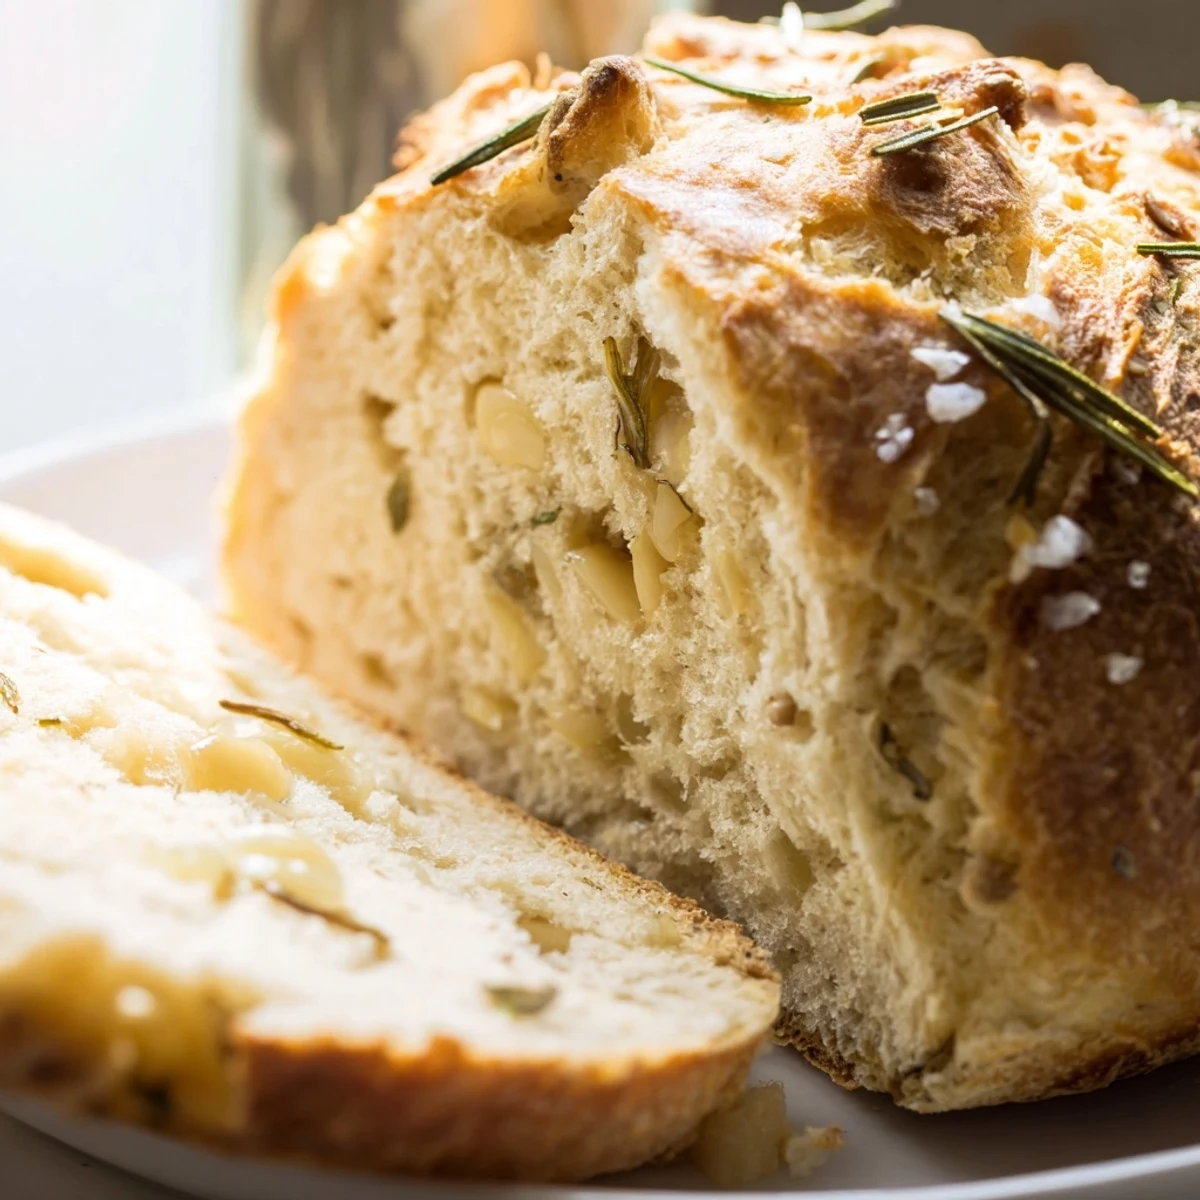
Save This artisan European-style bread combines roasted garlic's mellow sweetness with piney fresh rosemary, creating a deeply flavorful loaf with restaurant-quality characteristics. The Dutch oven method generates steam during baking, producing an irresistibly crackling crust that contrasts beautifully with the soft, airy crumb inside.
Perfect alongside soups, salads, or simply torn and shared with olive oil, this bread delivers professional bakery results using basic pantry ingredients. The hands-on process is remarkably simple—mix, rise, shape, then bake in a preheated Dutch oven for that coveted crispy exterior and tender, chewy interior.
The smell of roasting garlic has become my personal welcome home signal. There is something about that slow sweetening in the oven that makes the whole house feel like a warm embrace even before a single slice is cut. I started making this bread on rainy Sundays when I needed something hands on and grounding. Now my neighbors know when a fresh loaf is cooling by the buttery garlic drifting through the hallway.
Last winter my brother came over during a snowstorm and we ate half the loaf standing at the counter. He told me it was better than the artisan bakery downtown and I felt like I had unlocked some secret bread magic. The crunch when you tear into it still surprises me every single time.
Ingredients
- Bread flour: The higher protein content gives this bread structure and that satisfying chew
- Active dry yeast: Make sure your water is warm like bathwater not hot to keep yeast happy
- Fine sea salt: This controls fermentation and enhances all the flavors
- Lukewarm water: Test on your wrist it should feel comfortable not shocking
- Garlic head: Roasting mellows the sharpness into something almost creamy and sweet
- Fresh rosemary: Woody herbs stand up to baking better than delicate soft ones
- Olive oil: Brushing the top creates that gorgeous golden sheen
- Flaky sea salt: The final crunch makes each slice special and finished
Instructions
- Roast your garlic first:
- Cut the top off the head drizzle with olive oil wrap tightly in foil and let it soften in a 400°F oven for about 35 minutes
- Mix the dough:
- Combine flour yeast and salt in a large bowl then add warm water and stir until everything comes together into a rough shaggy mass
- Add the flavor:
- Squeeze the cooled roasted cloves from their skins mash them well then fold into your dough along with the chopped rosemary until distributed
- Let it rise:
- Cover the bowl and walk away for an hour or two until the dough has doubled and looks puffy with small bubbles on the surface
- Shape the loaf:
- Turn onto a floured surface fold the edges toward the center to form a tight ball then place seam side down on parchment paper
- Heat your pot:
- Put your empty Dutch oven with its lid into a cold oven then set temperature to 450°F and let it get screaming hot for at least 30 minutes
- Bake covered:
- Carefully lift the parchment and dough into the hot pot cover with the lid and bake for 30 minutes to trap steam
- Finish the crust:
- Remove the lid and let the bread bake another 12 to 15 minutes until deep golden brown then cool completely before slicing
 Save
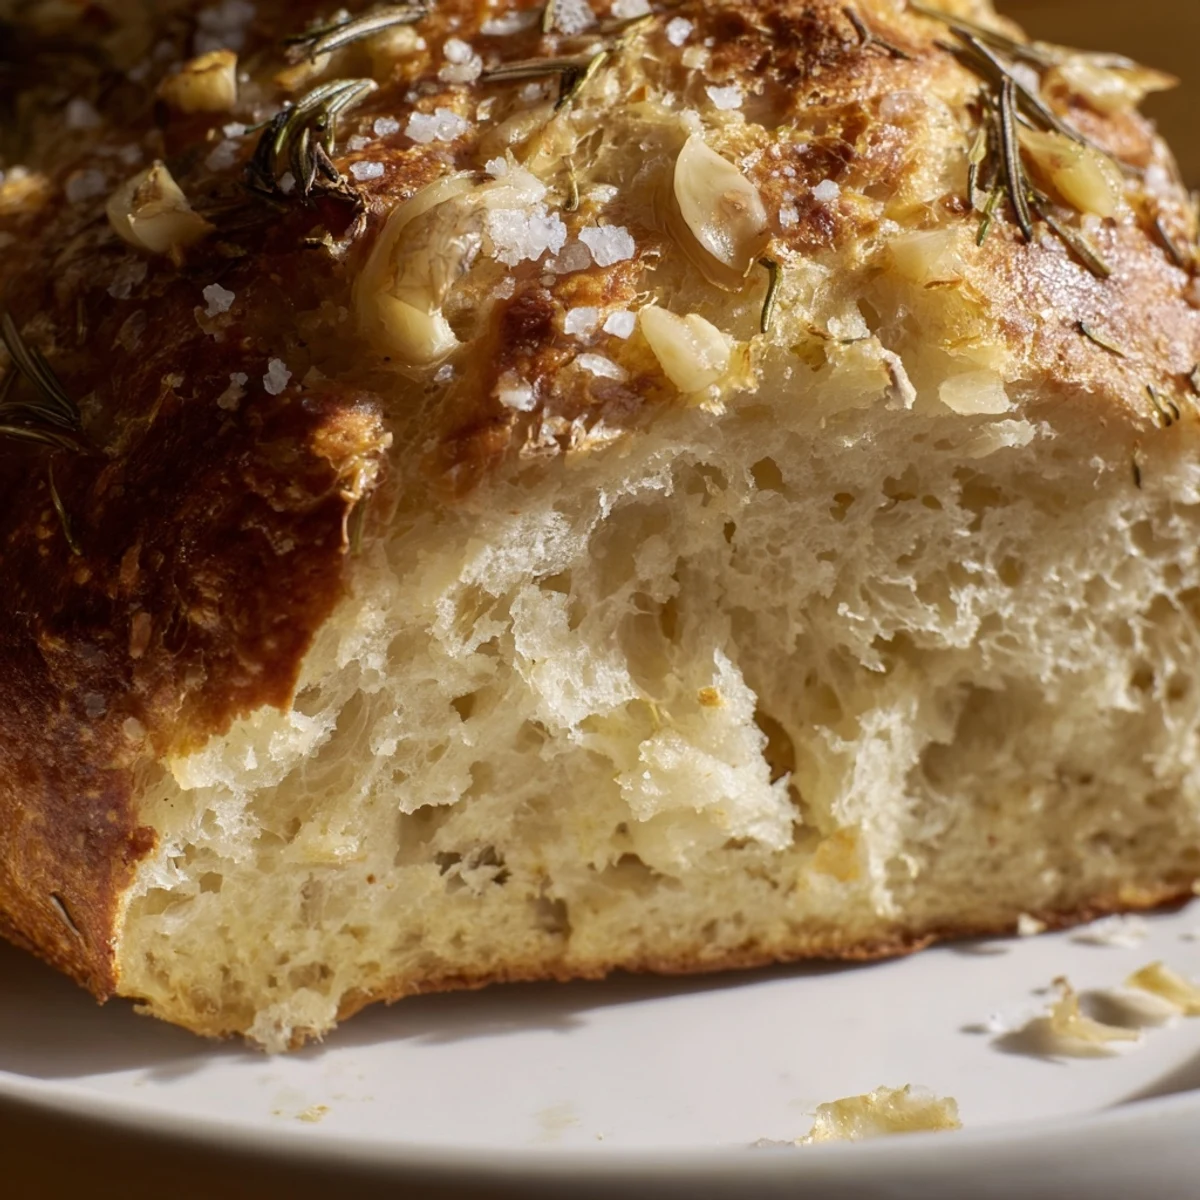
Save This bread has turned ordinary Tuesday soup nights into something that feels intentional and cared for. Friends now request it whenever they come over which is the highest compliment a home cook can receive.
Choosing Your Dutch Oven
Cast iron holds heat beautifully and creates the most consistent steam environment for crust development. Enameled versions clean easier but raw cast iron works just as well. Any heavy oven safe pot with a tight lid will do the job.
Timing Your Rise
Temperature affects fermentation speed dramatically so your rise time might vary from what is written. Watch the dough not the clock and look for it to double in size. A warmer kitchen speeds things up while a cold space slows everything down.
Storage And Serving Ideas
This bread stays fresh for two days wrapped in a cloth at room temperature. After that it makes excellent toast or croutons. Slice before freezing and you can pull out individual pieces as needed.
- Dip warm slices in high quality olive oil mixed with cracked pepper
- Use stale bread to make the best garlic bread you have ever tasted
- Pair with a hearty soup or stew for a complete meal experience
 Save
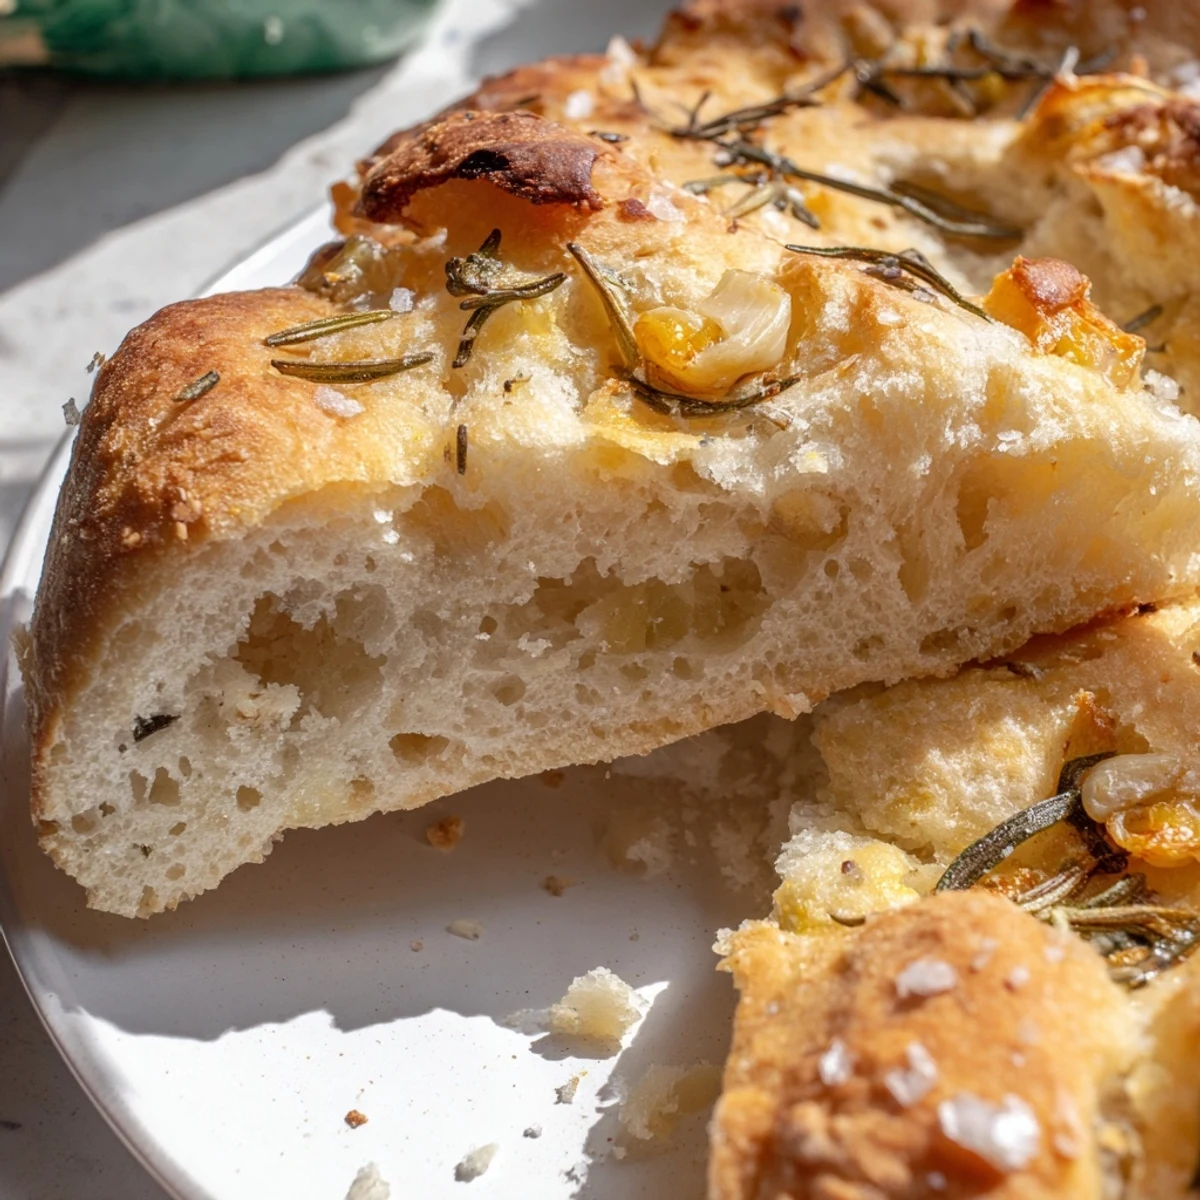
Save Bread has a way of bringing people to the table that nothing else quite does. This recipe taught me that some things are worth the wait and the hands on time.
Recipe FAQs
- → Why bake bread in a Dutch oven?
-
The Dutch oven traps steam from the dough, creating a professional bakery environment. This steam keeps the crust soft initially, allowing the bread to expand fully before developing that signature crispy, golden exterior that's difficult to achieve with regular baking methods.
- → Can I use dried rosemary instead of fresh?
-
Fresh rosemary provides superior aroma and flavor, but dried works in a pinch. Use only one-third the amount since dried herbs are more concentrated. Soaking dried rosemary in warm water for 10 minutes before adding helps restore some freshness.
- → How do I know when the bread is done baking?
-
The crust should be deep golden-brown, and the bread should sound hollow when tapped on the bottom. An instant thermometer inserted into the center should read 190–200°F (88–93°C). If uncertain, bake an extra 5 minutes—better slightly overbaked than underbaked.
- → Can I make this bread without roasted garlic?
-
Raw garlic works, but roasting transforms sharp pungency into sweet, mellow complexity that disperses beautifully throughout the crumb. If pressed for time, use raw garlic cloves minced very fine, though the flavor profile will be more intense and less nuanced.
- → Why does my dough not double during rising?
-
Cool temperatures slow yeast activity. Find a warm, draft-free spot around 75–80°F (24–27°C). A slightly warmed oven (turned off) with the light on works well. Also verify your yeast is fresh—expired yeast won't provide proper lift regardless of conditions.
- → Can I freeze this bread?
-
Absolutely. Cool completely, slice, wrap tightly in plastic, then freeze in a sealed bag for up to 3 months. Thaw slices at room temperature or toast directly from frozen. Avoid refrigerating—it accelerates staling and toughens the texture.
