 Save
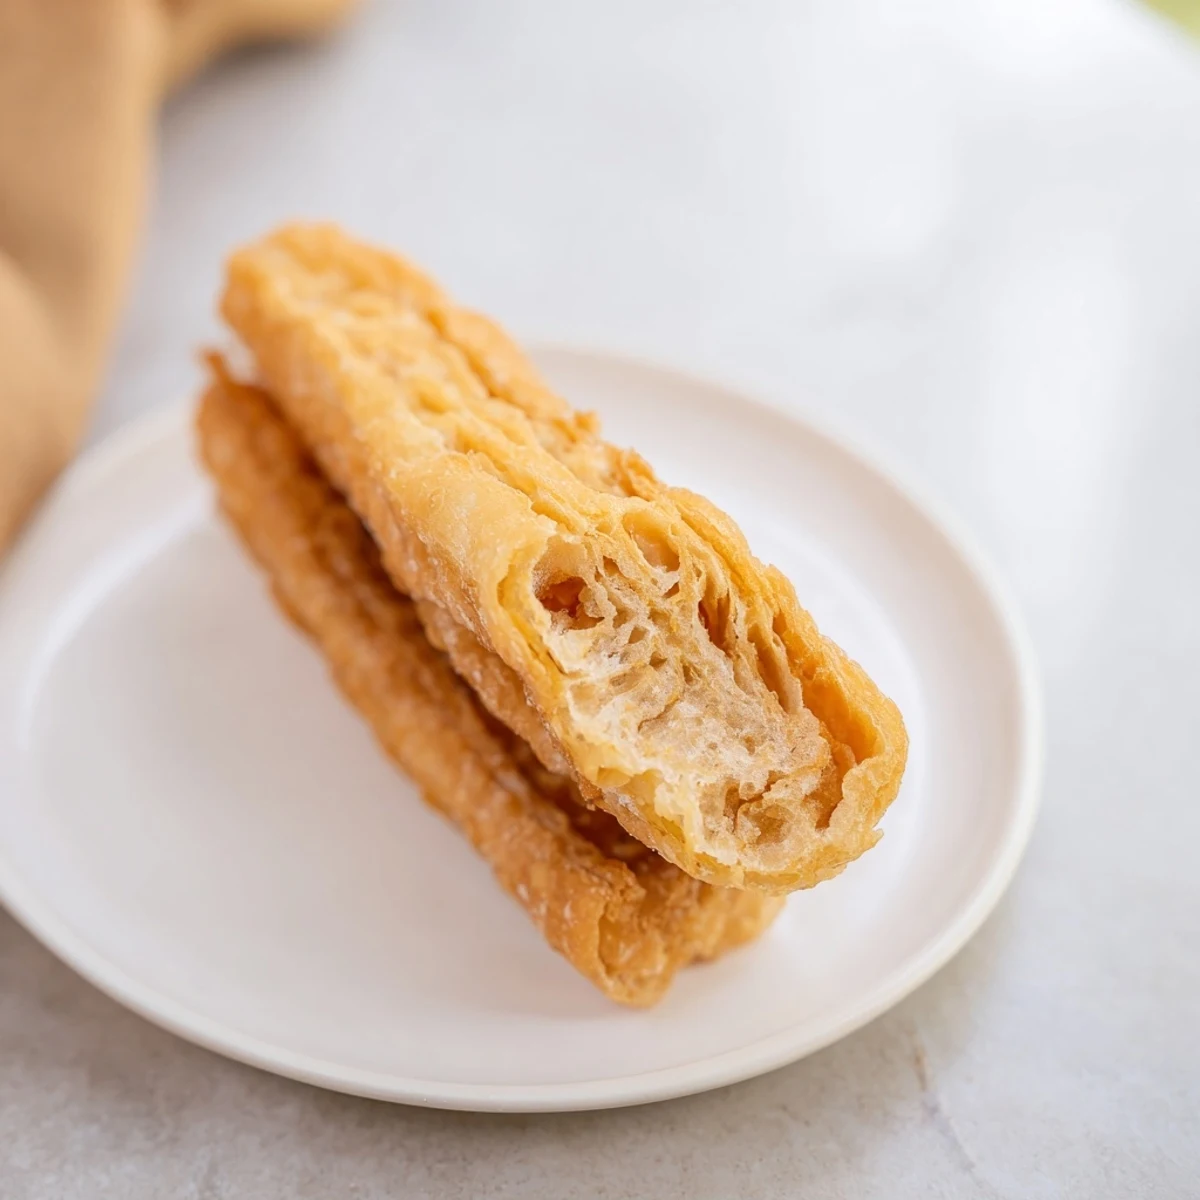
Save Create authentic Chinese youtiao at home with this straightforward method. These elongated fried dough sticks achieve the perfect contrast between shattering crispness outside and cloud-like fluffiness within. The double-layer pressing technique creates signature ridges while ensuring proper puffing during frying. Serve freshly fried sticks warm alongside sweetened soy milk for dipping, or accompany with congee for a traditional breakfast experience. The overnight resting option develops deeper flavor, while double frying delivers extra crunch that stays satisfying longer.
The morning my grandmother showed me how to make youtiao, our tiny kitchen filled with the smell of heating oil and anticipation. She worked with practiced hands, pressing two strips of dough together with a chopstick like she'd done it a thousand times before. When the first one hit the hot oil and puffed up dramatically, she smiled that knowing smile of someone who understands kitchen magic.
Last winter during the lunar new year, I made a double batch for family visiting from out of town. My uncle stood by the stove watching them fry, reminiscing about street vendors in Beijing who'd sell these fresh from enormous woks. We ate them standing up in the kitchen, burning our fingers slightly because we couldn't wait for them to cool.
Ingredients
- 2 cups all-purpose flour: The foundation of the dough, providing structure while keeping the crumb tender
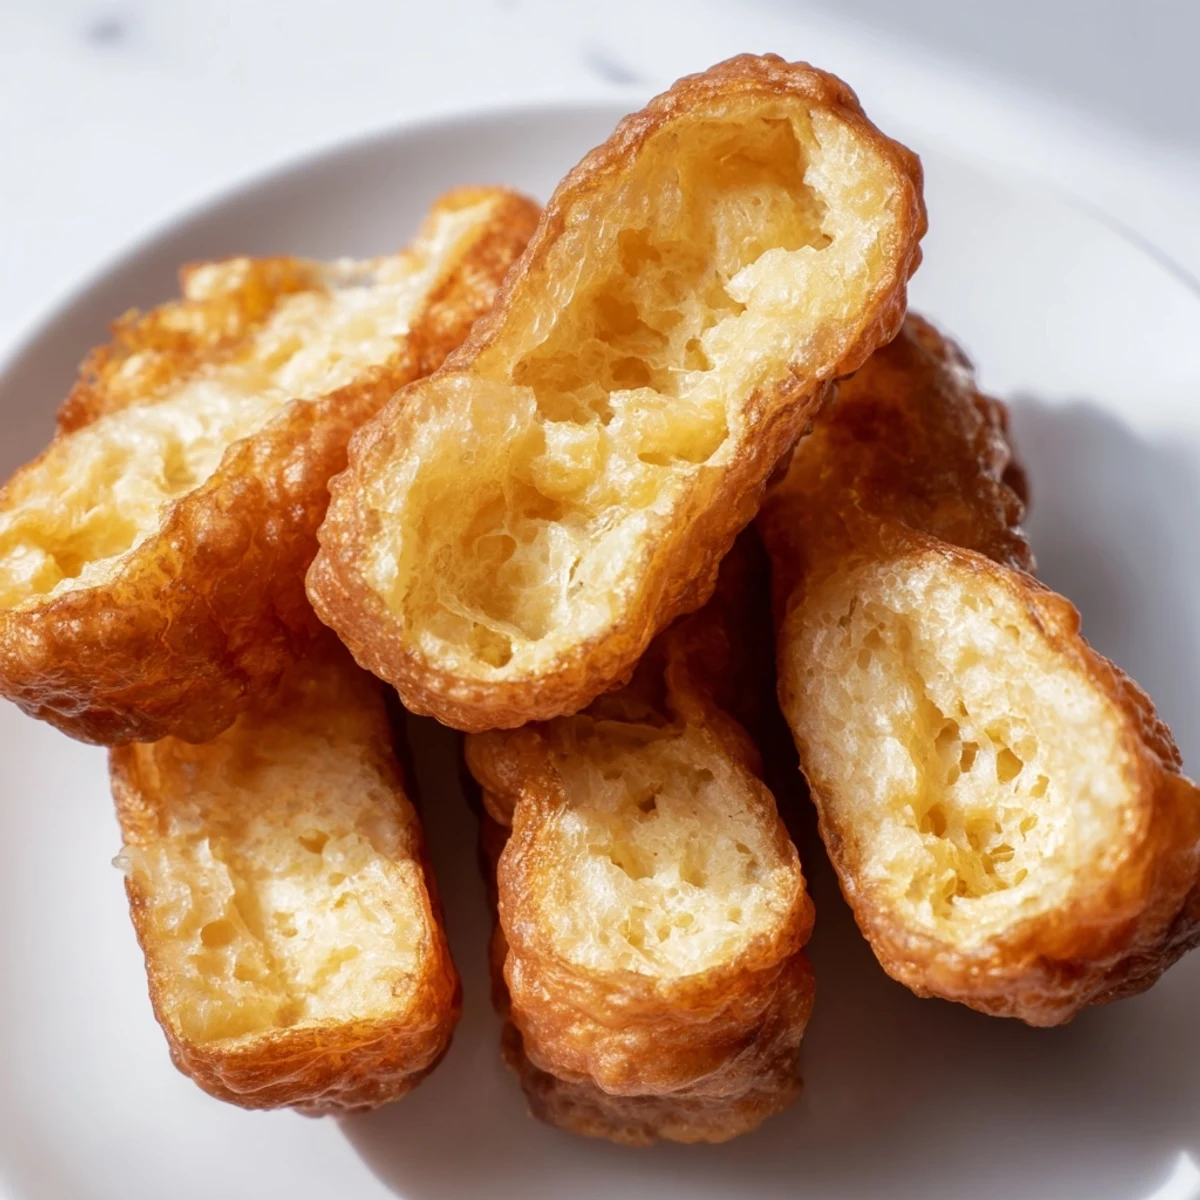
- 1 tsp baking powder and 1/2 tsp baking soda: This dual leavening combination creates that signature hollow center when they hit the hot oil
- 1 tsp salt: Essential for balancing the sweetness and bringing out the wheat flavor
- 1 tbsp sugar: Just enough to help with browning and add subtle sweetness without making it a dessert
- 1 large egg: Adds richness and helps create that golden color we're looking for
- 3/4 cup water, room temperature: Cold water would shock the dough, while room temp helps everything incorporate smoothly
- 2 tbsp vegetable oil: Keeps the dough supple and helps with the final texture
- 4 cups vegetable oil for frying: A neutral oil with a high smoke point is non-negotiable here
Instructions
- Mix the dry ingredients:
- Whisk together the flour, baking powder, baking soda, salt, and sugar in a large bowl until everything is evenly distributed
- Combine the wet and dry:
- Make a well in the center of your flour mixture, then add the egg, water, and 2 tablespoons of vegetable oil
- Form the initial dough:
- Mix with a spatula until a shaggy, sticky dough forms, then knead it right in the bowl for just a minute or two until it comes together
- First rest:
- Cover the bowl with plastic wrap and let the dough rest at room temperature for 15 minutes to relax the gluten
- Second knead:
- Lightly oil your hands and work surface, then knead the dough for 2 to 3 minutes until it becomes smooth and cooperative
- Long rest:
- Return the dough to the bowl, cover again, and let it rest for a full hour so it can develop flavor and texture
- Shape the strips:
- Roll or press the dough into a half-inch thick rectangle, then cut it into strips about 1 inch wide and 5 inches long
- Create the pairs:
- Place one strip on top of another and press down the lengthwise center with a chopstick or knife back to fuse them together
- Heat the oil:
- Bring your frying oil to 375°F in a deep pot, using a thermometer if you have one
- Stretch and fry:
- Gently stretch each dough pair to about 8 inches long, carefully lower them into the hot oil 2 or 3 at a time, and turn constantly with chopsticks until they're puffed and golden brown, about 2 minutes each
- Drain and serve:
- Transfer the finished youtiao to a wire rack or paper towels and enjoy them while they're still warm
 Save
Save There's something deeply satisfying about pulling a perfectly fried youtiao from the oil, steam rising from the crispy surface. My kids now demand these on weekend mornings, and I've learned to triple the recipe because they disappear faster than I can fry them.
Making Them Ahead
You can prepare the dough through the shaping step and freeze the pairs on a baking sheet before transferring them to a bag. When you're ready to fry, let them thaw in the refrigerator overnight and bring them to room temperature before cooking.
Traditional Serving Methods
In Chinese households, these are typically torn into pieces and dunked into warm sweetened soy milk or slipped into congee where they soak up the savory porridge. I've also seen people wrap them around a youtiao with egg and scallions for a hearty breakfast sandwich.
Getting That Perfect Texture
The secret is in the pressing step, where you firmly connect the two dough strips along their entire length. If they separate during frying, you won't get that dramatic puff. Also resist the urge to stretch them too thin, they need some body to create that airy interior.
- Room temperature ingredients help the dough develop properly
- Don't skip the resting periods, they're essential for texture
- Fry in small batches so the oil temperature doesn't drop
 Save
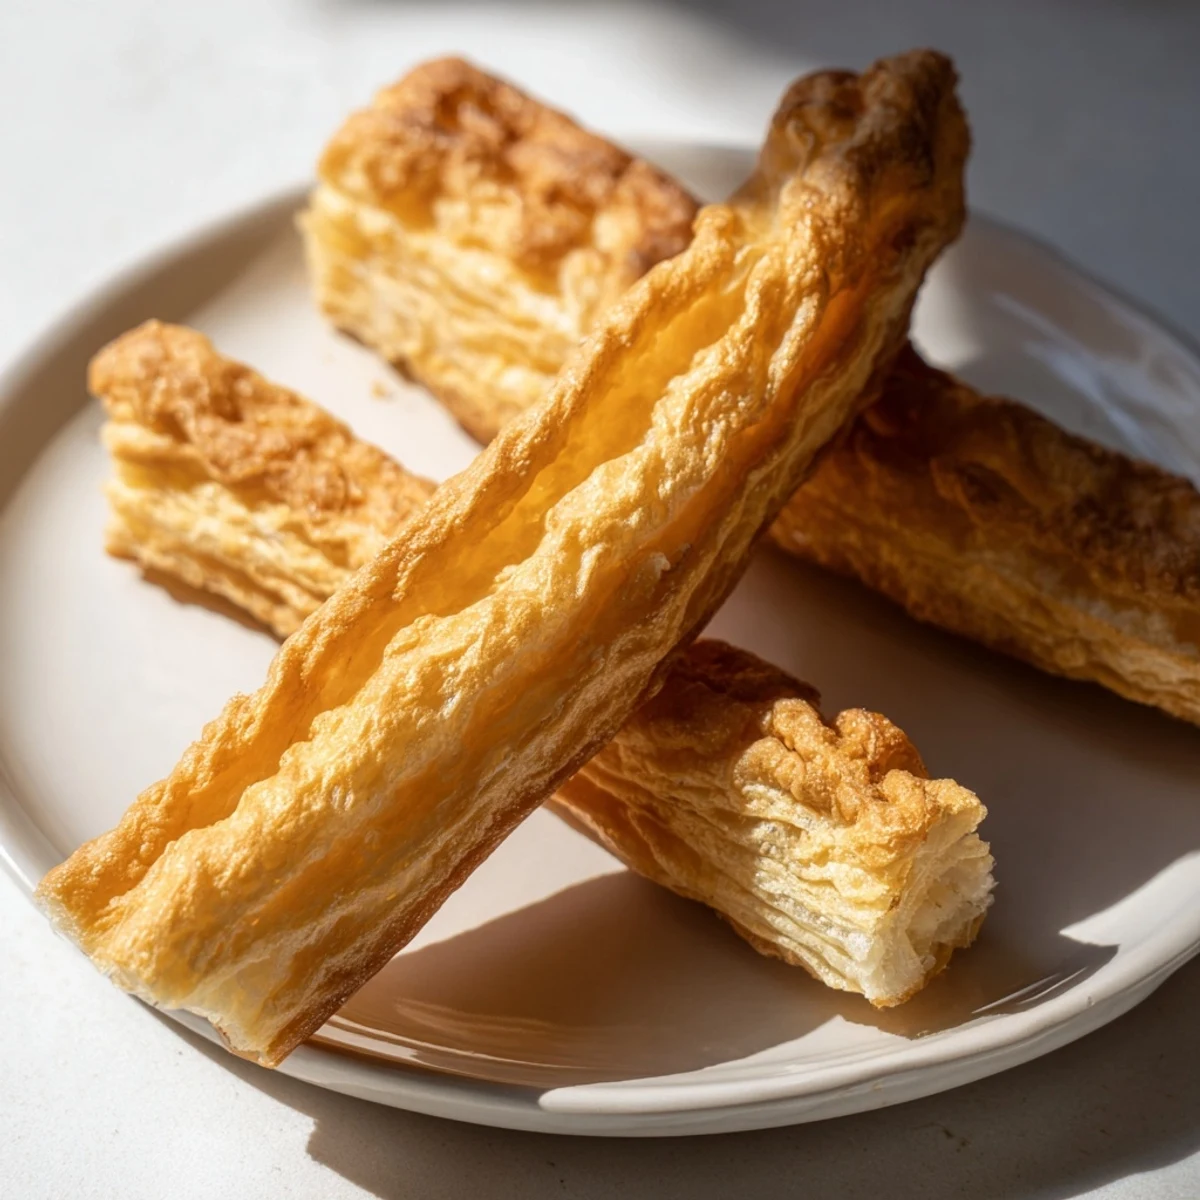
Save These golden sticks of fried perfection might just become your weekend breakfast ritual. There's nothing quite like tearing into a fresh youtiao while it's still warm and hearing that satisfying crunch.
Recipe FAQs
- → What makes youtiao puff up during frying?
-
The combination of baking powder and baking soda creates carbon dioxide when heated, causing the dough to expand rapidly. Pressing two strips together creates a weak point that encourages puffing. Proper oil temperature around 375°F ensures rapid steam production inside the dough.
- → Can I prepare the dough ahead of time?
-
Yes, the dough can be prepared and refrigerated overnight after the first resting period. Let it come to room temperature for 30 minutes before rolling and cutting. The extended resting actually improves texture and flavor development.
- → Why is my youtiao not crispy enough?
-
Oil temperature that's too low prevents proper crisping. Ensure oil reaches 375°F before frying. For extra crunch, try the double-frying method: first fry at 325°F until pale, rest 5 minutes, then fry again at 375°F until golden brown. Drain immediately on wire racks, not paper towels.
- → What should I serve with youtiao?
-
Traditionally, youtiao pairs with sweetened soy milk for dipping—the warm milk softens the exterior while adding creamy sweetness. Also excellent alongside congee (rice porridge), with fresh soy milk, or dipped in condensed milk. Some enjoy them with coffee or tea.
- → Can I make youtiao without a deep fryer?
-
A heavy-bottomed pot or wok works perfectly for frying. Use enough oil so the dough floats freely—about 4 cups for most pots. A clip-on thermometer helps maintain consistent temperature. Fry in batches of 2-3 pieces to avoid overcrowding and temperature drops.
- → How do I store and reheat leftover youtiao?
-
Store cooled leftovers in an airtight container at room temperature for up to 2 days. For best results, reheat in a 350°F oven for 5-7 minutes until crisp again. Avoid microwaving as this makes them tough. Freshly fried youtiao have superior texture, so plan to fry just before serving when possible.
