 Save
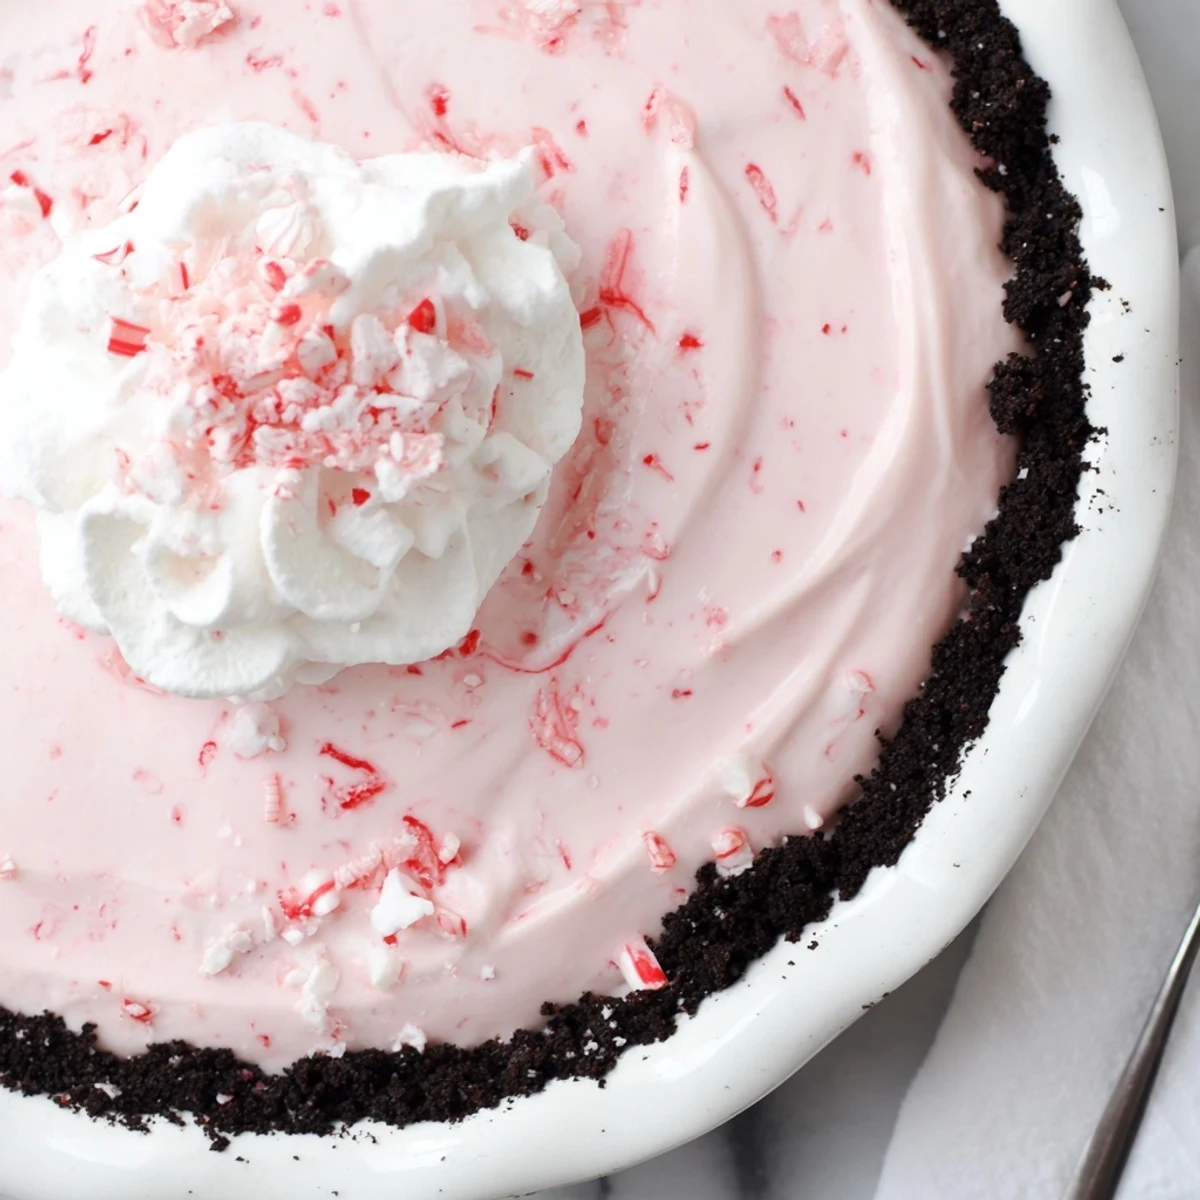
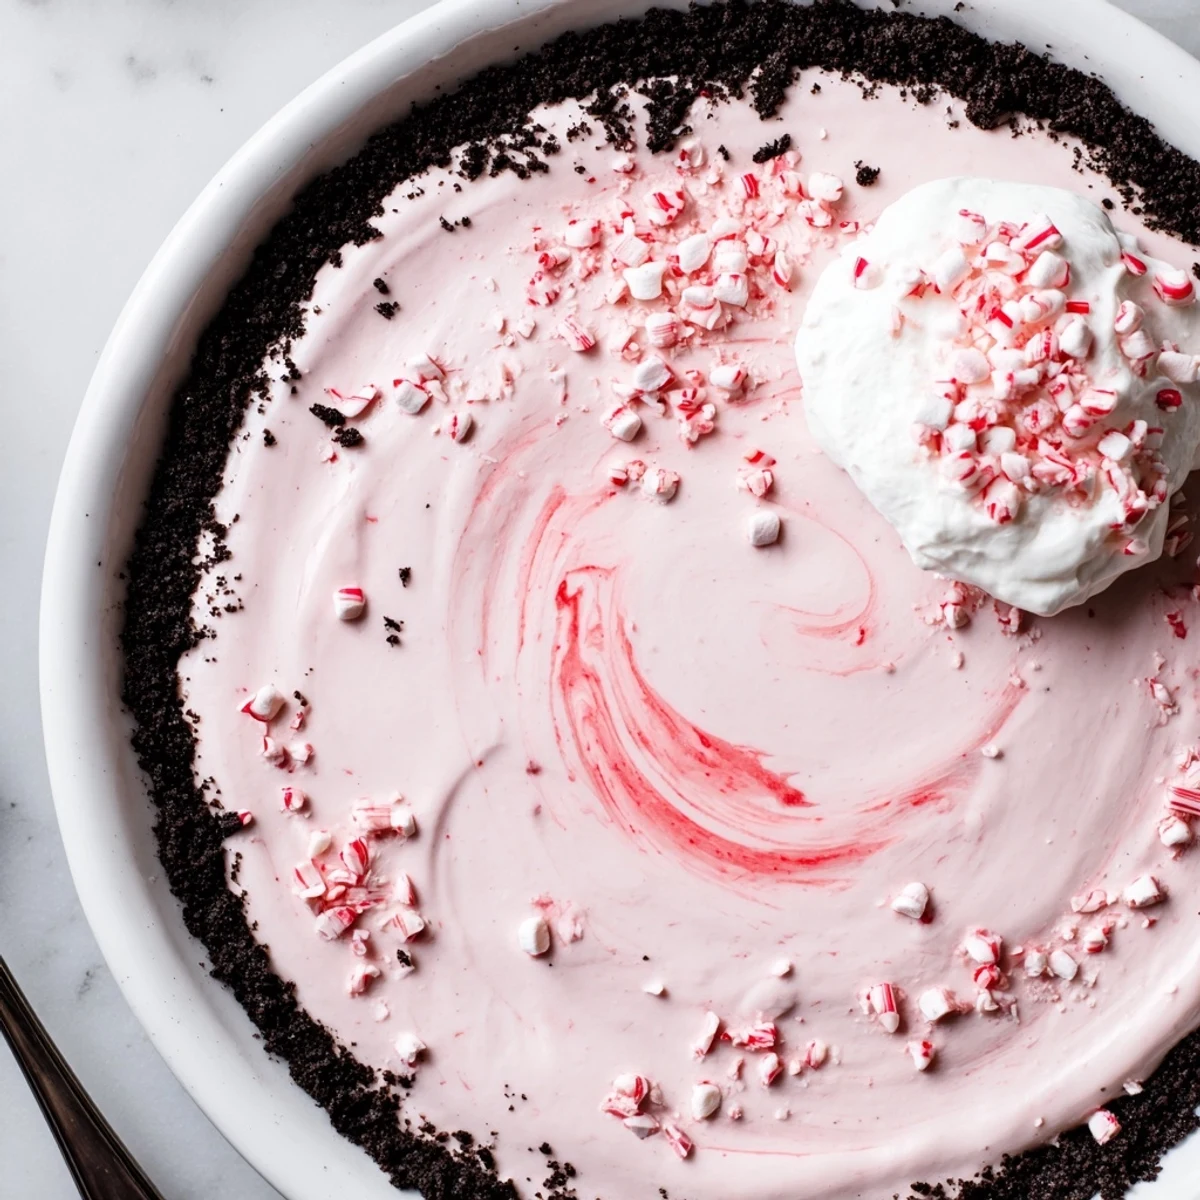
Save Press chocolate cookie crumbs with melted butter into a 9-inch dish and chill. Whip cold heavy cream to stiff peaks. Beat softened cream cheese with powdered sugar, vanilla and peppermint until smooth, then fold in whipped cream, mini marshmallows and crushed candy canes. Spoon into crust, smooth and refrigerate at least four hours to set. Top with whipped cream and extra crushed candy canes just before serving; adjust peppermint to taste and use gluten-free cookies if needed.
The first time I made Candy Cane Pie, the windows were flocked with frost and every sound in my kitchen seemed sharper, the mixer humming against the soft patter of marshmallows hitting a glass bowl. The scent of peppermint instantly wrapped itself around the room, whisking in a cheer that felt a bit like laughter. I was half-expecting the filling to overflow as I worked, sticky hands and all, but sometimes dessert is more about the joyful messes than perfection. Leaning against the counter, I realized: this is holiday spirit in a pan.
One winter, I brought this pie to a casual gift swap with friends, confident but a little frazzled from the rush. Watching everyone gather around, waiting for an extra-slice, I realized it had become everyone’s favorite within minutes—no leftovers, just happy peppermint-smeared forks.
Ingredients
- Chocolate cookie crumbs (1 1/2 cups): Oreos crushed super fine create a crust that almost snaps under your fork—a thin layer is best for texture.
- Unsalted butter (1/4 cup, melted): Melted butter is the magical glue for the crust; microwave just until it’s liquid but not piping hot.
- Heavy whipping cream (1 1/2 cups): Use extra-cold cream for volume when whipping; chill your bowl and beaters first if you can.
- Cream cheese (230g/8 oz, softened): Cream cheese adds dreamy richness; leave it out while you prep the crust so it’s easy to blend.
- Powdered sugar (1 cup): Powdered sugar dissolves smoothly for a silken filling—no grainy bits allowed.
- Vanilla extract (1/2 teaspoon): Vanilla rounds out the peppermint with warmth, so don’t skip it.
- Peppermint extract (1 teaspoon): A little goes a long way—taste as you go, since peppermint can quickly take over if you aren’t careful.
- Mini marshmallows (1 1/2 cups): They melt slightly into the filling, adding that gentle pillowy bite.
- Crushed candy canes (1/3 cup + extra for topping): Use a rolling pin to bash them while still in their wrappers for minimal mess.
- Red food coloring (optional): Just a drop or two delivers a perfect blush—swirl lightly for a marbled look or mix well for all-pink.
- Whipped cream (1 cup for topping): Freshly whipped or from a can, it’s your festive snowdrift.
- More crushed candy canes or peppermint candies: Sprinkle right before serving to keep them crisp.
Instructions
- Form the crust:
- Press the chocolate cookie crumbs and melted butter together in a bowl until evenly moistened, then spread and press into a 9-inch pie dish with your hands or a spoon. Slide the dish into the fridge and let it set while you make the filling.
- Whip the cream:
- Pour the heavy whipping cream into a cold bowl and beat until you see strong peaks that don’t slump, being careful not to overmix—this is your fluffy foundation.
- Blend the filling:
- In a separate bowl, beat together the softened cream cheese, powdered sugar, vanilla, and peppermint extract until completely smooth, pausing to scrape down the sides.
- Combine and color:
- Using a spatula, gently fold the whipped cream into the cream cheese mixture. Add mini marshmallows and crushed candy canes, folding softly so you keep the air in; dot in food coloring and swirl if you want a pink or marbled effect.
- Fill and chill:
- Spoon the mixture over your prepared crust, smoothing the top. Cover and chill in the fridge for at least four hours (overnight works too) until fully set and sliceable.
- Decorate to finish:
- Just before serving, pile on whipped cream and scatter additional candy canes on top for that signature crunch.
 Save
Save There was a night when the pie came out, unplanned, during a marathon game of cards with my cousins. Between losing at Go Fish and listening to their peppermint-crusted laughter, I saw this pie magically transform a regular evening into a memory I didn’t want to end.
How to Customize for Every Craving
Once, out of pure curiosity, I swapped the chocolate cookies for gingersnaps—the slightly spiced crust brought a warm twist that surprised everyone at the table. You can add crushed chocolate or white chocolate chunks to the filling if you want more texture. Occasionally, I like a few drops of almond extract in addition to peppermint for a slightly different festive vibe.
Making Ahead & Storage
One practical joy is that this pie is happiest when made ahead—a true gift for busy holidays. The flavor doesn’t fade with chilling, and in fact, it holds up beautifully if covered well in the fridge for a day or two. If any leftovers survive (rare!), they’re delicious eaten straight from the tin at midnight.
Little Touches That Make It Special
A little extra whipped cream piped along the edge gives a bakery look with zero effort, and bright red sugar or chocolate curls look gorgeous atop the peppermint snow. Edible glitter is totally optional, but once the lights hit, it sparkles like a snowy night. The joy is in layering flavors and texture—let your creativity take over.
- Chill your pie dish before pressing in the crust—it holds its shape better.
- Keep the pie super cold until ready to serve to ensure perfect slices.
- If you love marshmallow, add a few on top right before serving for extra cheer.
 Save
Save I hope your kitchen fills with that unmistakable peppermint-chocolate happiness, and that every bite of Candy Cane Pie brings a little more sparkle to your season.
Recipe FAQs
- → How long should the pie chill before serving?
-
Chill for a minimum of four hours to allow the filling to set properly; overnight yields the best texture and cleaner slices.
- → Can this be made ahead of time?
-
Yes. Assemble the pie and refrigerate up to 48 hours. Hold off on adding the whipped topping and extra candy cane pieces until just before serving to preserve crunch.
- → How do I keep the candy canes crunchy?
-
Crush candy canes for folding into the filling, but reserve extra pieces for garnish and add them immediately before serving. Store any prepared toppings separately in an airtight container.
- → What are good substitutions for dairy ingredients?
-
For a dairy-free option, try full-fat coconut cream whipped to peaks and a dairy-free cream cheese alternative—note texture and flavor will differ from the original.
- → How can I make a gluten-free crust?
-
Use gluten-free chocolate cookies or graham-style biscuits crushed and mixed with melted butter, or combine almond flour with cocoa and a touch of sugar for a nut-based crust.
- → What should I serve with this pie?
-
Serve chilled with a dollop of whipped cream and extra crushed candy canes. Pair with a chilled sweet wine like Moscato or a cup of coffee for balance.
