 Save
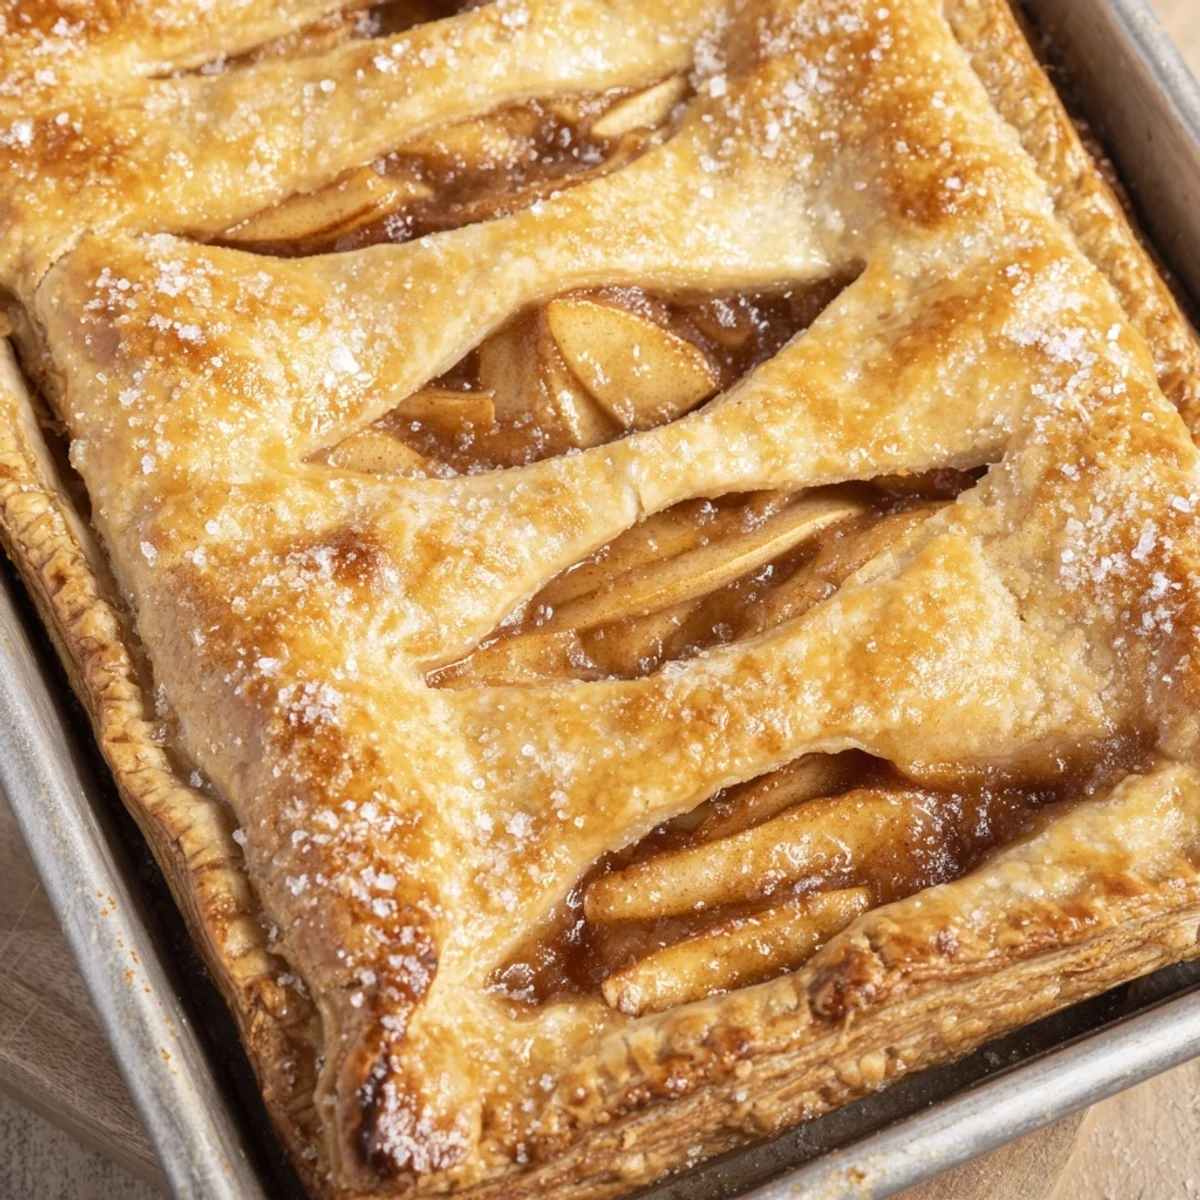
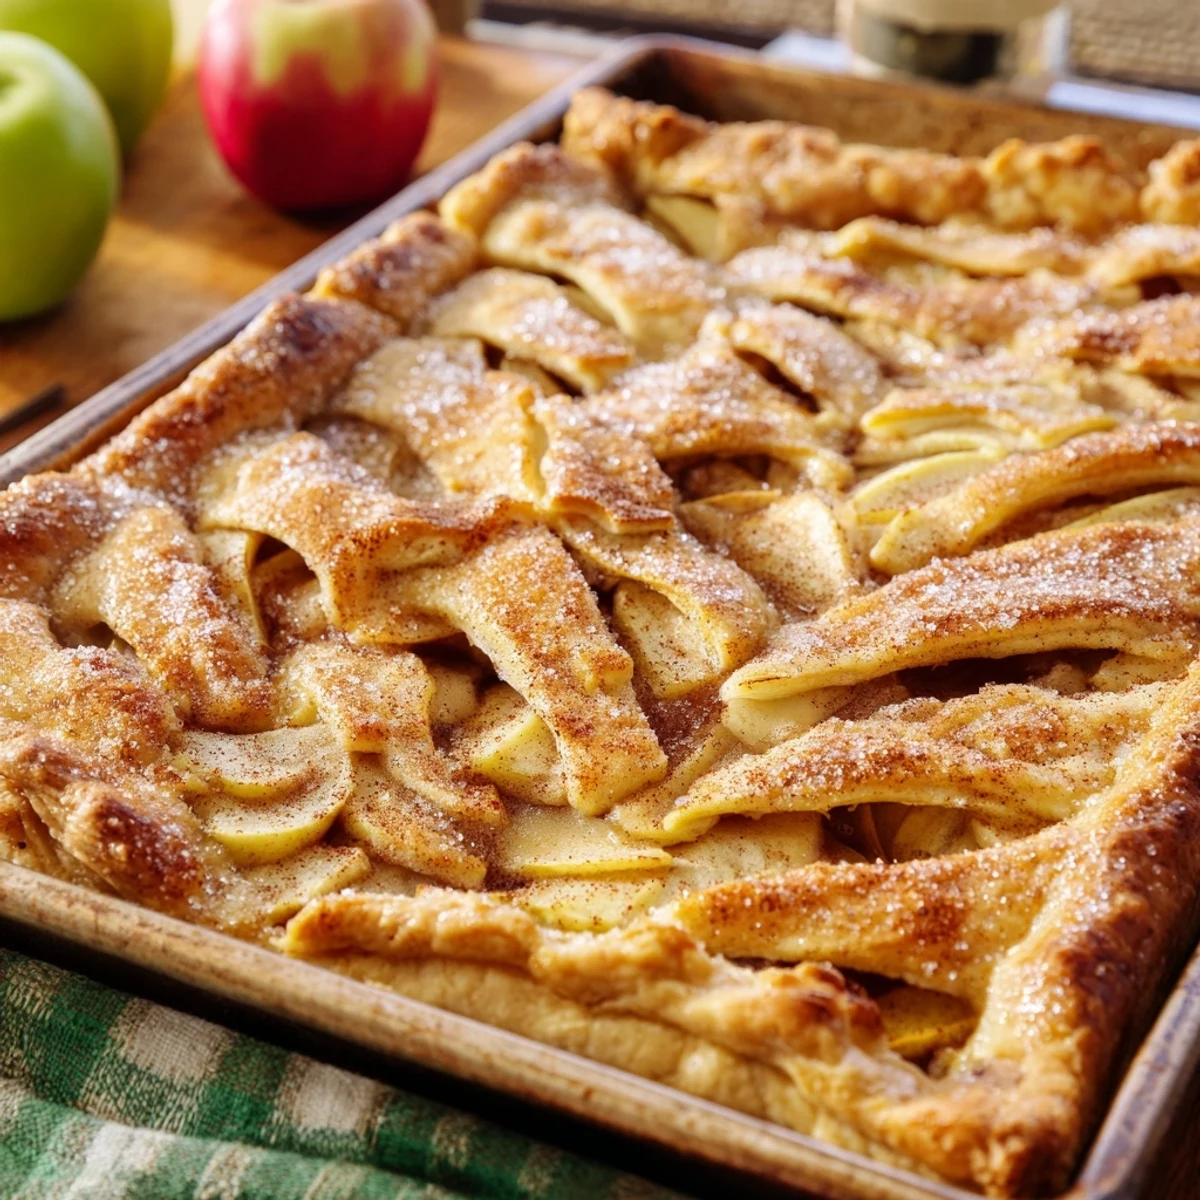
Save This generous rectangular dessert combines a tender, flaky pastry with layers of cinnamon-spiced apples. The slab format makes it ideal for feeding crowds at family gatherings, potlucks, and holiday celebrations. With its golden crust and bubbling fruit filling, this handheld treat captures all the comfort of traditional apple pie in an easy-to-serve shape that slices into perfect squares.
Last Thanksgiving, my sister jokingly suggested we needed a pie that could actually feed everyone without anyone fighting over the last sliver. That slab pie idea turned into the most brilliant kitchen experiment wed stumbled onto in years. The kitchen filled with cinnamon and butter while we argued over whether Honeycrisp or Granny Smith apples deserved the spotlight. Everyone went quiet the moment that golden crust hit the table.
I brought this to a neighborhood potluck last fall, and honestly, I was nervous it looked too humble compared to the fancy tarts and elaborate layer cakes. Three people asked for the recipe before they even finished their first square. The best compliment came from my neighbor's grandmother who said it reminded her of the church socials of her childhood.
Ingredients
- 3 1/2 cups all-purpose flour: The foundation of your crust, providing structure and that tender flake we all crave
- 1 tablespoon granulated sugar: Just enough to balance the flour without making the crust too sweet
- 1 1/2 teaspoons salt: Enhances all the flavors and keeps the crust from tasting flat
- 1 1/2 cups cold unsalted butter, cubed: Must be ice cold, those tiny butter pockets are what creates the flaky layers
- 1/2 cup ice water: Add gradually, you might not need all of it, the dough should just come together
- 8 medium apples: A mix of tart and sweet varieties gives the best depth of flavor
- 2/3 cup granulated sugar and 1/3 cup light brown sugar: The combination gives a rich caramel-like sweetness
- 1 1/2 teaspoons cinnamon and 1/4 teaspoon nutmeg: Classic warm spices that make everything taste like fall
- 3 tablespoons cornstarch: The secret to perfectly thickened fruit filling without being gloppy
- 2 teaspoons lemon juice: Brightens all the flavors and keeps apples from browning
- 1 egg and 1 tablespoon milk: Creates that beautiful golden finish on the crust
Instructions
- Preheat your oven and prepare the pan:
- Set your oven to 400°F and line a 10x15-inch rimmed baking sheet with parchment paper. This size matters, it gives the pie that perfect slab proportions.
- Make the crust dough:
- Whisk together flour, sugar, and salt in a large bowl. Cut in that cold butter until you see coarse crumbs, then add ice water gradually until the dough just holds together when squeezed.
- Shape the dough:
- Divide the dough into two pieces, making one slightly larger for the bottom crust. Let them rest while you prep the apples, this keeps everything tender.
- Prepare the apple filling:
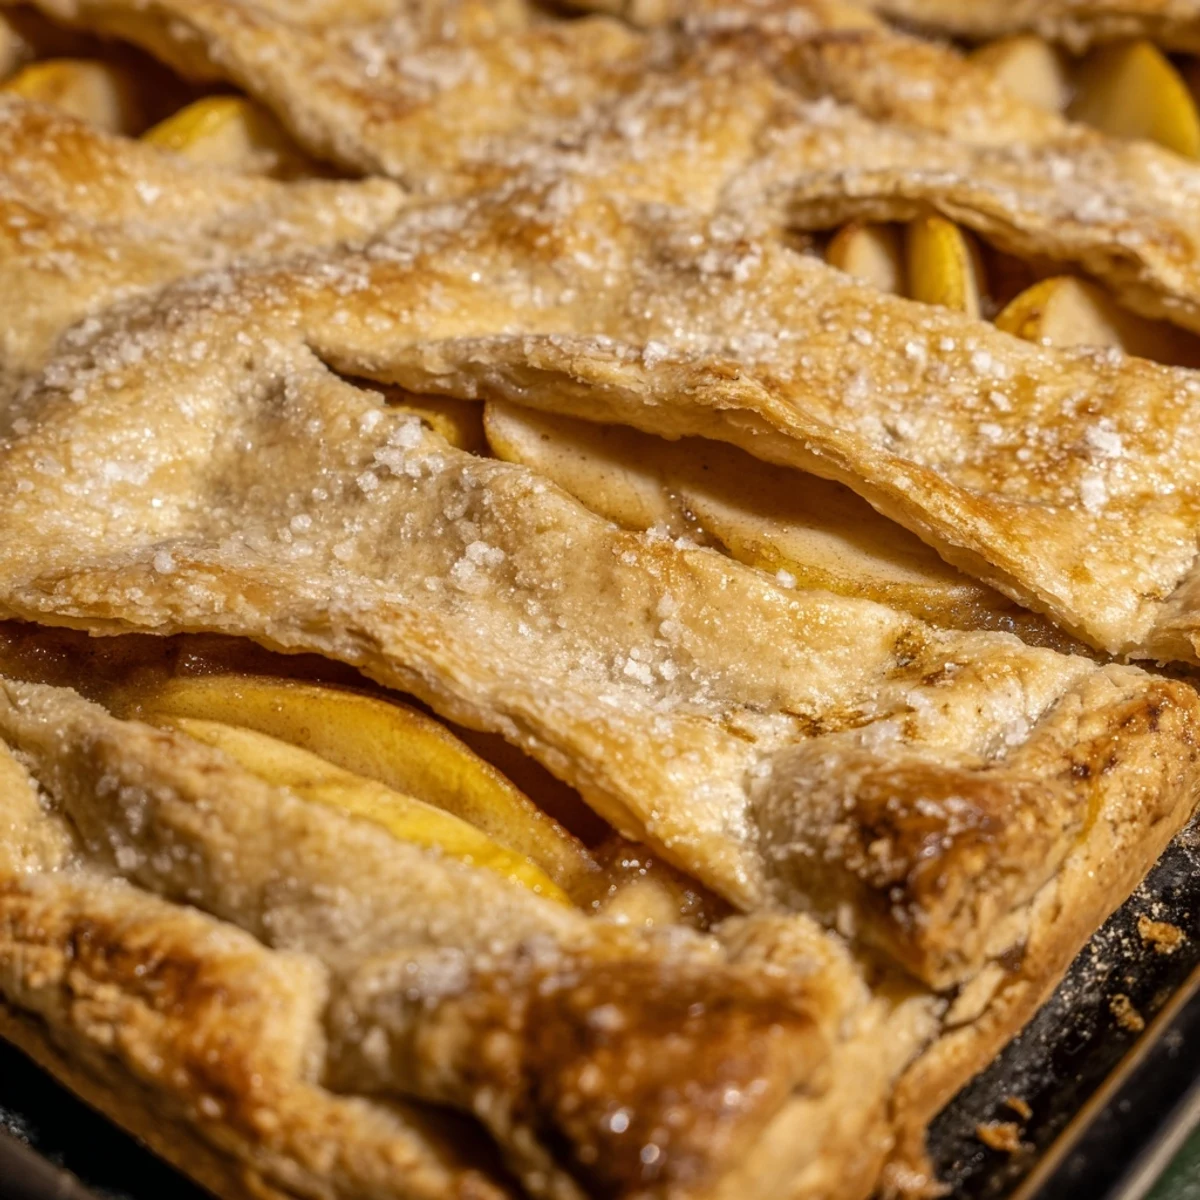
- Toss those sliced apples with both sugars, spices, cornstarch, and lemon juice until every piece is coated. The mixture should look thick and glossy.
- Roll out the bottom crust:
- Roll the larger dough piece on a floured surface until it fits your pan with some overhang. Gently lift it in and press into the corners and sides.
- Assemble the filling:
- Pour those spiced apples evenly over the bottom crust. Really pile them in, they will cook down and settle beautifully.
- Add the top crust:
- Roll out the remaining dough and place it over the apples. Trim the edges, pinch to seal, and cut small slits for steam to escape.
- Add the finishing touches:
- Whisk the egg with milk and brush over the entire top crust. Sprinkle with coarse sugar for that sparkle and extra crunch.
- Bake until golden:
- Bake for 35 to 40 minutes until deeply golden and you see the filling bubbling through those steam vents. The smell will be incredible.
- Let it cool before slicing:
- Wait at least 30 minutes before cutting into squares. This patience pays off, the filling needs time to set properly.
 Save
Save This recipe has become my go to for every gathering now. There is something about those portable squares that makes people feel taken care of, like home baked comfort they can hold in their hands.
Making It Ahead
You can absolutely make the dough up to two days ahead and keep it refrigerated. The filling can be prepped a day in advance too, just toss the apples with the sugars and spices right before assembling so they do not get too juicy.
Apple Varieties That Work Best
I have learned that a mix is always better than a single variety. Granny Smith holds its shape and provides tartness while Honeycrisp or Fuji bring sweetness and a softer texture. The contrast makes every bite interesting.
Serving Suggestions
Warm squares with vanilla ice cream are pretty much perfection, but I have also served this at brunch with a dollop of Greek yogurt. The leftovers, if you somehow have them, make an incredible breakfast the next morning.
- A scoop of vanilla bean ice cream creates the perfect temperature contrast
- Caramel drizzle takes this from homey to downright indulgent
- Whipped cream with a pinch of cinnamon is lighter than ice cream but just as delicious
 Save
Save There is something uniquely satisfying about a slab pie, it feeds a crowd without pretense and tastes even better than it looks. Hope this becomes one of your most requested recipes too.
Recipe FAQs
- → What type of apples work best?
-
Granny Smith and Honeycrisc apples provide excellent balance. The tartness of Granny Smith pairs beautifully with the sweetness, while Honeycrisc adds natural sweetness and holds its texture well during baking.
- → Can I make this ahead of time?
-
Yes, you can prepare the filling and dough up to 24 hours in advance. Store them separately in the refrigerator. The finished slab pie also keeps well at room temperature for up to two days or refrigerated for up to five days.
- → Why use a slab pan instead of a round pie dish?
-
The rectangular shape yields more servings and creates uniform, easy-to-handle pieces. It's particularly practical for large gatherings, buffets, and potlucks where guests can easily serve themselves without messy slicing.
- → How do I know when it's done baking?
-
The crust should be deep golden brown, and you should see the filling bubbling vigorously through the steam vents. If the crust browns too quickly, cover loosely with foil for the last 10 minutes of baking time.
- → Can I freeze this slab pie?
-
You can freeze the assembled, unbaked slab pie for up to 3 months. Bake from frozen, adding about 15 minutes to the baking time. Alternatively, freeze fully cooled portions in airtight containers for up to 3 months and reheat before serving.
- → What's the best way to serve?
-
Allow to cool for at least 30 minutes before slicing into squares—this helps the filling set. Serve warm or at room temperature, optionally with vanilla ice cream or whipped cream for extra indulgence.
