 Save
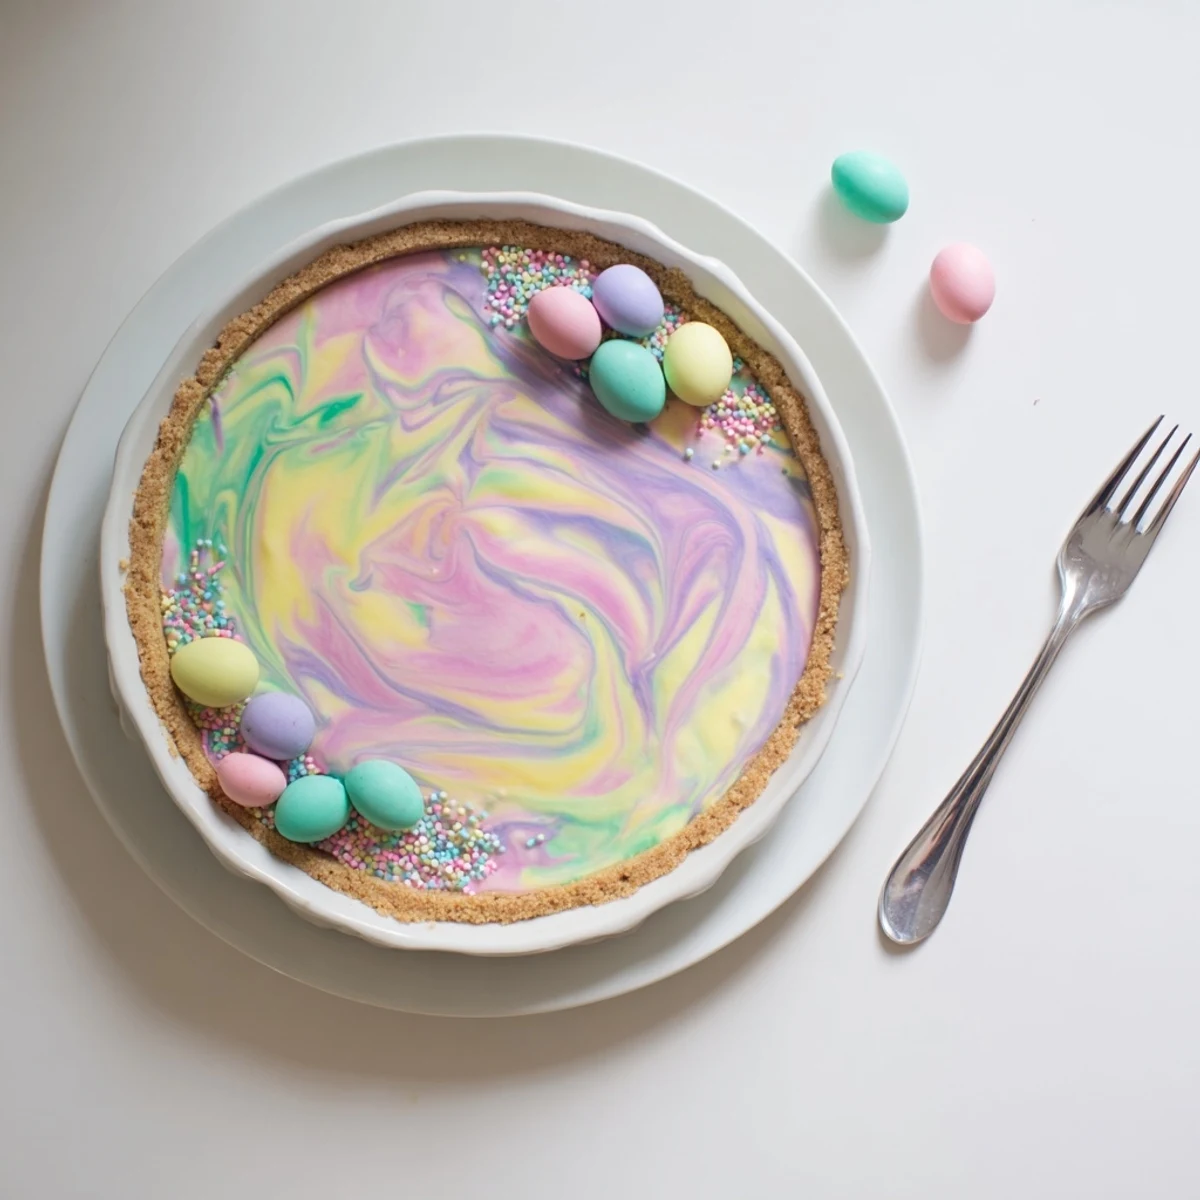
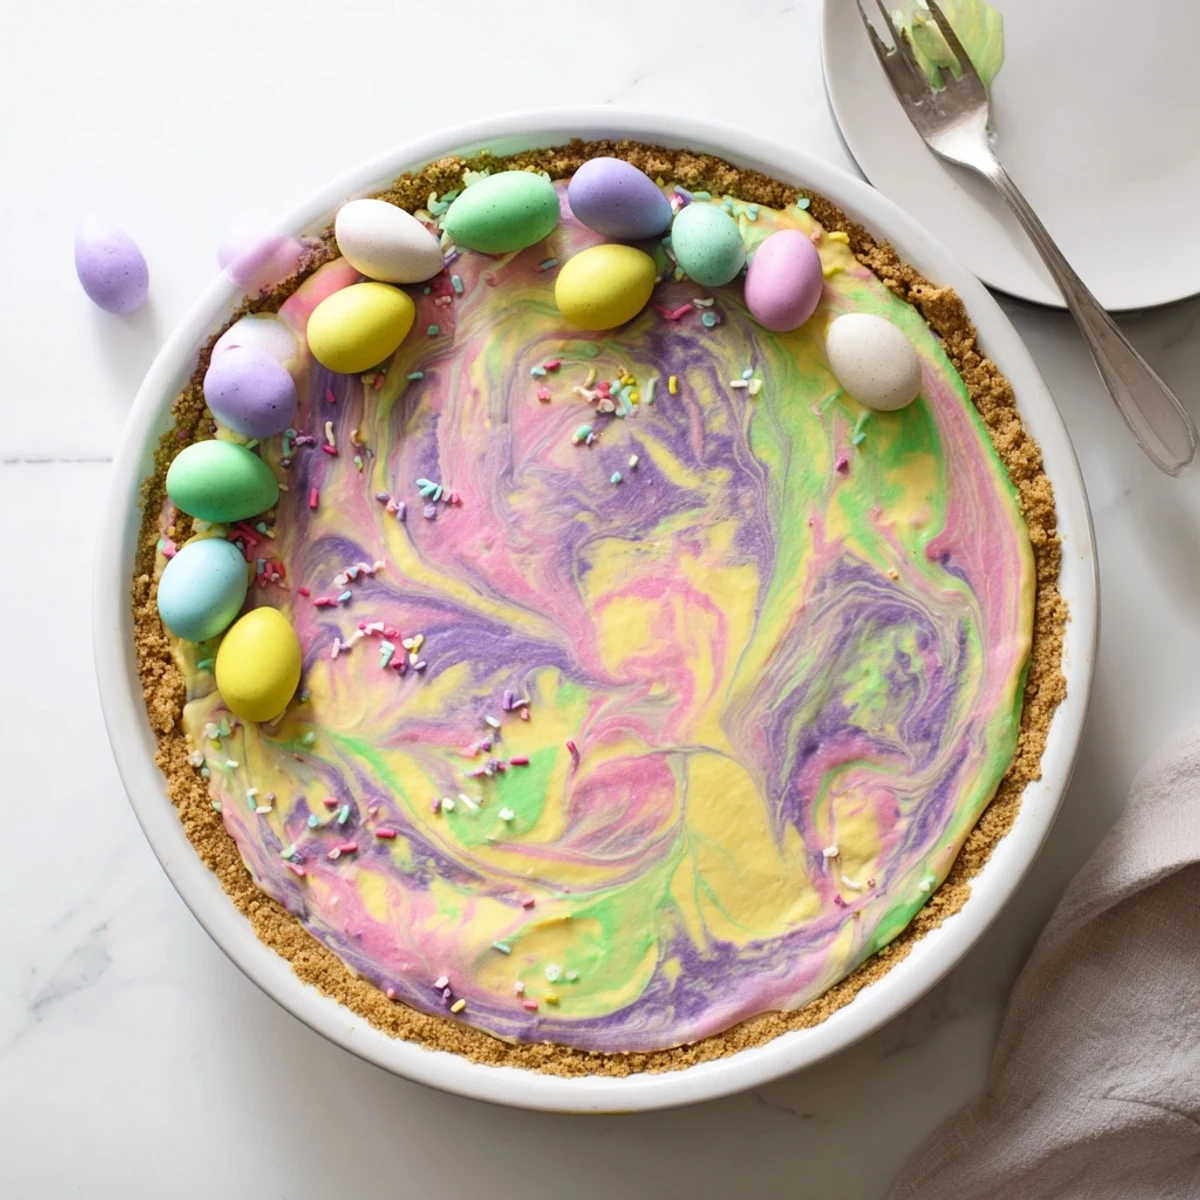
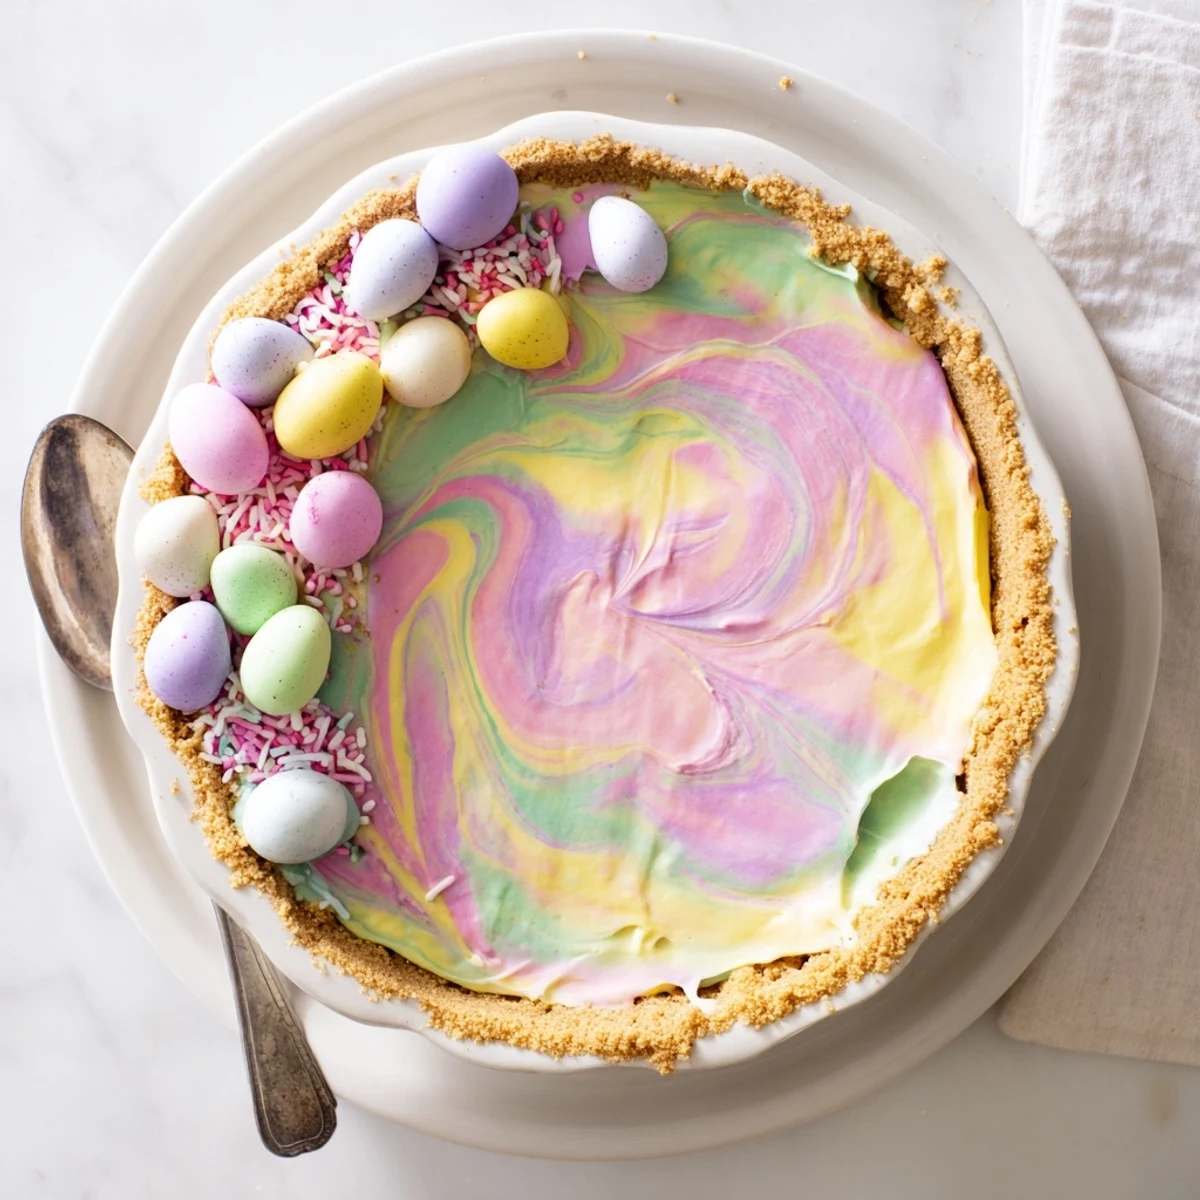
Save This vibrant dessert features a velvety blend of cream cheese and mascarpone with sweetened whipped cream. The filling gets divided and tinted with soft pastel gel colors—think pink, yellow, purple, and green—then spooned randomly over a graham cracker base. A few gentle swirls with a skewer create that gorgeous marbled effect everyone loves. After two hours in the fridge, the creamy layers set into perfectly sliceable portions. The buttery crust balances the rich, sweet filling beautifully, while optional sprinkles or mini chocolate eggs add festive crunch.
Last Easter, my youngest asked if we could make something that looked like spring exploded on a plate. We ended up spooning pastel-colored filling into bowls with so much giggling that half the pink ended up on her nose instead of in the pie. Now it is the one dessert that actually makes everyone pause before grabbing a fork just to admire the swirls.
My aunt taught me that gel food coloring is the secret to getting those soft pastel shades instead of neon circus colors. The first time I made this, I accidentally used too much yellow and ended up with a pie that looked like sunshine gone wrong. Now I dip a toothpick in the dye and add it drop by drop until the bowls look like Easter eggs found their way into the filling.
Ingredients
- Graham crackers or digestive biscuits: Crushing these yourself yields the best texture but store-bought crumbs work in a pinch just watch out for already sweetened varieties
- Unsalted butter: Melt this completely and let it cool slightly so it binds the crumbs without making them soggy
- Cream cheese and mascarpone: The mascarpone adds an Italian touch that makes the filling taste like it came from a bakery
- Powdered sugar: This dissolves faster than granulated sugar so you never get gritty bites in your filling
- Heavy cream: Whip this to soft peaks only over-whipping will make the filling too stiff to swirl nicely
- Gel food coloring: Liquid coloring can thin out your filling so gel is really the way to go for those vibrant pastels
Instructions
- Build the crust foundation:
- Press those buttery crumbs into your pie dish with the flat bottom of a measuring cup so you get an even layer that will not crumble when you slice.
- Bake until golden:
- Ten to twelve minutes at 180°C is all you need to set the crust without drying it out completely.
- Create the creamy base:
- Beat the cheeses and sugar until no lumps remain then fold in whipped cream like you are handling something precious.
- Paint your pastel bowls:
- Divide the filling and add just a tiny bit of gel coloring to each bowl mixing until the colors remind you of Easter dresses.
- Swirl like an artist:
- Spoon the colors randomly over the crust then drag a knife through once or twice gently do not overmix or you will lose those beautiful marble patterns.
- Let it set:
- Two hours in the fridge might feel like forever but this patience is what makes each slice hold its shape on the plate.
 Save
Save I served this at a brunch last year and watched a grown man actually take a picture of his slice before eating it. Something about those swirls makes people feel like they are eating art even though it is just a pie my kid helped make.
Getting The Perfect Swirl
The trick is dropping dollops of filling in a random pattern rather than trying to be too methodical. I used to carefully space out each color but the prettiest swirls actually happen when you just go for it and let the knife do the work.
Making It Ahead
This pie is a dream for entertaining because it tastes better after sitting overnight. The flavors deepen and the texture becomes even silkier so you can assemble it the day before and focus on other dishes when guests arrive.
Color Variations
Beyond Easter you could switch up the color palette for any holiday or season. Red and green for Christmas orange and brown for Thanksgiving or keep it elegant with just white chocolate shavings on top.
- Try adding lemon zest to the yellow portion for a bright citrus surprise
- A tablespoon of melted white chocolate folded into the filling makes it taste even more indulgent
- If you run out of gel coloring you can use natural options like beet juice or matcha powder
 Save
Save There is something joyful about cutting into this pie and seeing those pastel layers revealed. It reminds me that dessert does not always have to be serious sometimes it just needs to make people smile.
Recipe FAQs
- → How long does Easter swirl pie need to chill?
-
Refrigerate for at least 2 hours until completely set. For best results, chill 3-4 hours or overnight. The filling needs this time to firm up properly for clean slices.
- → Can I make Easter swirl pie in advance?
-
Absolutely. Prepare the pie up to 24 hours ahead. Cover tightly with plastic wrap once chilled. Add sprinkles just before serving to maintain their crunch and color vibrancy.
- → What's the best food coloring for pastel swirls?
-
Gel food coloring works best—it provides intense color without thinning the creamy filling. Start with a tiny drop on a toothpick, then add more gradually until you reach soft pastel shades.
- → Can I use different colors for Easter swirl pie?
-
Feel free to customize your palette. Try blue and yellow for a fresh look, or stick with traditional pastels. Just 2-3 colors create beautiful effects. Avoid dark shades that might muddy the swirl.
- → What pairs well with Easter swirl pie?
-
Light desserts like this match perfectly with Moscato d'Asti, champagne, or herbal teas. The creaminess also complements fresh berries or a drizzle of fruit coulis on the side.
