 Save
Save Create tender, melt-in-the-mouth cookies with a rich buttery flavor that captures old-fashioned baking charm. These classic treats feature a delicate crumb and subtle sweetness, perfect alongside afternoon tea or during festive gatherings.
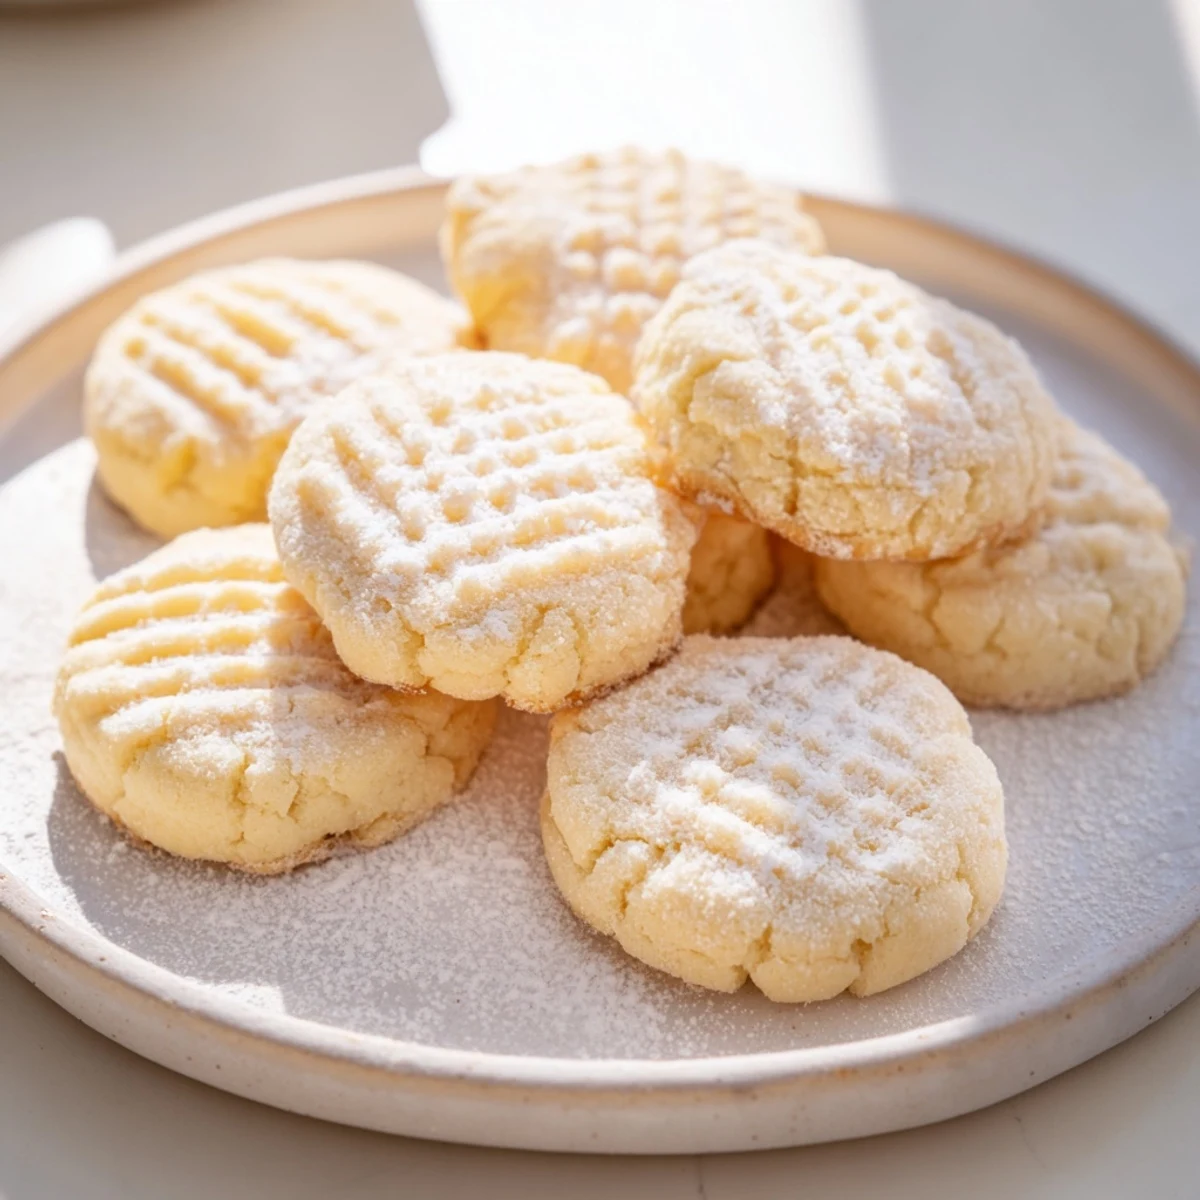
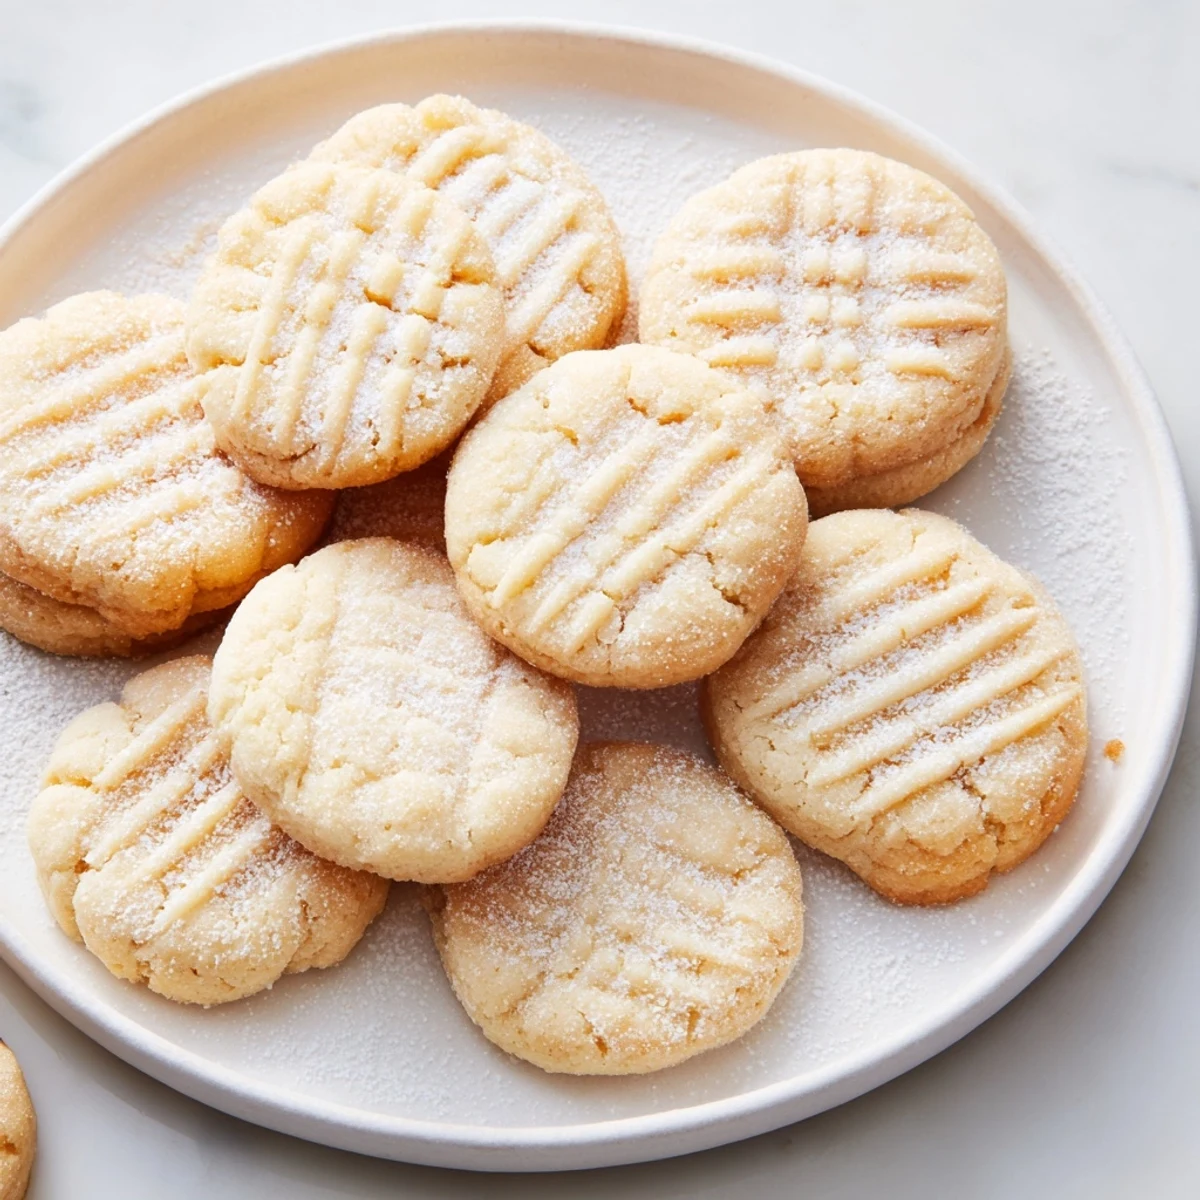
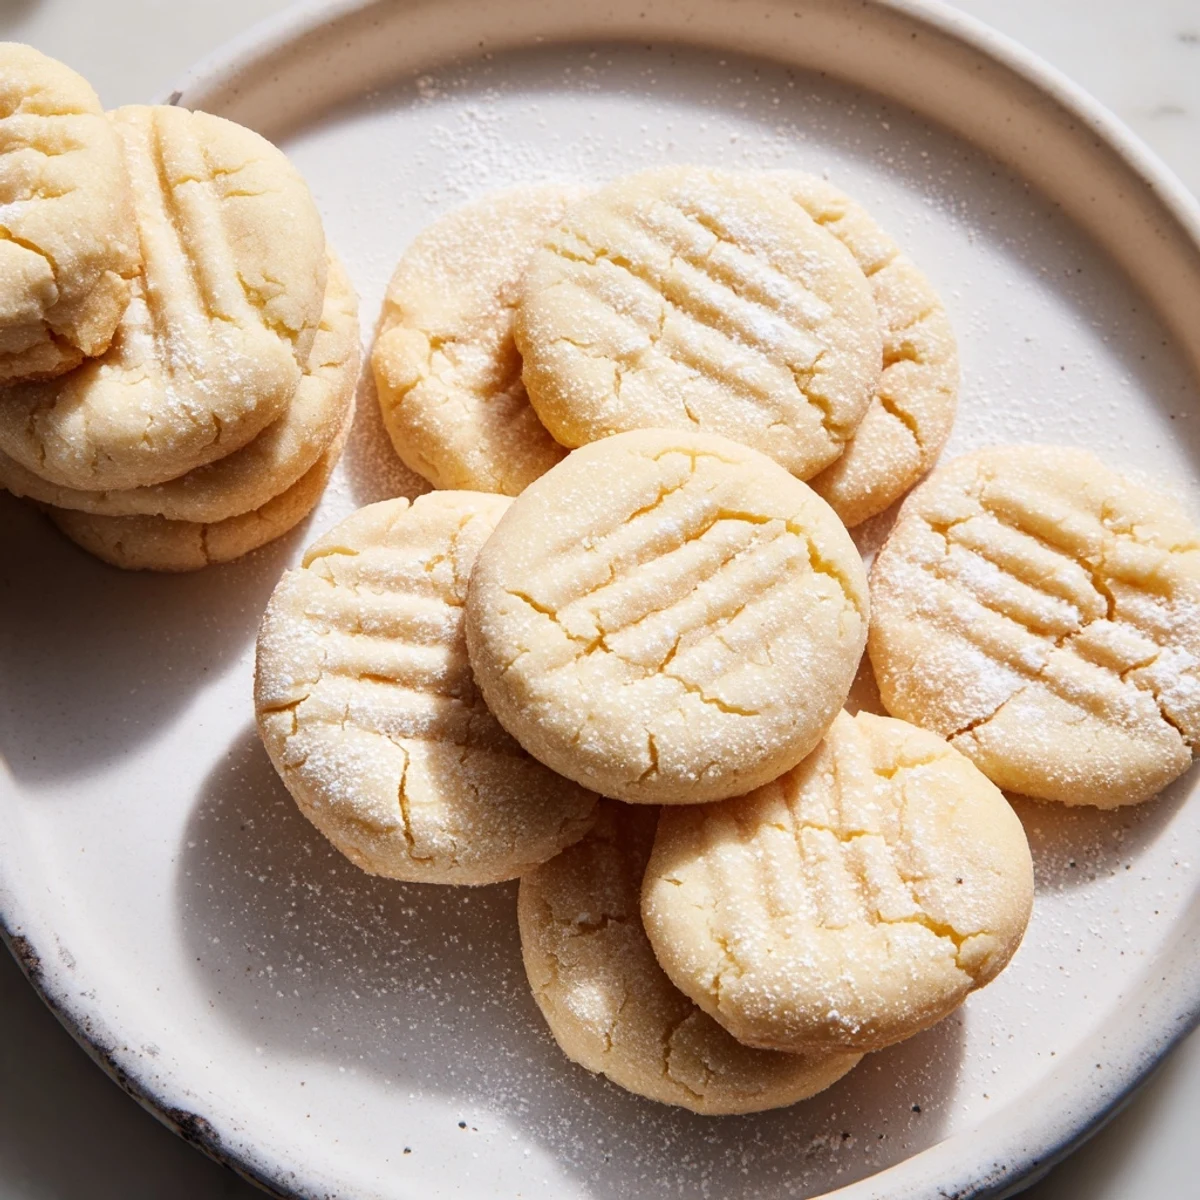
The simple dough comes together quickly using basic pantry staples—flour, butter, sugar, and vanilla. A brief chilling period ensures perfectly shaped rounds that bake to golden perfection in just 10-12 minutes. Finish with a light dusting of powdered sugar for an elegant presentation.
These versatile cookies keep beautifully for up to a week, making them ideal for holiday gifting or everyday indulgence. For variations, try dipping half in melted chocolate or swapping vanilla for almond extract.
The scent of melting butter always pulls me back to my grandmother's tiny kitchen, where sunlight streamed through lace curtains and flour dust danced in the air. I'd stand on a wooden step stool, watching her cream butter and sugar by hand with such patience, learning that some things simply cannot be rushed.
Last Christmas, my niece asked me to teach her how to make the cookies she remembered from childhood visits. We stood side by side in my kitchen, her small hands carefully measuring flour while I shared the same techniques my grandmother taught me decades ago.
Ingredients
- 2 1/4 cups all purpose flour: The backbone of these cookies, providing structure while still yielding tenderness
- 1/2 teaspoon sea salt: Enhances the butter flavor and balances sweetness
- 1 cup unsalted butter at room temperature: The star of the show, use quality butter for the best results
- 3/4 cup granulated sugar: Creates the perfect sweetness without overpowering the buttery notes
- 1 large egg yolk: Adds richness and helps bind the dough together
- 2 teaspoons pure vanilla extract: Warm, aromatic vanilla complements the butter perfectly
- 1/4 cup powdered sugar for dusting: An optional finishing touch that makes these cookies look bakery beautiful
Instructions
- Prep your space:
- Preheat oven to 350°F and line baking sheets with parchment paper, making cleanup effortless
- Combine dry ingredients:
- Whisk flour and salt in a medium bowl until well incorporated
- Cream butter and sugar:
- Beat butter and granulated sugar for about 3 minutes until the mixture turns pale and fluffy
- Add flavor:
- Mix in egg yolk and vanilla extract until fully blended into the butter mixture
- Form the dough:
- Gradually add flour mixture, mixing just until dough comes together without overworking it
- Shape the cookies:
- Roll tablespoonfuls into balls and place 2 inches apart on prepared baking sheets
- Create the classic look:
- Gently press each ball with fork tines or a glass bottom to flatten slightly
- Bake to perfection:
- Bake for 10 to 12 minutes until edges just begin turning golden, being careful not to overbake
- Cool completely:
- Let cookies rest on baking sheet for 5 minutes before transferring to wire rack
- Finish with flair:
- Dust cooled cookies lightly with powdered sugar for a snowy finish
 Save
Save My grandmother never used a stand mixer, and when I finally tried her hand method, I understood why she insisted on it. There's something meditative about feeling the butter transform under your wooden spoon, something electric mixers can never quite capture.
Making Them Your Own
I've discovered that swapping vanilla for almond extract creates a completely different cookie that feels just as nostalgic. Sometimes I add lemon zest in spring, or dip half in dark chocolate during the holidays when something extra festive feels right.
Storage Secrets
These cookies actually improve after a day in an airtight container, as the flavors meld together beautifully. I've learned to bake them a day before gatherings, though they rarely last more than 24 hours in my house.
Baking Wisdom
The most important lesson came from overbaking my first batch alone in college, resulting in cookies that could have been used as coasters. Now I set my timer for 10 minutes and check every minute after, trusting my eyes more than the recipe clock.
- Chill the dough for 30 minutes if it feels too soft to work with
- Use a cookie scoop for uniform size and even baking
- Warm the cookie sheets between batches for consistent results
 Save
Save May these cookies find their way into your own kitchen memories, creating moments that will someday make you smile as you remember standing beside someone who loved you enough to teach you something simple and wonderful.
Recipe FAQs
- → What makes these cookies so tender?
-
The high butter content combined with careful mixing creates a tender texture. Beating butter and sugar until fluffy incorporates air, while mixing flour just until dough comes together prevents gluten development.
- → Can I freeze the dough?
-
Yes, scoop dough into balls and freeze on a baking sheet before transferring to a freezer bag. Bake from frozen, adding 1-2 minutes to baking time. Frozen dough keeps for up to 3 months.
- → Why should I avoid overbaking?
-
These cookies continue setting on the hot baking sheet after removal. Overbaking leads to crisp edges instead of the desired tender, melt-in-your-mouth texture throughout.
- → What's the purpose of the fork press?
-
Pressing with fork tines or a glass bottom creates an even thickness for uniform baking. It also adds a decorative pattern that holds powdered sugar beautifully.
- → How should I store these cookies?
-
Keep in an airtight container at room temperature for up to one week. Place parchment paper between layers to prevent sticking. For longer storage, freeze undusted cookies and add sugar after thawing.
- → Can I make these without an electric mixer?
-
Yes, use a wooden spoon and some elbow grease. Room-temperature butter is essential—cream it vigorously with sugar until pale and fluffy before adding remaining ingredients.
