 Save
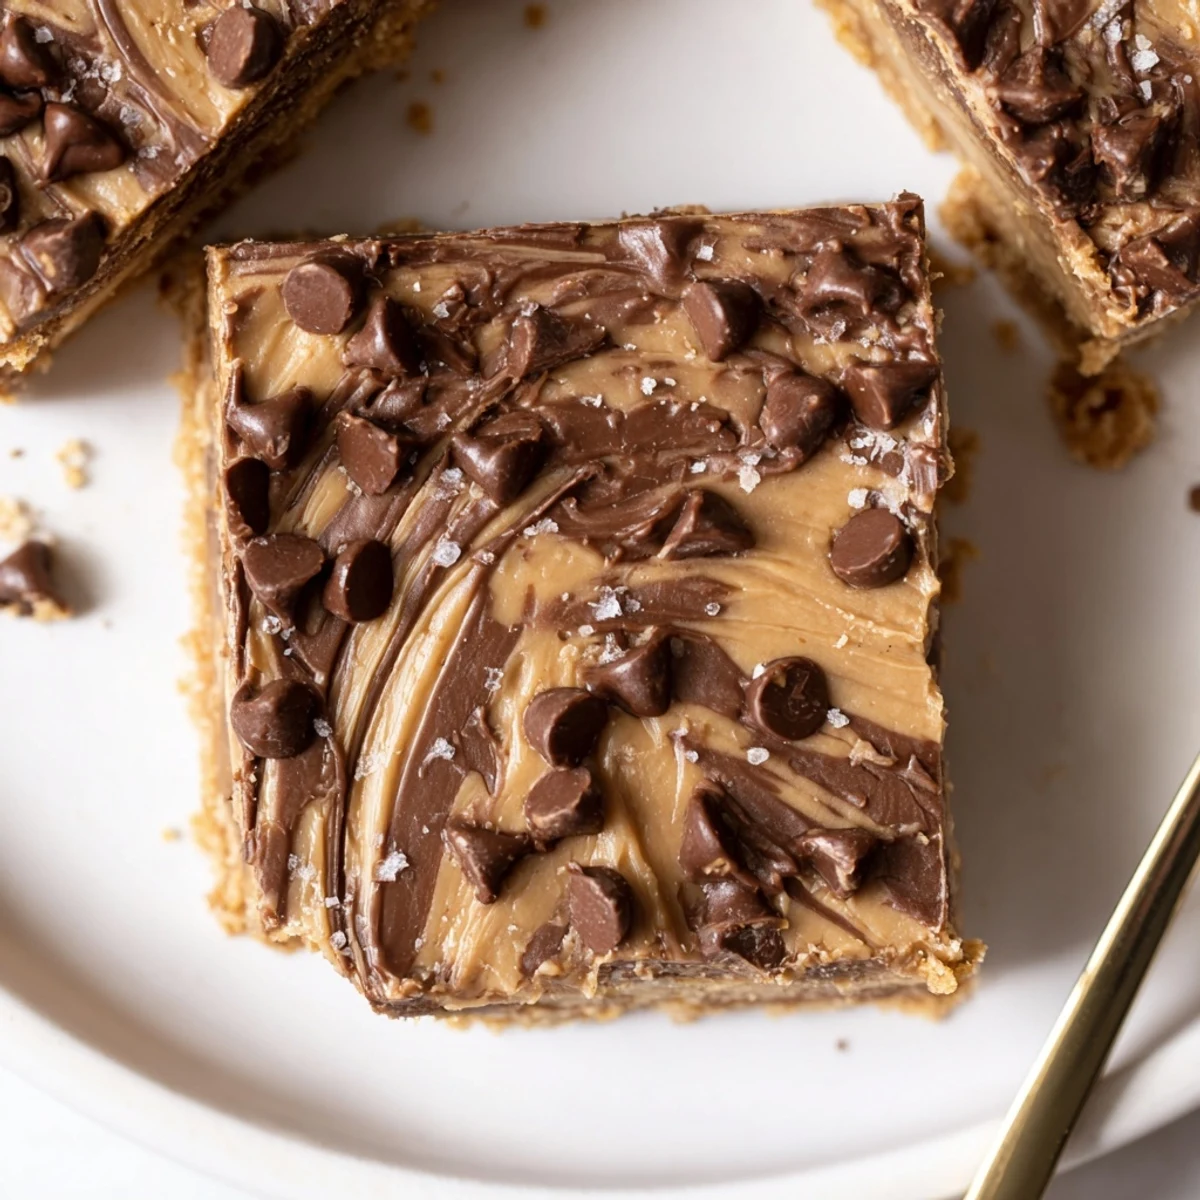
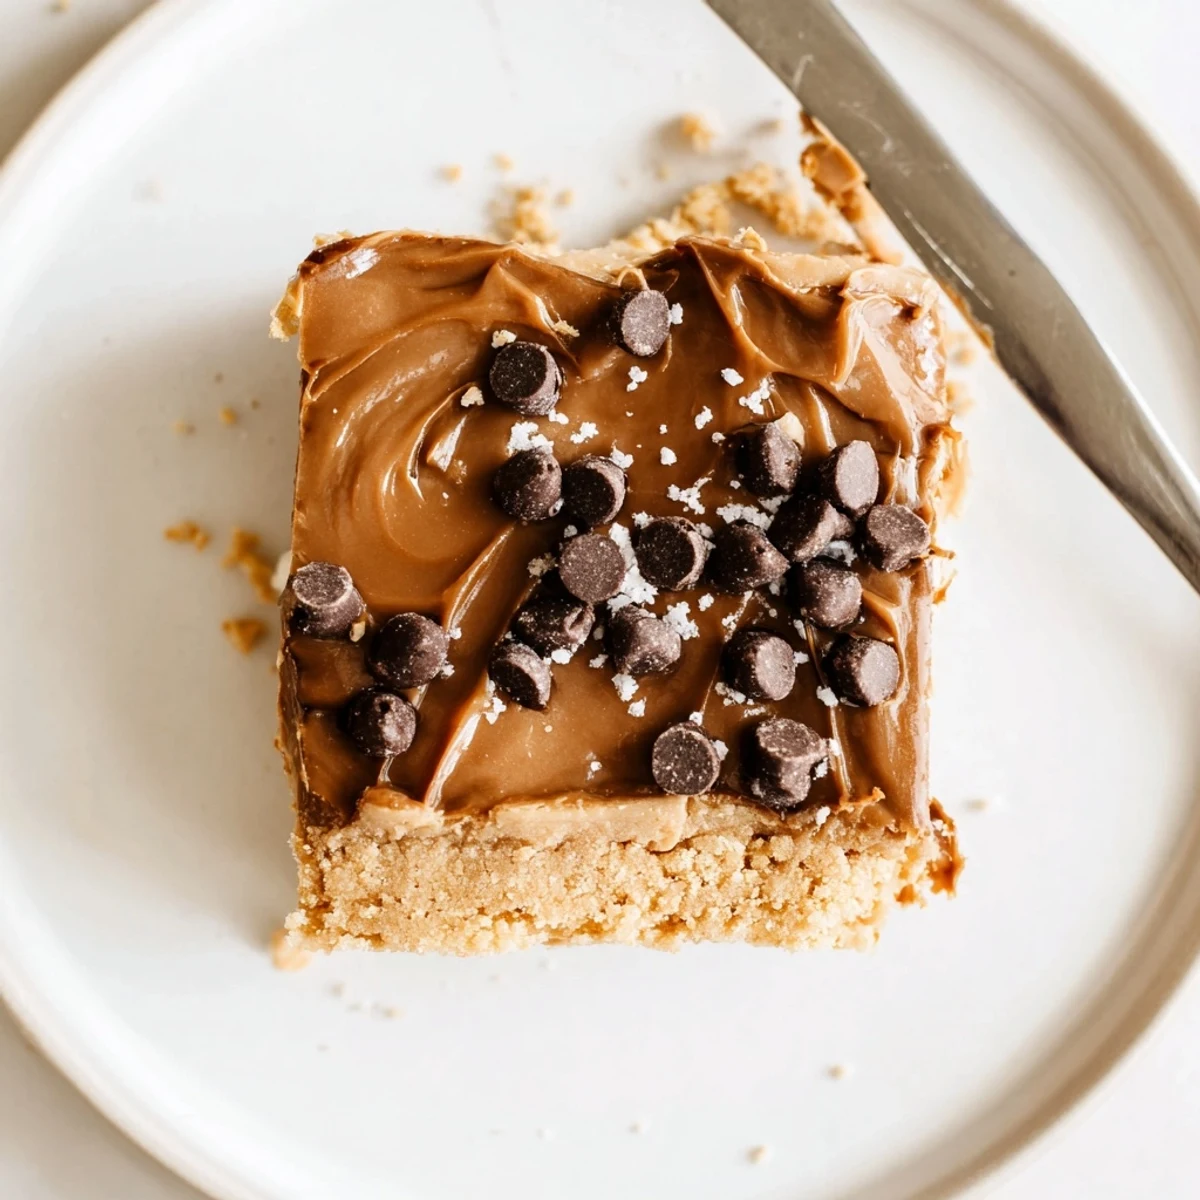
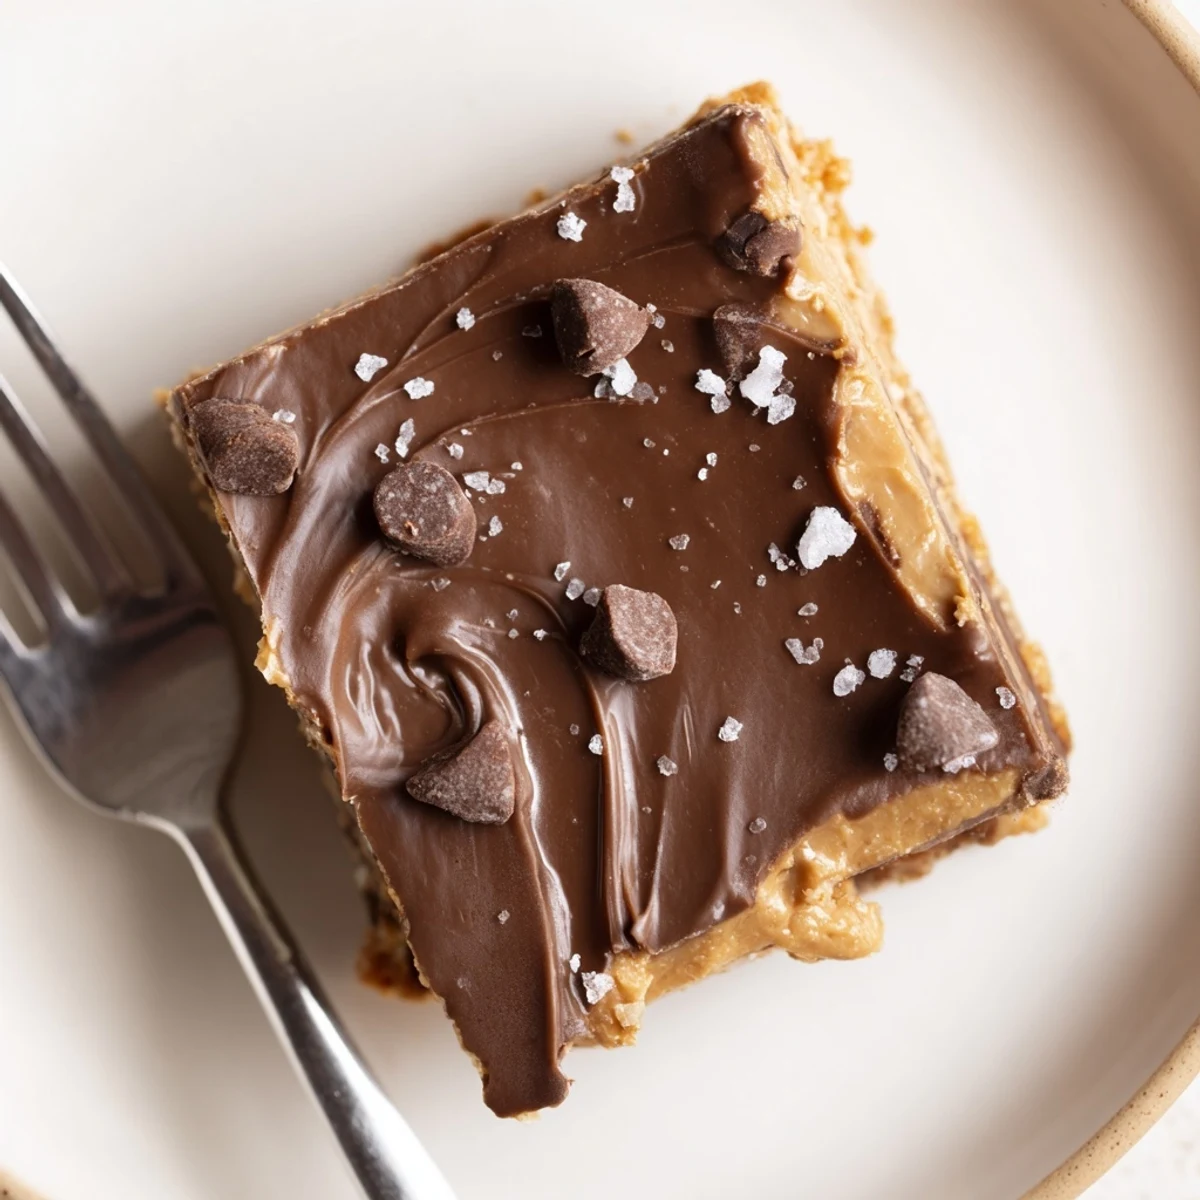
Save This no-bake peanut butter bar begins with a base of creamy peanut butter, melted butter, powdered sugar and graham cracker crumbs pressed into an 8×8 pan. A melted semi-sweet chocolate and peanut butter topping is poured over and the bars are chilled for at least 2 hours until firm. Yield: 16 bars. Variations include using chunky peanut butter, folding in chopped peanuts, or substituting gluten-free cookies for graham crackers.
The first time I made these No Bake Peanut Butter Bars, it happened on a sweltering summer afternoon when turning the oven on simply wasn&apost an option. I remember spying the jar of peanut butter and a half-full bag of chocolate chips in the pantry while wondering what could satisfy my sweet tooth without making the kitchen any hotter. I didn&apost expect much beyond a simple snack, yet the bars that emerged tasted like something from a bakery. As soon as I cut into the chilled slab, I knew I had stumbled onto my new shortcut dessert for any warm day.
I once took a pan of these bars to a game night, thinking they might get overlooked next to fancier desserts. I was completely wrong—within fifteen minutes, people were coming back for seconds and asking for the recipe with chocolate-smudged smiles. It made me realize how sometimes the simplest treats can become the life of a party. Now whenever I hear a request for a 'no stress dessert' these bars are the first thing that comes to mind.
Ingredients
- Creamy peanut butter: The heart of the bars—make sure it&aposs stirred well before using for smoothness.
- Unsalted butter: I prefer unsalted so I can control the overall saltiness; melting it ensures easy mixing.
- Powdered sugar: This blends in easier than granulated sugar and gives you that smooth, melt-in-your-mouth texture.
- Graham cracker crumbs: They add a gentle crunch and structure—I've found digestive biscuits work just as well in a pinch.
- Vanilla extract: Just a touch deepens the flavor in a way you only notice if it&aposs missing.
- Semi-sweet chocolate chips: Melted into a luscious layer on top—go for the good quality ones for a smoother finish.
Instructions
- Get your pan ready:
- Line your 8x8 inch pan with parchment paper, making sure you have enough to hang over the sides—the easiest trick for lifting out the set bars.
- Mix up the base:
- Stir together melted butter and peanut butter in a big bowl until they look glossy and inviting.
- Add the dry ingredients:
- Gradually work in the powdered sugar and graham cracker crumbs, then add a touch of vanilla—the dough should look thick and hold together when pressed.
- Form the crust:
- Press the peanut butter mixture firmly into the pan, smoothing the top with a spatula; it will feel satisfying as it levels out.
- Make the topping:
- Melt chocolate chips and peanut butter together in short bursts in the microwave, stirring until completely smooth and silky.
- Assemble and chill:
- Pour that chocolatey topping evenly over the base, then pop the whole thing in the fridge for at least two hours to set.
- Cut and serve:
- Once chilled and the chocolate is firm, lift the whole block out by the parchment, cut into squares, and marvel at your handiwork before sharing.
 Save
Save There&aposs something about sharing these bars with friends that never gets old. One time, my neighbor dropped in unexpectedly while I was cutting them and we ended up sampling half the tray together over tea—proof that good snacks spark great company.
Making it Your Own
I&ve found that no two batches end up exactly the same—sometimes I toss in a handful of chopped peanuts for crunch or use crunchy peanut butter when I want even more texture. Once I swapped out the graham crackers for crushed pretzels and was delighted by the salty twist. Let your cravings steer the mix-ins here.
Keeping It Fresh
I always store my bars in an airtight container in the fridge—this keeps them perfectly firm and ready to eat anytime the mood strikes. If you want to stack them, slip a sheet of parchment between layers to avoid chocolate smudges. They&apoll hold up for a whole week though, let&aposs be honest, they rarely last that long.
Troubleshooting & Quick Fixes
Sometimes the base can seem a little crumbly, especially if the peanut butter isn&apost stirred thoroughly—just press extra firmly into the pan. If the chocolate topping looks dull, it might have overheated—spread it while still just warm, never hot. And for neat, clean bars, run your knife under hot water and wipe it dry between cuts.
- If you want more crunch, sprinkle extra crumbs on top before chilling.
- Sea salt flakes on top bring out amazing flavor notes.
- If your peanut butter is unsalted, a pinch of salt in the base is a game changer.
 Save
Save There&aposs an easy, sweet pleasure in making these no bake bars. Share them with someone, or keep a secret stash for yourself—either way, they&aposll brighten up any day.
Recipe FAQs
- → How long should I chill the bars?
-
Chill for a minimum of 2 hours to allow the base and chocolate layer to set. For cleaner slices and firmer texture, refrigerate 3–4 hours or briefly freeze for 20–30 minutes before cutting.
- → Can I use crunchy peanut butter instead of creamy?
-
Yes. Crunchy peanut butter adds extra texture and a nutty bite. If you prefer a smoother finish, use creamy peanut butter for the base and stir chopped peanuts into the mixture for crunch.
- → What’s the best way to melt the chocolate topping?
-
Melt chocolate chips with the small amount of peanut butter in 30-second microwave intervals, stirring between bursts until smooth. Alternatively, use a double boiler over simmering water, stirring until fully melted and glossy.
- → How can I make these gluten-free?
-
Replace graham cracker crumbs with certified gluten-free cookie crumbs or gluten-free graham-style crackers. Check all labels to ensure other ingredients are free from gluten cross-contact.
- → How should I store leftovers?
-
Store bars in an airtight container in the refrigerator for up to one week. For longer storage, freeze layers separated by parchment paper for up to 2 months and thaw in the fridge before serving.
- → Any tips for cutting neat bars?
-
Run a sharp knife under hot water, dry it, then make clean cuts by wiping the blade between slices. Chilling the bars well before cutting helps achieve even squares.
