 Save
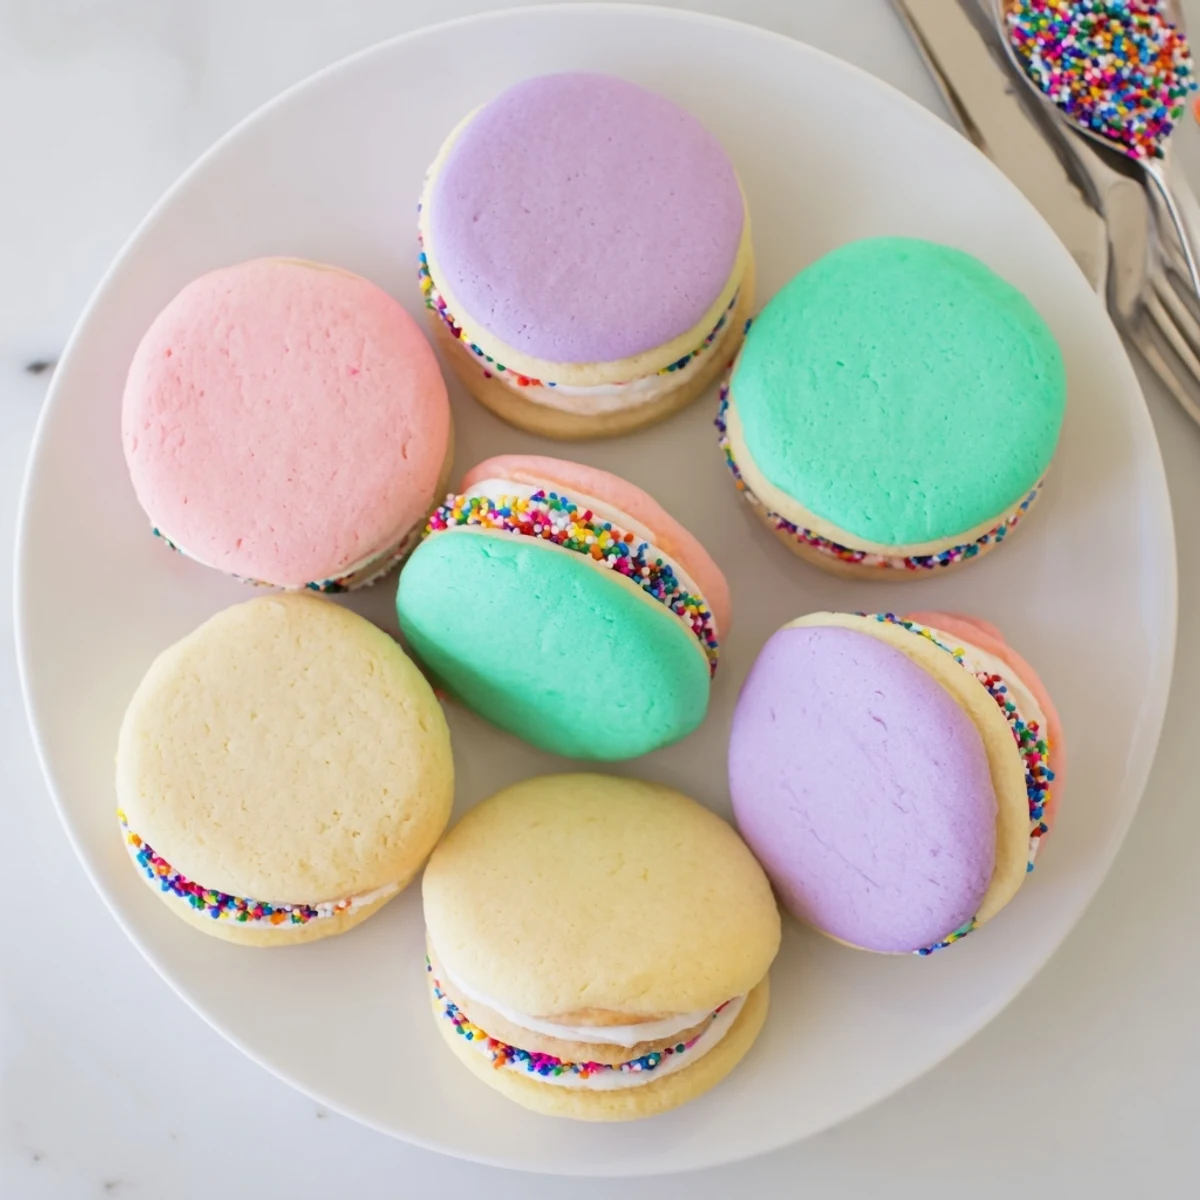
Save These charming pastel sugar cookie sandwiches feature soft, buttery cookies tinted in gentle shades of pink, yellow, blue, green, and purple. The cookies are sandwiched together with a luscious vanilla buttercream that adds the perfect sweetness to balance the tender cookie base. Perfect for Easter brunch, spring birthdays, or any festive occasion where you want to serve something visually stunning.
The dough comes together quickly with basic pantry ingredients, then gets divided and colored with gel food coloring for vibrant pastel hues. After baking to just-set perfection, the cookies are paired with a fluffy vanilla frosting that creates the ultimate handheld treat.
Last spring, my niece grabbed a handful of the pale blue dough I'd just mixed and asked if we could make cookies that looked like a garden. That afternoon became an experiment in pastel perfection, with flour dusted across every surface and tiny fingerprints in five different shades of dough. These sandwich cookies became our Easter tradition, and honestly, the way the colors swirl together when you bite into them still feels like magic.
I brought a batch to my book club last month, and before we'd even discussed the first chapter, someone asked if I'd start selling them. The way these cookies catch the light, with their muted pinks and mint greens and soft yellows, makes people smile before they even take a bite. Something about pastel sandwich cookies feels like a celebration, even on a random Tuesday.
Ingredients
- All-purpose flour: Provides structure, and I've learned that weighing it prevents dense cookies
- Baking powder: Just a touch gives these the perfect slight puff
- Unsalted butter: Softened to room temperature makes all the difference for creaming with sugar
- Granulated sugar: Creates that crisp edge while keeping centers tender
- Large egg: Bind everything together and adds richness
- Pure vanilla extract: Don't skimp here, it's the backbone of the flavor
- Almond extract: Completely optional, but it adds this lovely subtle depth that people can't quite place
- Gel food coloring: Gel over liquid every time, it won't throw off your dough consistency
- Buttercream butter: Same softened rule applies here for silky smooth results
- Powdered sugar: Sifting prevents those tiny lumps that ruin frosting texture
- Milk or cream: Just enough to make the buttercream pipeable
- Sprinkles: Pure joy, especially when they stick to the exposed frosting edges
Instructions
- Get your oven ready:
- Preheat to 350°F and line your baking sheets with parchment, I learned the hard way that these stick to bare sheets
- Whisk the dry team:
- Combine flour, baking powder, and salt in a medium bowl so there are no hidden pockets of baking powder later
- Cream the butter and sugar:
- Beat them together for a full 2 to 3 minutes until they're pale and fluffy, this step is what makes cookies tender
- Add the egg and extracts:
- Mix until everything's incorporated, scraping down the bowl to catch any butter clinging to the sides
- Bring in the flour:
- Add the dry mixture gradually and mix just until you don't see white streaks, overmixing makes tough cookies
- Divide and color:
- Split dough into 4 or 5 bowls and add a tiny dot of gel coloring to each, wearing gloves unless you want rainbow hands for three days
- Scoop and space:
- Portion into tablespoon balls and place them 2 inches apart, they spread more than you expect
- Flatten gently:
- Press each ball slightly with your palm so they bake evenly
- Bake until just set:
- 10 to 12 minutes is perfect, pull them when edges are firm but centers still look slightly soft
- Cool completely:
- Let them sit on the trays for 5 minutes then move to a wire rack, warm cookies melt buttercream into a sad puddle
- Make the buttercream:
- Beat butter until creamy, add powdered sugar, vanilla, salt, and milk, then whip until it's light enough to pipe
- Assemble the sandwiches:
- Spread frosting on half the cookies and top with another, pressing gently until the filling reaches the edges
- Add sprinkles if you want:
- Roll the exposed frosting edges in sprinkles immediately after assembling, that's when they stick best
 Save
Save My mom called me last week saying she'd attempted these but only had liquid food coloring, and she ended up with tie-dye hands and cookies that spread into one giant pastel blob. We laughed about it, but it made me realize how forgiving these cookies actually are when you follow the gel coloring rule. Now she keeps a tiny stash of my gel colors in her pantry just for this recipe.
Making These Ahead
I've baked the cookies up to three days in advance and stored them in an airtight container, then assembled everything the morning of the party. The frosting actually benefits from sitting overnight in the fridge, it develops this lovely mellow sweetness that tastes more professional. Just bring the buttercream to room temperature and give it a quick whip before using.
Color Combinations I Love
Beyond the classic pastel rainbow, I've done an ombré set from pale pink to deep rose, and another time I stuck to mint green, soft yellow, and lavender for a more sophisticated look. Last Easter I made tiny flower-shaped ones and did them in white, pale yellow, and the softest pink. Sometimes I'll marble two colors together in one bowl before scooping for a swirled effect that looks incredible.
Serving And Storing
These cookies are surprisingly sturdy once the buttercream sets, which makes them perfect for bake sales or gift boxes. I've packed them in layers between parchment paper and transported them across town without a single casualty. They'll keep at room temperature for two days, or refrigerated for up to five if your house runs warm like mine does in summer.
- Let refrigerated cookies come to room temperature for the best texture
- Freeze unfrosted cookies for up to a month and thaw before assembling
- The buttercream pipes beautifully, but an offset spatula works just as well for a more rustic look
 Save
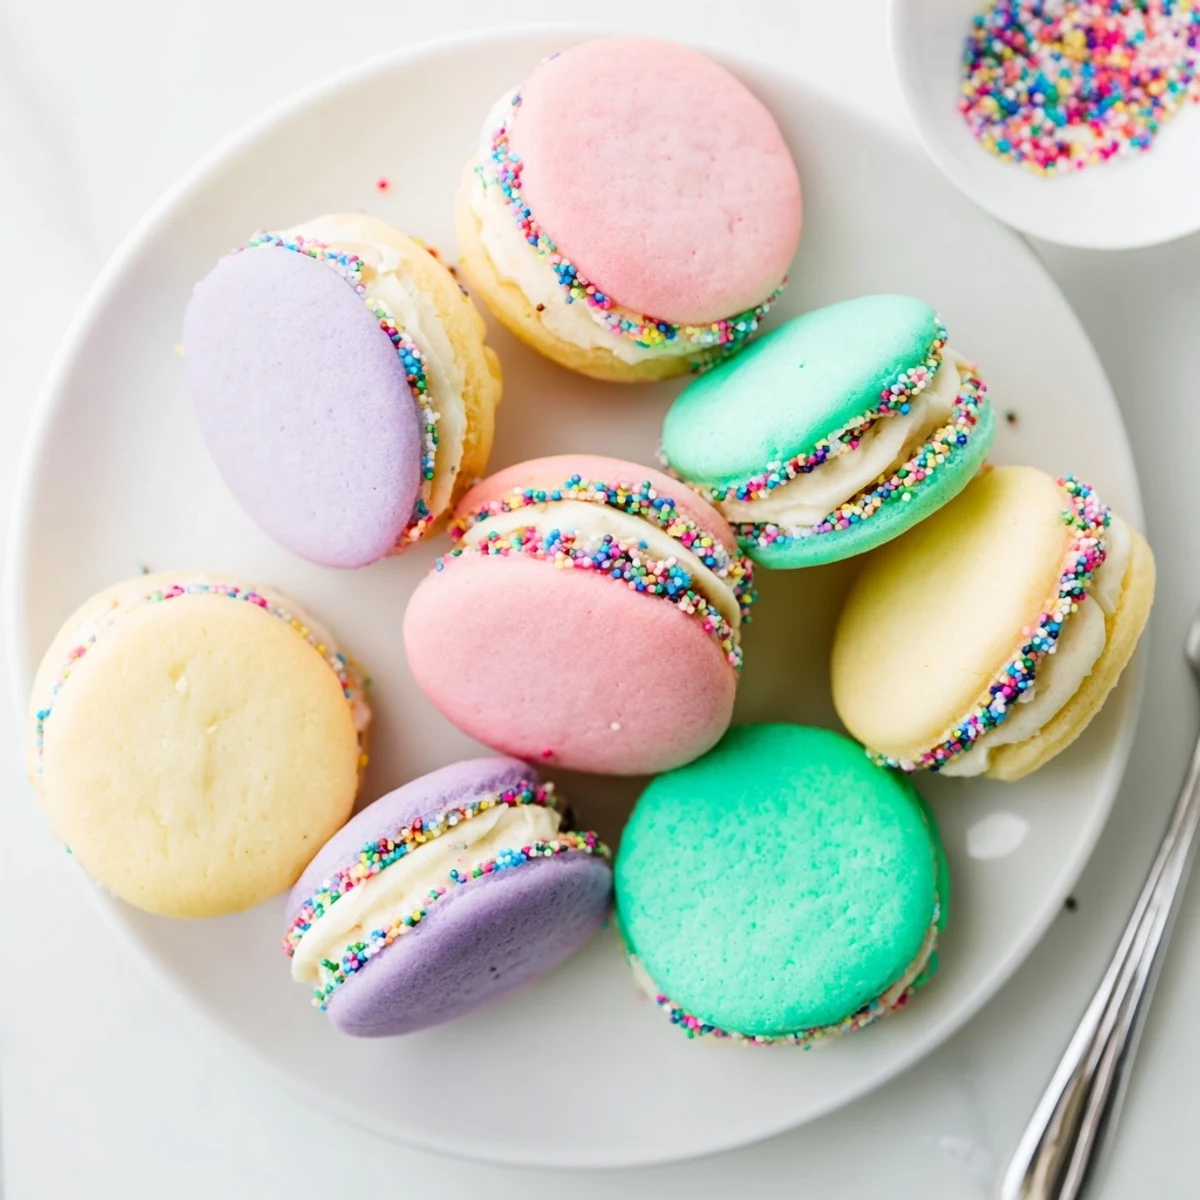
Save There's something impossibly cheerful about a plate of pastel sandwich cookies, like little edible clouds in the softest colors imaginable. I hope these bring as much color to your kitchen as they have to mine.
Recipe FAQs
- → How far in advance can I make these?
-
You can bake the cookies up to 3 days ahead and store them in an airtight container at room temperature. The buttercream can also be prepared 2-3 days in advance and refrigerated. For best results, assemble the sandwiches the day of serving to keep the cookies fresh and prevent them from becoming soggy.
- → Can I freeze the cookie dough?
-
Yes, the colored dough freezes beautifully for up to 3 months. Portion into balls before freezing, then bake directly from frozen, adding 1-2 extra minutes to the baking time. You can also freeze baked, unfilled cookies for up to 2 months.
- → What if I don't have gel food coloring?
-
Liquid food coloring will work, though you'll need more to achieve vibrant colors and it may make the dough slightly softer. For best results with liquid coloring, add it along with the wet ingredients and chill the dough for 30 minutes before baking to maintain texture.
- → How do I prevent the cookies from spreading too much?
-
Ensure your butter is softened but not melted, and measure flour accurately by spooning into measuring cups rather than dipping. Chilling the colored dough for 15-20 minutes before baking also helps maintain shape and keeps the pastel colors vibrant.
- → Can I make these gluten-free?
-
You can substitute the all-purpose flour with a 1-to-1 gluten-free flour blend designed for baking. The texture will be slightly different but still delicious. Be sure to check that all other ingredients, including extracts, are certified gluten-free.
