 Save
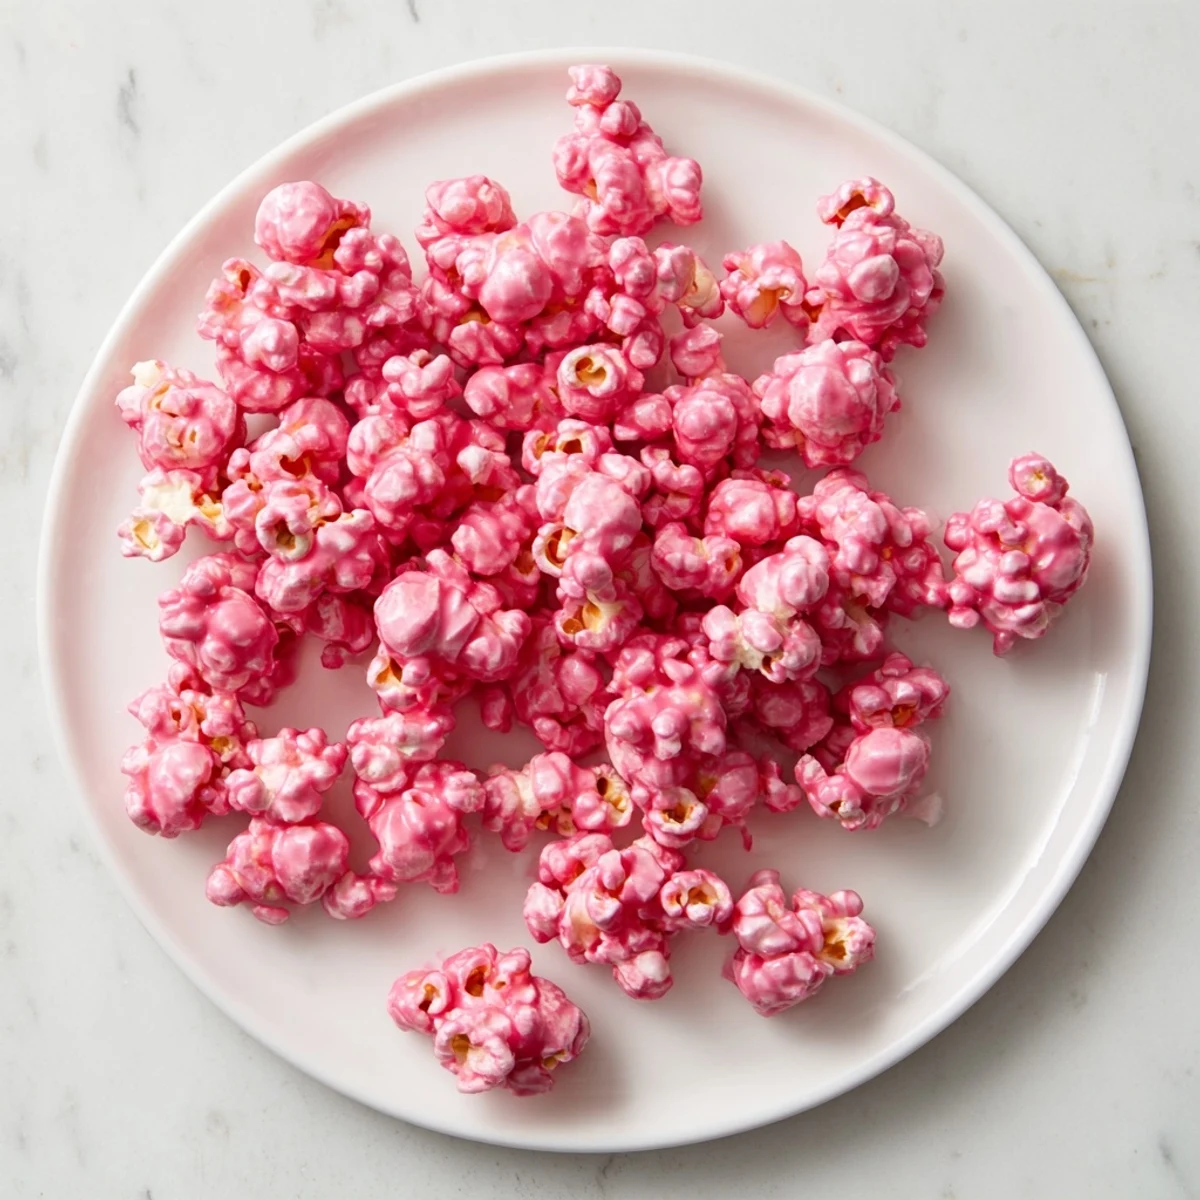
Save Create this whimsical pink-coated popcorn in just 20 minutes. Pop fresh kernels, then prepare a glossy candy glaze by boiling sugar, corn syrup, butter, and vanilla with rosy food coloring. Pour the hot pink mixture over your popcorn, toss quickly to coat every kernel, and spread on parchment to cool into sweet, crunchy clusters.
The result is a light, crispy treat with a crackling candy shell and nostalgic vanilla flavor. Perfect for birthday parties, movie nights, or whenever you want a playful dessert-style snack. Store in an airtight container for up to a week.
The first time I made pink popcorn was for my daughters birthday party when she turned seven. She had begged me for something magical and different than the usual cake and ice cream. I stumbled upon this recipe while flipping through an old community cookbook my grandmother had given me years ago. The look on her face when she saw those rosy pink clusters was absolutely priceless.
Last summer I made a huge batch for our neighborhood block party and watched it disappear within twenty minutes. My neighbor Sarah asked for the recipe three times because her kids kept talking about the pretty pink popcorn for days afterward. Now it is become my go to contribution for any gathering that needs a touch of sweetness and whimsy.
Ingredients
- Popcorn kernels: Fresh kernels pop better and give you that light fluffy texture that holds the glaze beautifully
- Vegetable oil: Just enough to help the kernels pop evenly without burning
- Granulated sugar: This forms the base of your candy coating and creates that satisfying crunch
- Light corn syrup: The secret ingredient that keeps your glaze smooth and prevents crystallization
- Water: Helps dissolve the sugar and creates the right consistency for coating
- Unsalted butter: Adds richness and helps the glaze cling to every single kernel
- Salt: Just a pinch balances all that sweetness and makes the vanilla flavor pop
- Vanilla extract: Pure vanilla extract gives the best flavor but imitation works in a pinch
- Red food coloring: Start with two drops and add more until you reach your perfect shade of rosy pink
Instructions
- Pop the corn to perfection:
- Heat your oil in a large pot over medium heat then add those kernels and keep the lid on tight. Shake the pot occasionally so nothing sticks and listen for that exciting popping sound to slow way down before removing from heat.
- Prepare the candy coating:
- Combine your sugar corn syrup water butter and salt in a medium saucepan and bring everything to a boil while stirring constantly. Once the sugar has completely dissolved let it bubble away for three to four minutes until it starts looking slightly thicker.
- Add the color and flavor:
- Remove the pan from heat immediately and stir in your vanilla and food coloring until everything is well combined. The glaze should be a beautiful rosy pink hue that makes you smile just looking at it.
- Coat every kernel:
- Pour that hot pink glaze right over your popped popcorn and work quickly with a spatula to toss everything together. The glaze starts setting fast so you want to make sure every single piece gets covered evenly.
- Let it cool completely:
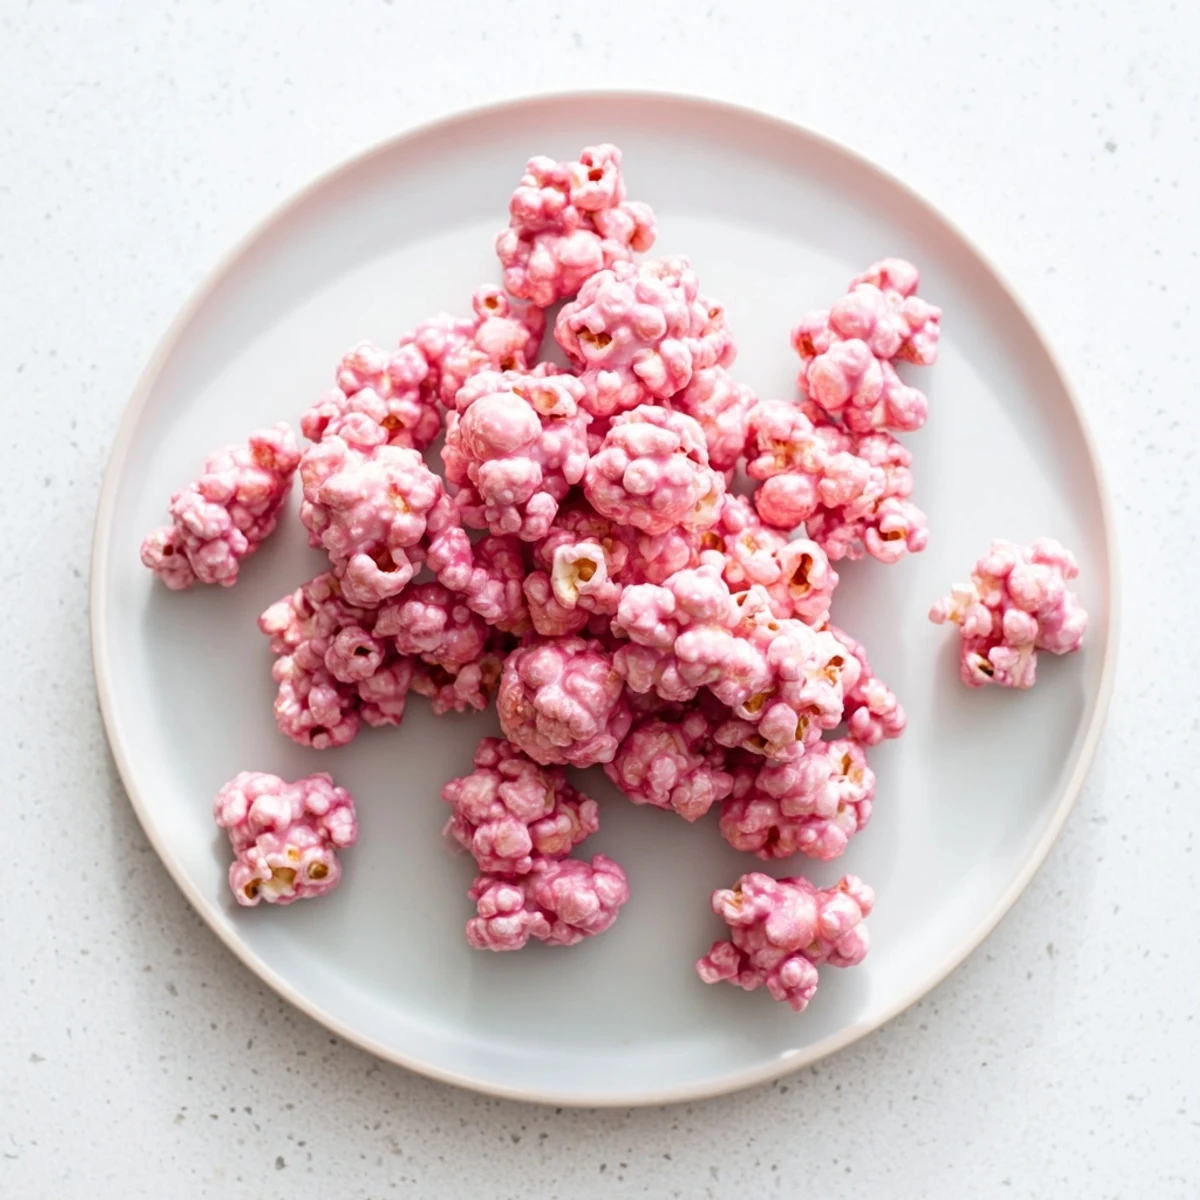
- Spread your pink popcorn onto a parchment lined baking sheet in a single layer and let it cool until the coating is hard and crunchy. Break it into clusters and get ready for everyone to ask for seconds.
 Save
Save Every December I make a double batch to package in clear bags tied with ribbons for holiday gifts. Teachers neighbors and coworkers always tell me it is the most unique treat they receive all year. There is something about that nostalgic pink color that brings out the child in everyone who tries it.
Making It Ahead
I have learned through trial and error that this popcorn actually tastes even better the next day. The glaze has time to fully set and that vanilla flavor seems to deepen beautifully. Just store it in an airtight container and it will stay perfectly crunchy for up to a week.
Serving Suggestions
This popcorn makes an incredible movie night snack that feels special without being complicated. I also love setting it out in pretty bowls at baby showers birthday parties or even as part of a dessert buffet. The pink color photographs beautifully so it is perfect for sharing on social media too.
Flavor Variations
While vanilla is classic you can easily switch up the flavor profile to suit any occasion or personal preference. The possibilities are endless once you master the basic glaze technique.
- Try strawberry extract instead of vanilla for an extra fruity punch
- Add a few drops of almond extract for a sophisticated twist
- Mix in some sprinkles while the glaze is still warm for extra party fun
 Save
Save Whether you are making this for a special occasion or just a Tuesday night treat pink popcorn never fails to bring joy. Sometimes the simplest recipes create the most lasting memories.
Recipe FAQs
- → How do I get even pink coating on all kernels?
-
Pour the hot glaze over your popcorn in a large bowl, then toss quickly and continuously with a spatula or greased hands. Work fast—the coating sets quickly as it cools. Spreading onto a parchment-lined baking sheet afterward prevents clumping.
- → Can I make this without corn syrup?
-
Corn syrup helps create the smooth, crackling candy texture. Substituting with honey or maple syrup will work but alters flavor and may make the coating softer. For best results, stick with light corn syrup or glucose syrup.
- → How should I store pink popcorn?
-
Keep in an airtight container at room temperature for up to one week. Avoid humidity—it makes the candy coating sticky. If it softens, a quick 10-minute bake at 250°F can restore crunchiness.
- → Can I use pre-popped microwave popcorn?
-
Yes, plain or lightly salted microwave popcorn works. Skip any buttered or heavily flavored versions—they'll clash with the vanilla glaze. Measure 8 cups popped, which equals about 1/2 cup kernels.
- → What natural alternatives create pink color?
-
Try beet juice powder, raspberry purée reduced to a concentrate, or natural pink food coloring made from fruit extracts. Start with 1/4 teaspoon and add more—natural colors often require more product than artificial versions.
