 Save
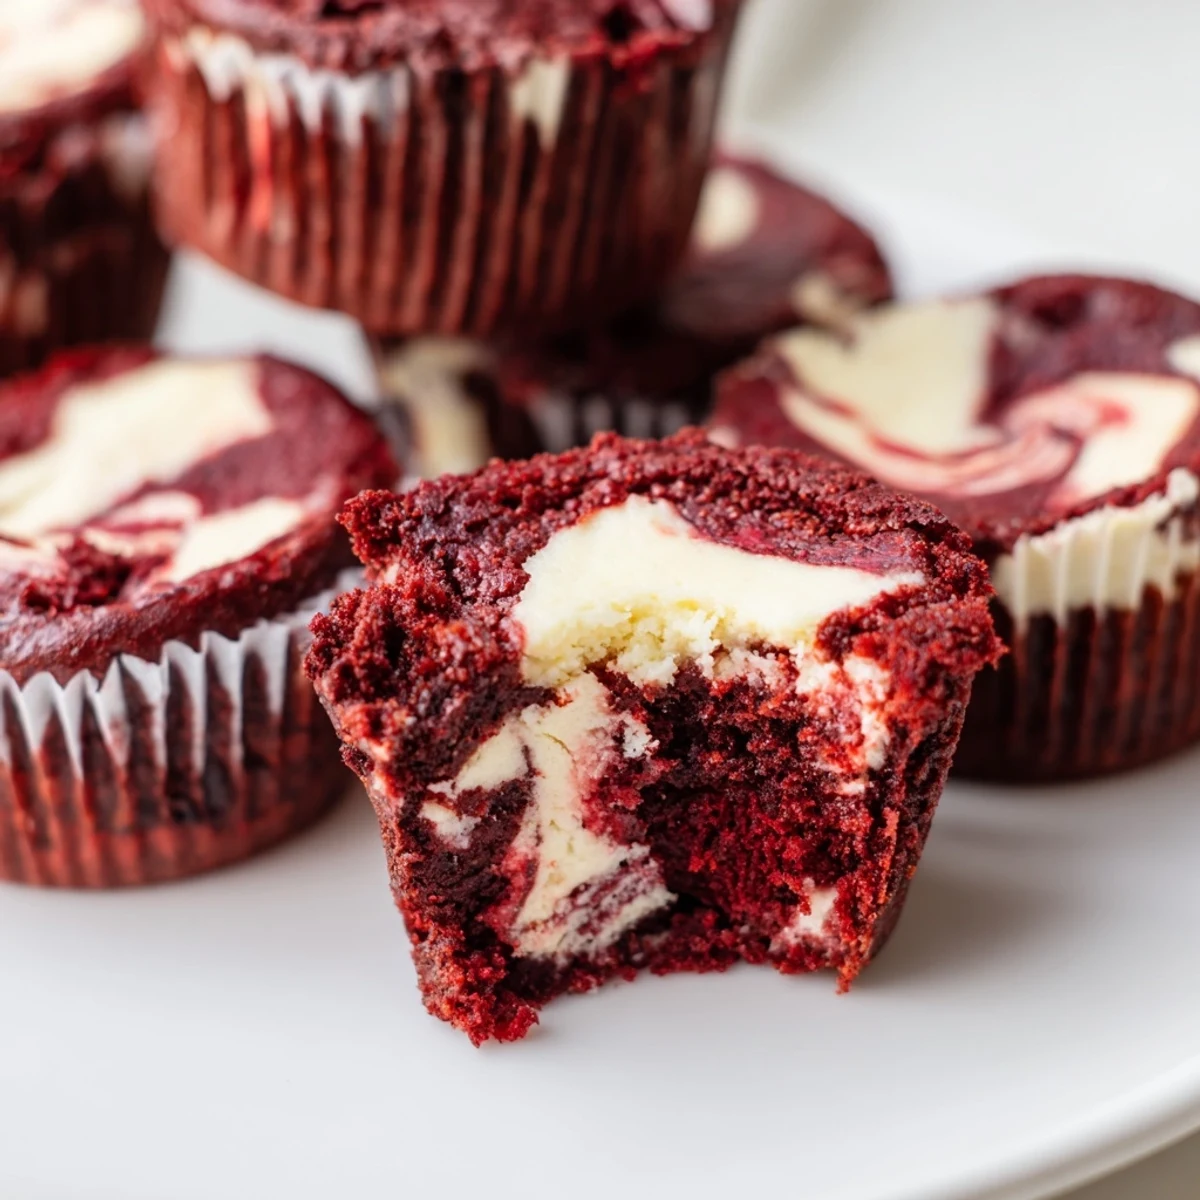
Save These decadent red velvet brownie bites combine rich, fudgy chocolate with a luscious cream cheese swirl for an irresistible treat. The vibrant red color makes them stunning for parties and holidays, while the mini muffin size creates perfect portion-controlled indulgences.
With just 20 minutes of prep and 25 minutes of baking, you'll have 24 beautiful marbled treats ready for serving. The cream cheese swirl adds a tangy contrast to the sweet chocolate base, creating that classic red velvet flavor profile everyone loves.
Store them in the refrigerator for up to 4 days, though they rarely last that long! For extra richness, fold chocolate chips into the batter before baking.
The first time I brought these to a friends birthday party, I actually had to write the recipe on five different napkins before I could leave. People kept cornering me in the kitchen asking what made them so different from regular brownies. That cream cheese swirl creates this incredible tangy richness that cuts through all that chocolate in the most surprising way.
Last Christmas my sister claimed she was too full for dessert but then proceeded to eat four of these while standing by the buffet table. She said the mini size tricked her brain into thinking they did not count. Now whenever I visit she asks if the red velvet bites are coming with me.
Ingredients
- 1/2 cup unsalted butter melted: I use room temperature butter that I melt in the microwave in 20 second bursts to avoid burning it
- 3/4 cup granulated sugar: Do not reduce this amount as the sugar creates that signature crackly top on the brownies
- 1 large egg: Make sure it is room temperature for better emulsification with the butter
- 1 tsp vanilla extract: Pure vanilla makes a noticeable difference in the final flavor
- 1 tbsp red food coloring: Gel coloring gives a deeper red without adding extra liquid but both work perfectly
- 1/2 cup all-purpose flour: Spoon and level the flour rather than scooping directly to avoid packing too much in
- 2 tbsp unsweetened cocoa powder: Sift this to prevent any lumps in your batter
- 1/4 tsp salt: This tiny amount balances the sweetness and enhances the chocolate flavor
- 4 oz cream cheese softened: Leave it out for at least an hour so it blends into a perfectly smooth mixture
- 2 tbsp granulated sugar: This sweetens the cream cheese just enough without making it cloying
- 1 egg yolk: The extra yolk creates that wonderfully creamy texture in the swirl
- 1/4 tsp vanilla extract: Do not skip this in the swirl layer it makes the cream cheese taste like actual frosting
Instructions
- Preheat your oven and prep the pan:
- Set your oven to 350°F and line a 24 cup mini muffin tin with paper liners. I learned the hard way that greasing alone makes these stubborn to remove.
- Mix the brownie batter base:
- Whisk the melted butter and sugar in a medium bowl until they are completely smooth. Then add the egg vanilla and red food coloring mixing until the color is evenly distributed.
- Add the dry ingredients:
- Sift the flour cocoa powder and salt directly into the wet mixture. Stir gently until just combined. You will still see some flour streaks and that is exactly right.
- Prepare the cream cheese swirl:
- In a separate small bowl beat the softened cream cheese sugar egg yolk and vanilla until the mixture is completely smooth with no lumps. This takes about 2 minutes by hand.
- Fill the muffin cups:
- Spoon exactly one tablespoon of brownie batter into each lined cup. Then add one teaspoon of the cream cheese mixture right on top.
- Create the marble effect:
- Take a toothpick and gently swirl it through the layers just once or twice. Do not overdo it or you will lose the distinct red and white pattern.
- Bake to perfection:
- Bake for 23 to 25 minutes. The centers should be set and a toothpick should come out with just a few moist crumbs attached.
- Cool completely:
- Let them rest in the pan for 10 minutes then transfer to a wire rack. They need to be completely cool before storing or the texture will be off.
 Save
Save These became my go to contribution for every office potluck after my coworker Sarah literally chased me to the elevator asking for the recipe. There is something about the miniature size that makes people feel comfortable trying one and then suddenly the plate is empty.
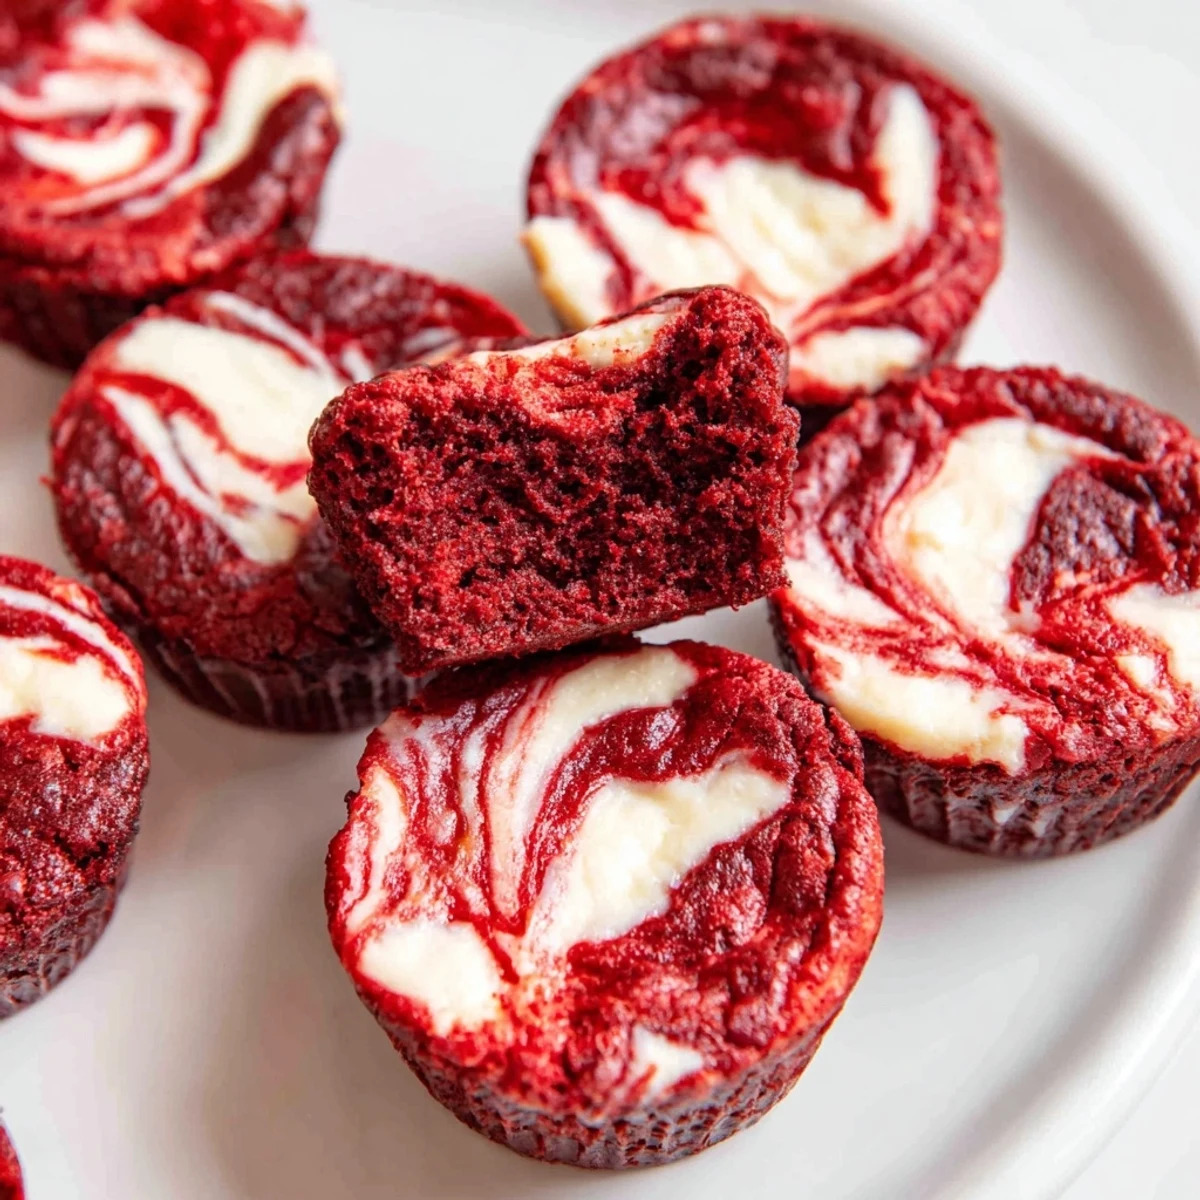
Getting the Perfect Marble
The swirling technique is easier than it looks but I have found that using a clean toothpick for each batch prevents the colors from getting muddy. One gentle figure eight motion through the two layers creates the most professional looking pattern.
Making Them Ahead
I have baked these up to three days in advance and they stayed incredibly moist. Just store them in an airtight container in the refrigerator with a piece of parchment paper between layers if you need to stack them.
Serving Suggestions
These work beautifully for dessert bars holiday platters or even boxed up as gifts. The red velvet color makes them especially festive for Valentine Day Christmas or Fourth of July gatherings.
- Top each cooled bite with a tiny drizzle of white chocolate for extra elegance
- Sprinkle a little sea salt over the swirl before baking for a salted chocolate version
- Pair with a glass of cold milk or a cup of coffee to balance the richness
 Save
Save I hope these little bites become as requested in your house as they are in mine. There is something magical about watching people light up when they bite into that swirled cream cheese center.
Recipe FAQs
- → Can I make these red velvet brownie bites ahead of time?
-
Yes, these brownie bites store beautifully in an airtight container in the refrigerator for up to 4 days. The cream cheese swirl actually helps keep them moist. You can also freeze them for up to 3 months—just thaw overnight in the refrigerator before serving.
- → What's the best way to achieve the marbled swirl effect?
-
After adding the cream cheese mixture on top of the brownie batter, use a toothpick or skewer to gently swirl through both layers. Make circular motions or figure-eight patterns, being careful not to over-swirl or the colors will blend together completely rather than creating distinct marbling.
- → Can I use natural food coloring instead of red dye?
-
You can use beet juice or pomegranate juice for natural red coloring, though the color will be more subtle than with gel or liquid food dye. Start with 1 tablespoon and add more as needed. Keep in mind that natural colorings may affect the texture slightly.
- → Why do my brownie bites sometimes sink in the middle?
-
Sinking centers usually happen when the bites are underbaked or when too much cream cheese swirl is added. Make sure to bake until a toothpick comes out with just a few moist crumbs, not wet batter. Also stick to 1 teaspoon of cream cheese mixture per bite to maintain proper structure.
- → Can I make these in a regular brownie pan instead of mini muffins?
-
Absolutely! Pour the batter into an 8x8 inch square pan and bake for 25-30 minutes at 350°F. The cream cheese swirl can be dropped in spoonfuls over the top and marbled the same way. Cut into squares once completely cooled for classic brownies with the same delicious flavor.
- → What's the difference between red velvet brownies and regular chocolate brownies?
-
Red velvet has a subtle chocolate flavor compared to regular brownies, with a softer, more tender crumb. The combination of buttermilk (though not used here) and vinegar in traditional recipes creates a unique tanginess. These brownie bites capture that lighter cocoa flavor profile while maintaining the characteristic vibrant red color.
